Highlights
- Complete basic challenges early for XP and quick access to the trader.
- Use hatches strategically to slow down zombies during horde night.
- Spend skill points wisely on perks for efficiency and survival.
The release of 7 Days To Die 1.0 has been positively received by players. For years, console gamers had been left out of the loop and forced to play a much older version of the game than those on PC. But now, players across all major platforms can enjoy all that the game has to offer.
2:28
Related
Games With The Most Threatening Zombies
Not all video game zombies come across as dangerous, but some are downright intimidating.
For those who are new to the title, there’s a lot to take in. From the crafting menu to spending skill points, there are quite a few things that the player will need to learn pretty quickly to survive and thrive in the zombie-infested wasteland.
1 Complete The Basic Challenges On Day 1
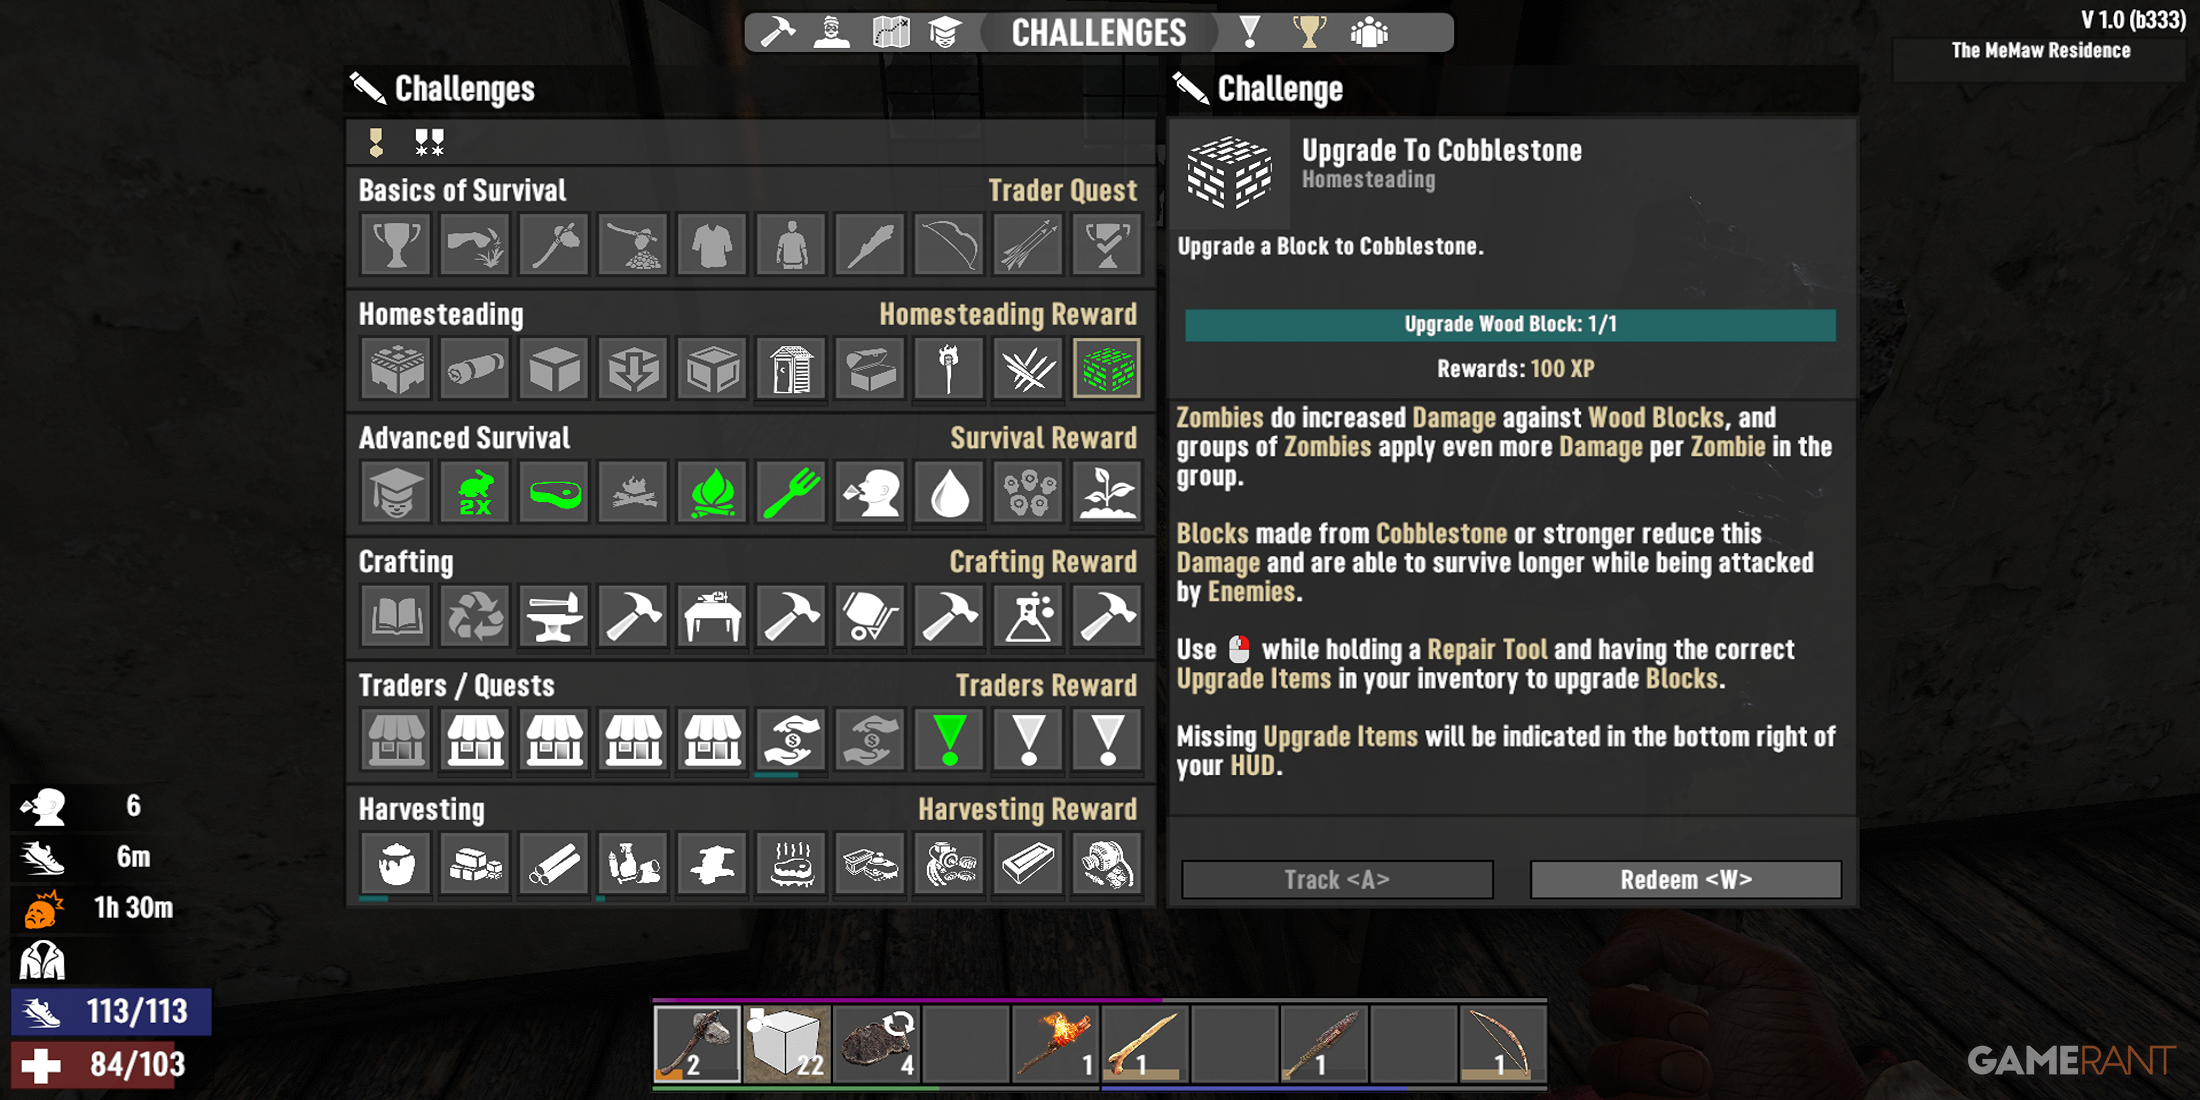
The way that challenges work in 7 Days To Die has changed. No longer will the beginner challenges pop up by default. Players will need to open up the challenges menu and select challenges manually. Players can still complete a challenge even if it’s not tracked. But for those who are unfamiliar with the challenges, it’s best to track them.
The first set of challenges is very easy, and it covers the basics in terms of crafting. Completing it takes only a few minutes, and the challenge ends with the player visiting the trader. This is great as it can be tricky locating the trader, especially if the player is on a random gen world.
Not only will the player then have access to the nearest trader, but they’ll earn some skill points in the process as each challenge awards the player some XP.
2 Using Hatches Can Slow Down Zombies
Great For Horde Nights
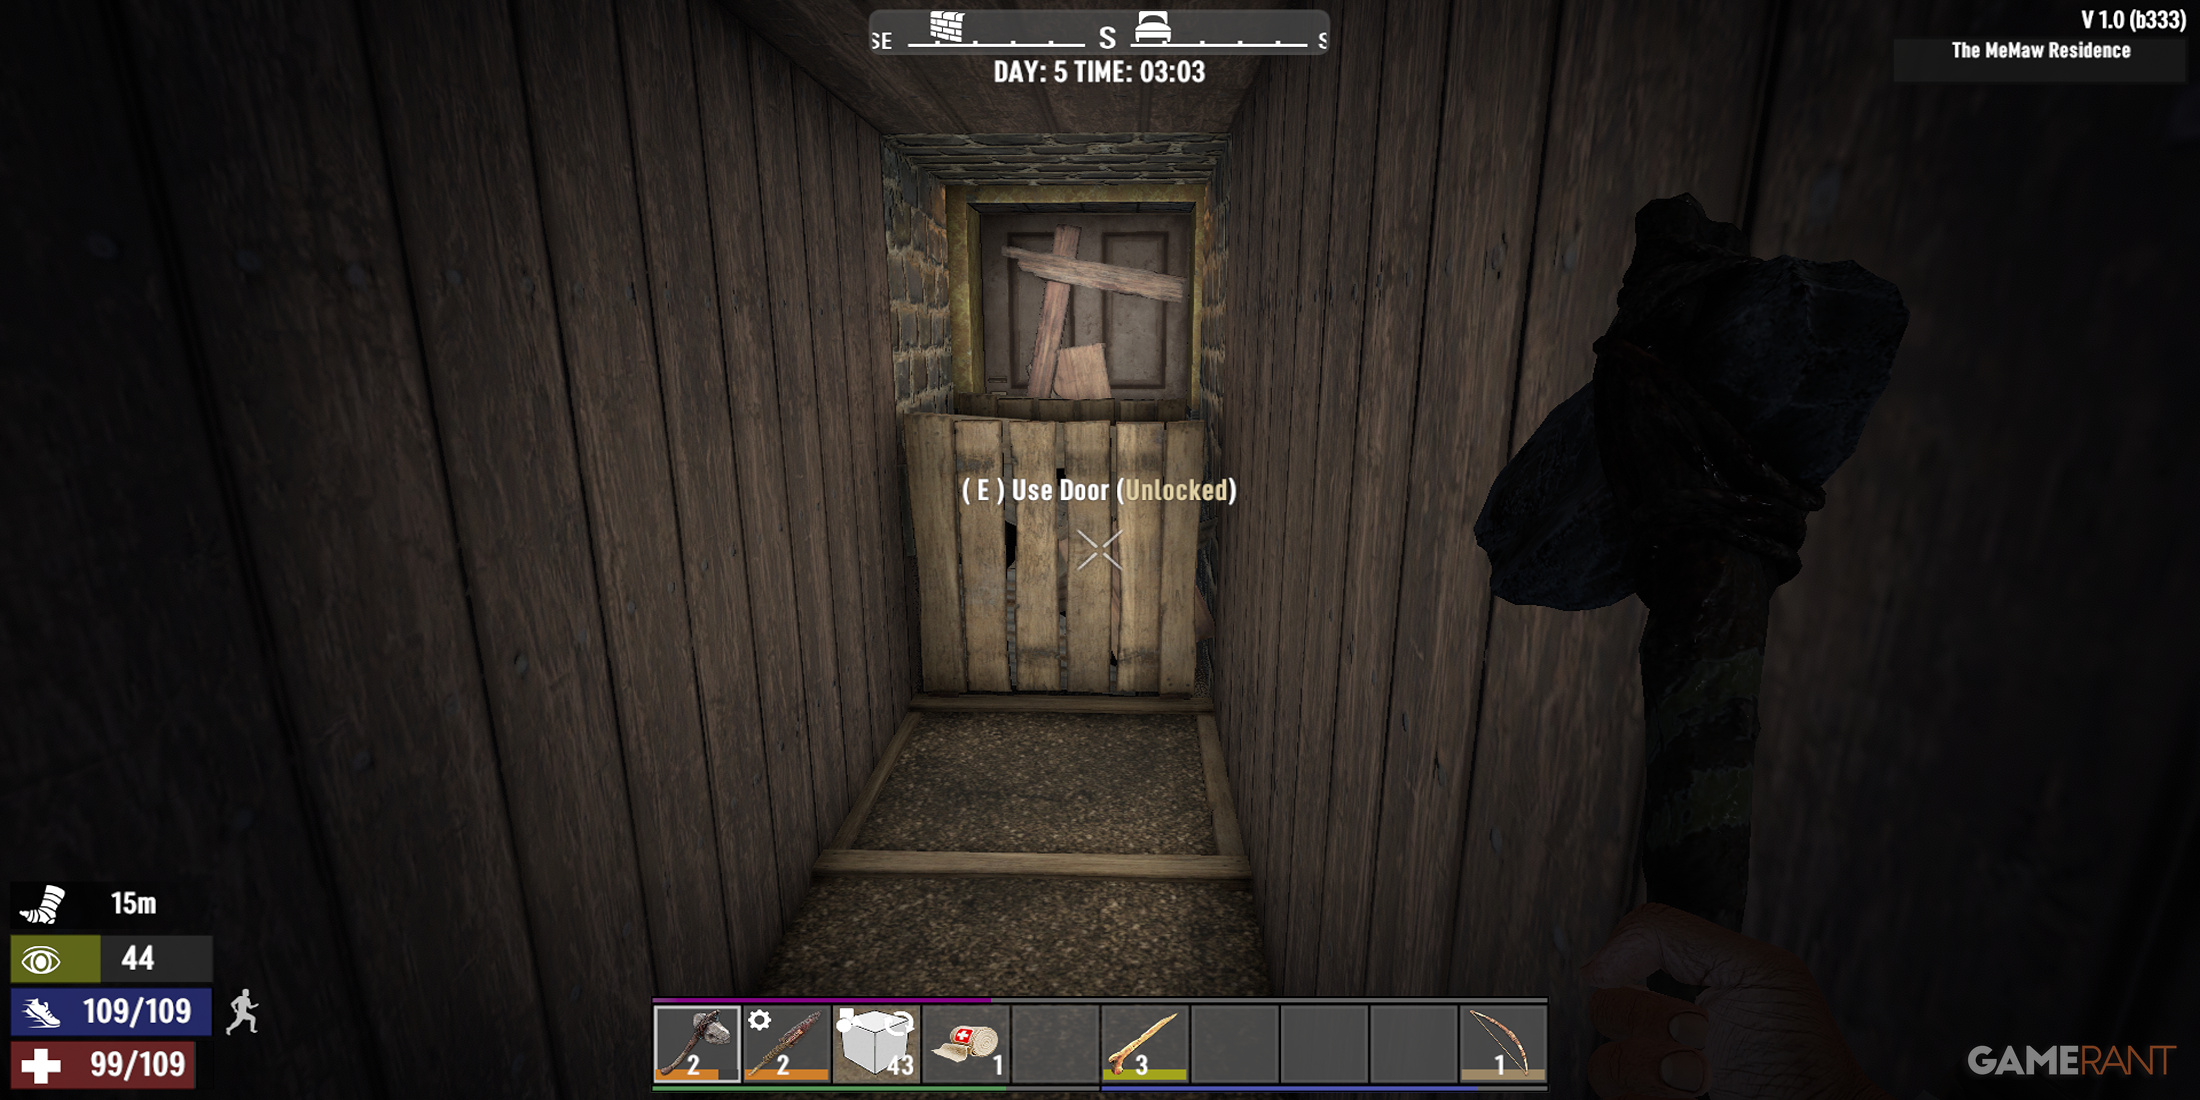
In previous versions of the game, hatches could be used to keep zombies out of the player’s base. While zombies will eventually break through hatches, it is possible to slow them down by using hatches in version 1.0.
Zombies will always take the path of least resistance. That said, zombie AI isn’t perfect. If the player places down a couple of hatches in the doorway of their base, the zombies will head straight for it on horde night. By doing this, the player will be able to control the flow of zombies and pick them off one by one with a bow, gun, or melee weapon.
3 Spend Skill Points Wisely
Select Perks For Efficiency
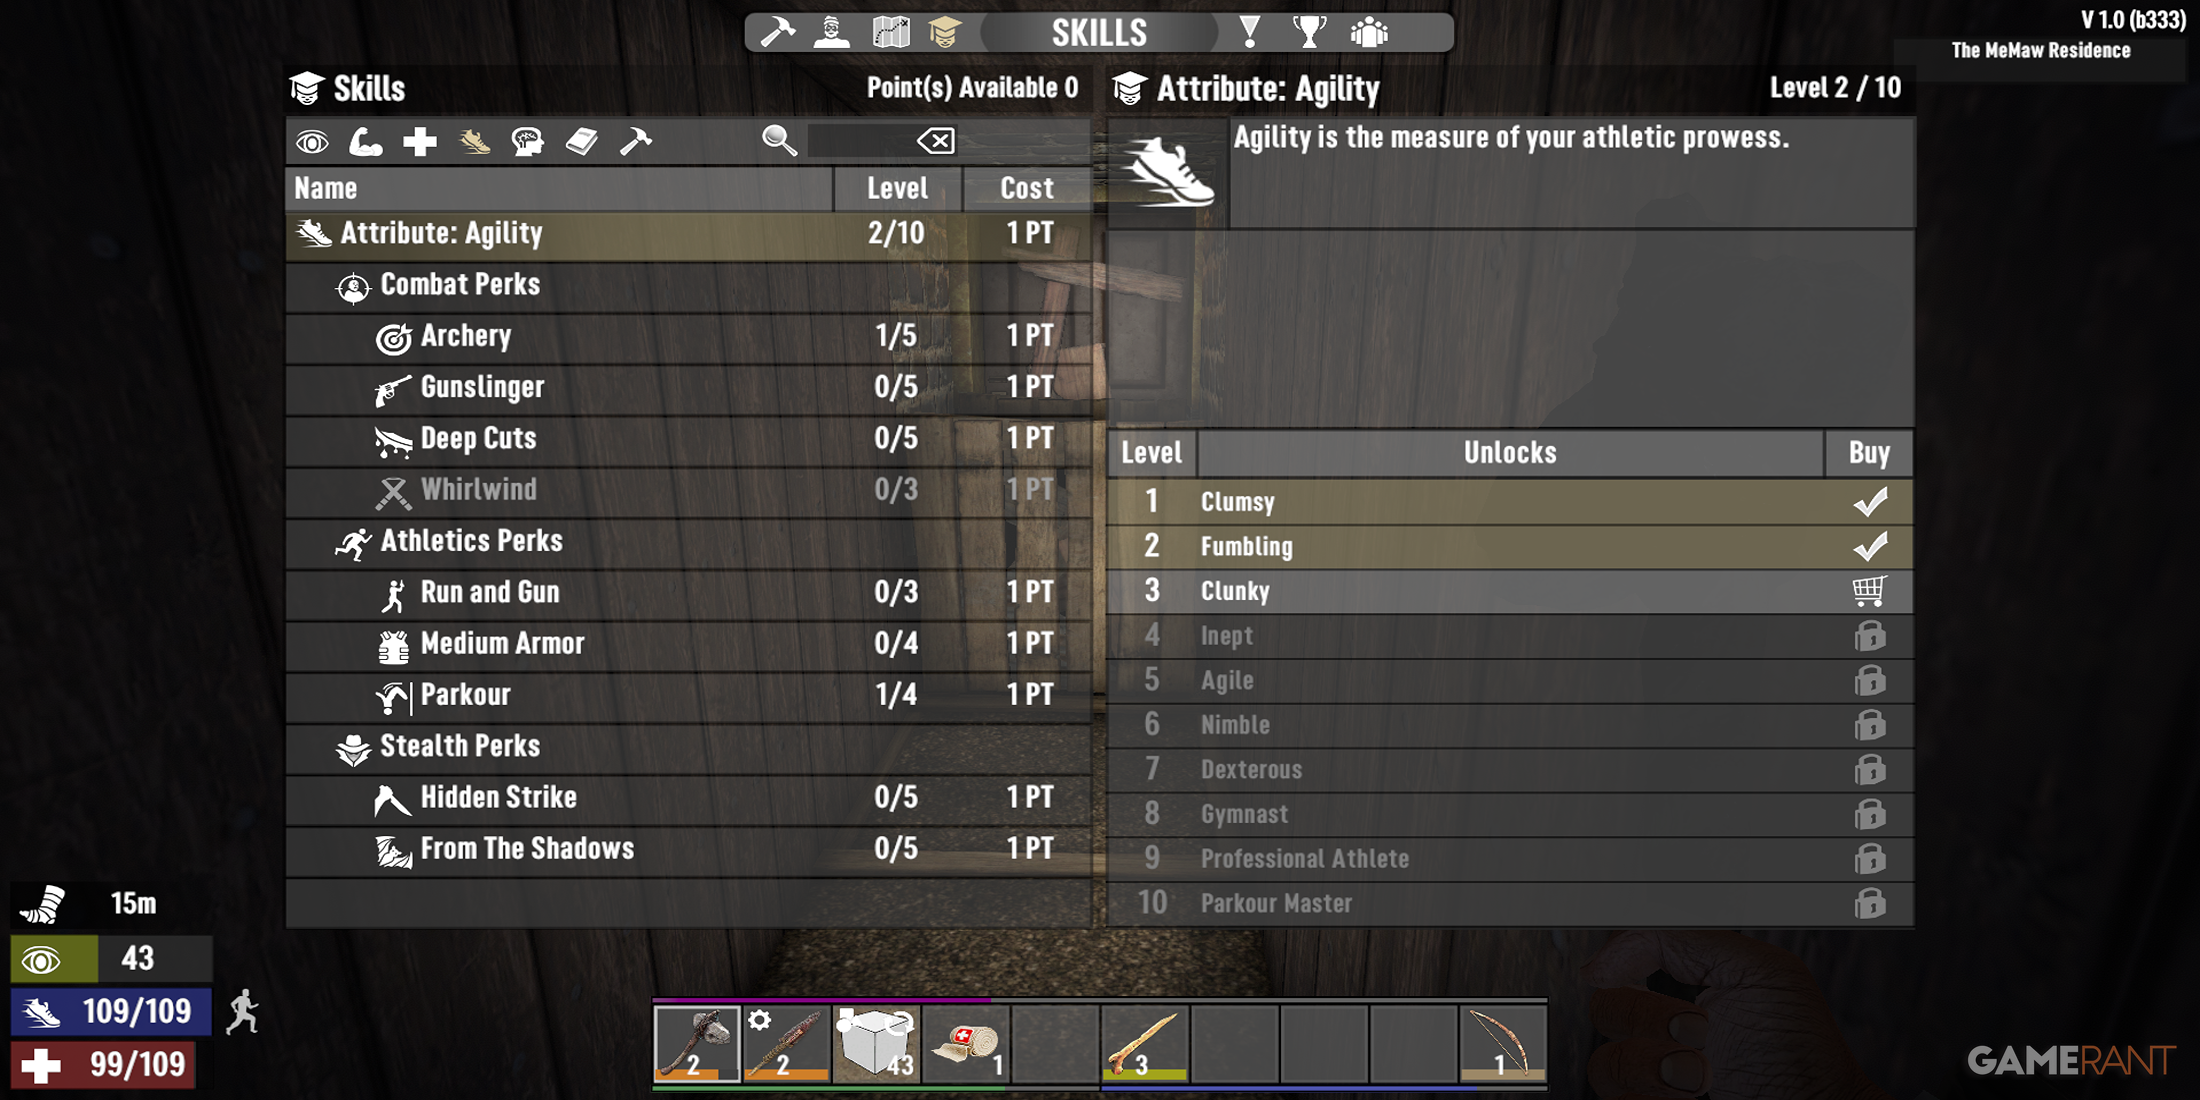
Like most video games, players will earn skill points that they can spend on leveling up their character. Initially, it can be quite a challenge to select which perks to prioritize. While a lot of the choices the player makes will come down to personal preference, there are a few perks that are worth having early on as they will help the player to be more efficient in their actions and movements. Some of the best early perks can be seen below:
- Cardio – Sprint for 10% longer
- Parkour – Increases the player’s stamina refresh speed and reduces fall damage
- Mother Lode – Harvest 20% more ore with a tool
- The Daring Adventurer – Increases mission reward quality
4 Using A Spear To Keep A Distance From The Zombies
Reduce The Chances Of Getting Hit
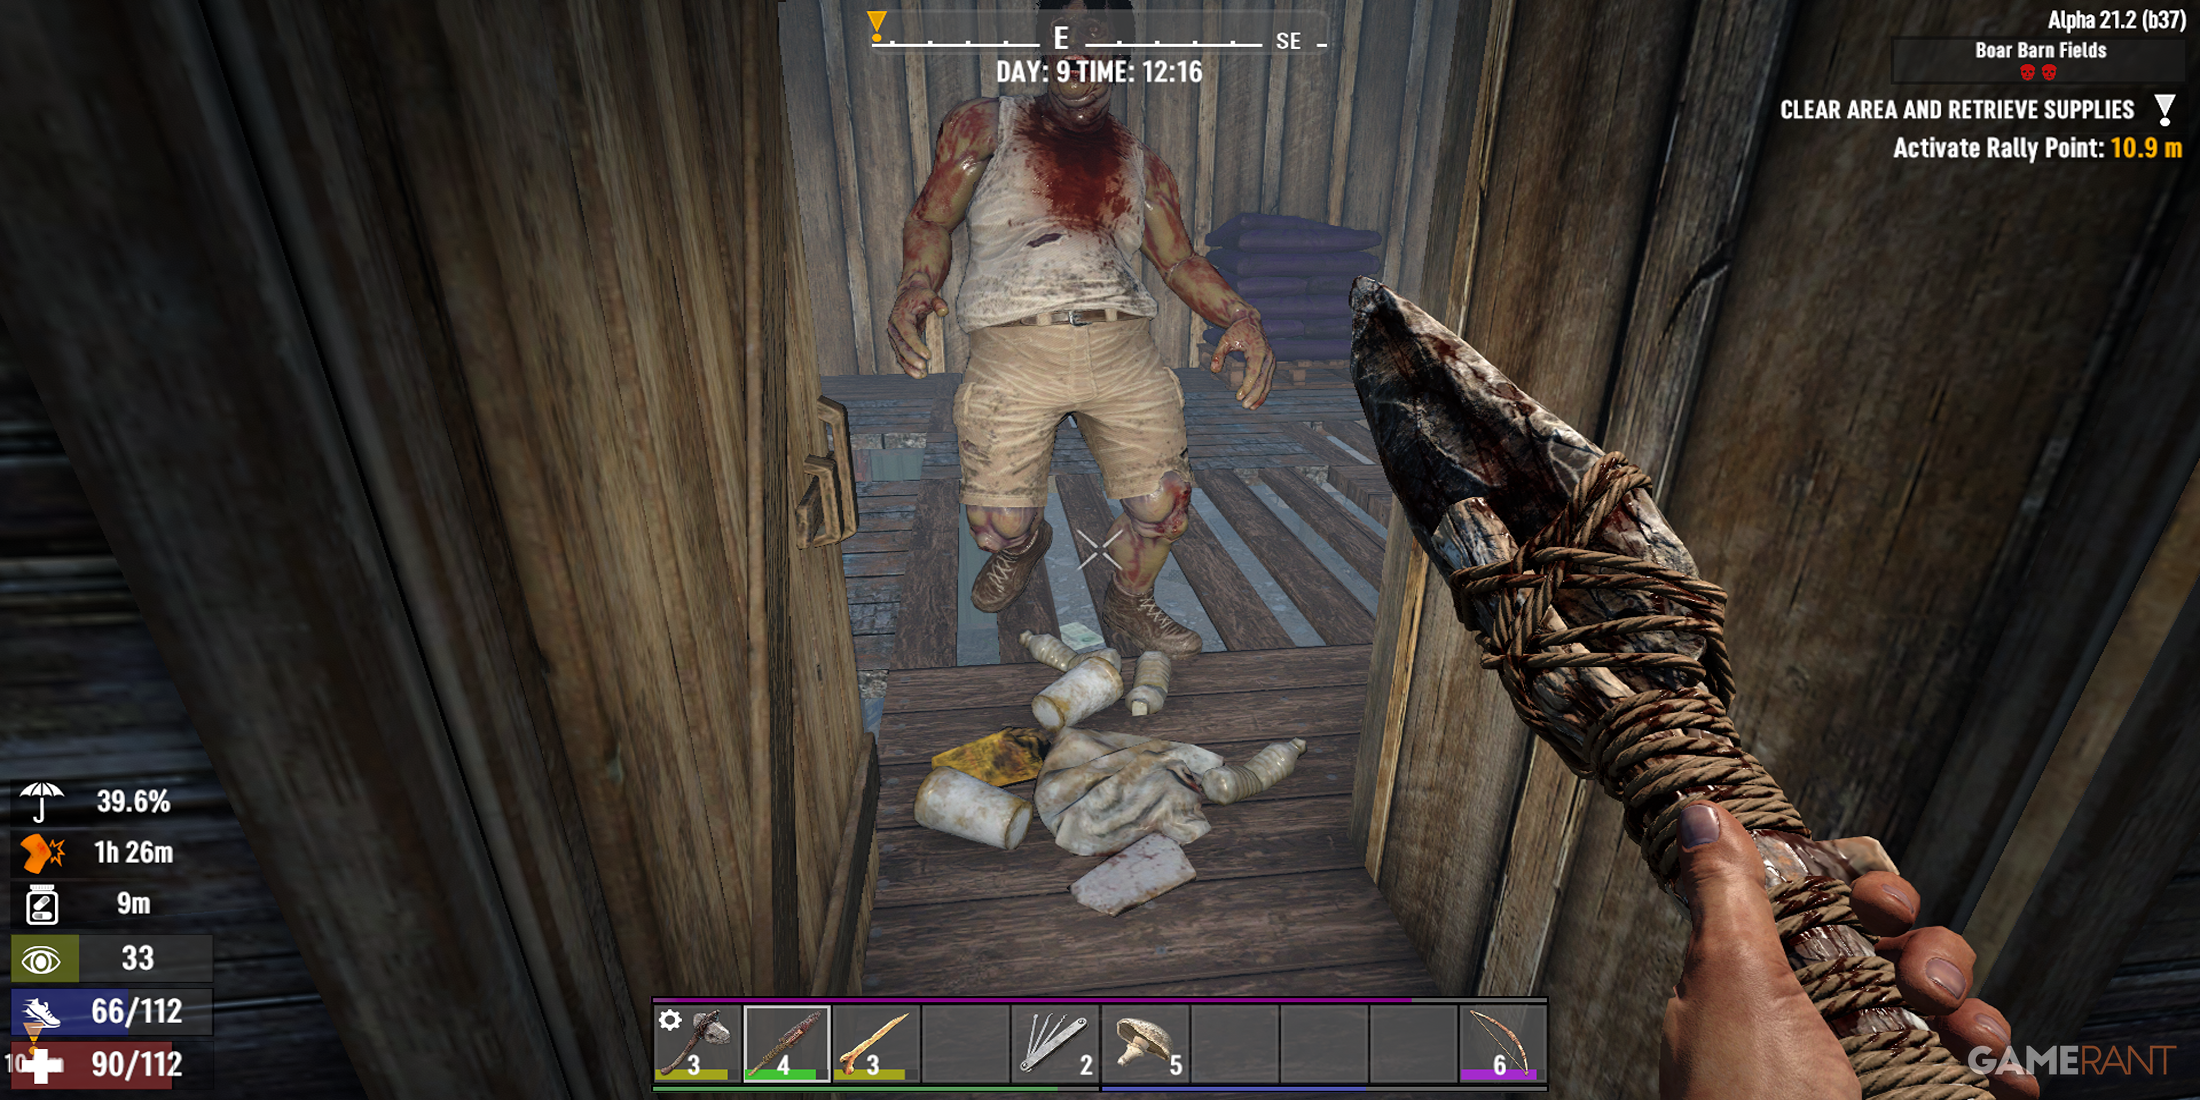
While a club can be pretty handy, the spear is superior when it comes to keeping zombies at bay. The bow and basic guns are the best early weapons in terms of ranged attacks. But for melee attacks, the spear is very effective at dealing a hefty amount of damage while also keeping zombies from getting too close.
The spear has a larger attack radius when compared to the club, so players will be able to strike zombies from further back. This can be particularly helpful when facing off against multiple zombies at the same time.
5 Focus On Completing Trader Missions
Highly Rewarding Work
Trader missions are excellent for gaining XP and resources. While the missions vary in the beginning, they are all pretty easy. Players should complete as many tier 1 trader missions as possible. Not only will the player be awarded healthy amounts of XP, but they will also get to select from a reward list upon completing a mission.
If the player selects missions that are within 500 meters, then it’s possible to complete several missions in a single day. Something else that’s worth noting is that mission locations can be looted twice. This only applies to fetch and clear missions, but if the player ignores the activation marker to start the mission, then they can loot the interior, head to the marker, activate it, and all of the items within the building or area will respawn. Basically, players can loot the same place twice.
6 Keep An Eye On The Time
Don’t Get Caught Out In The Dark
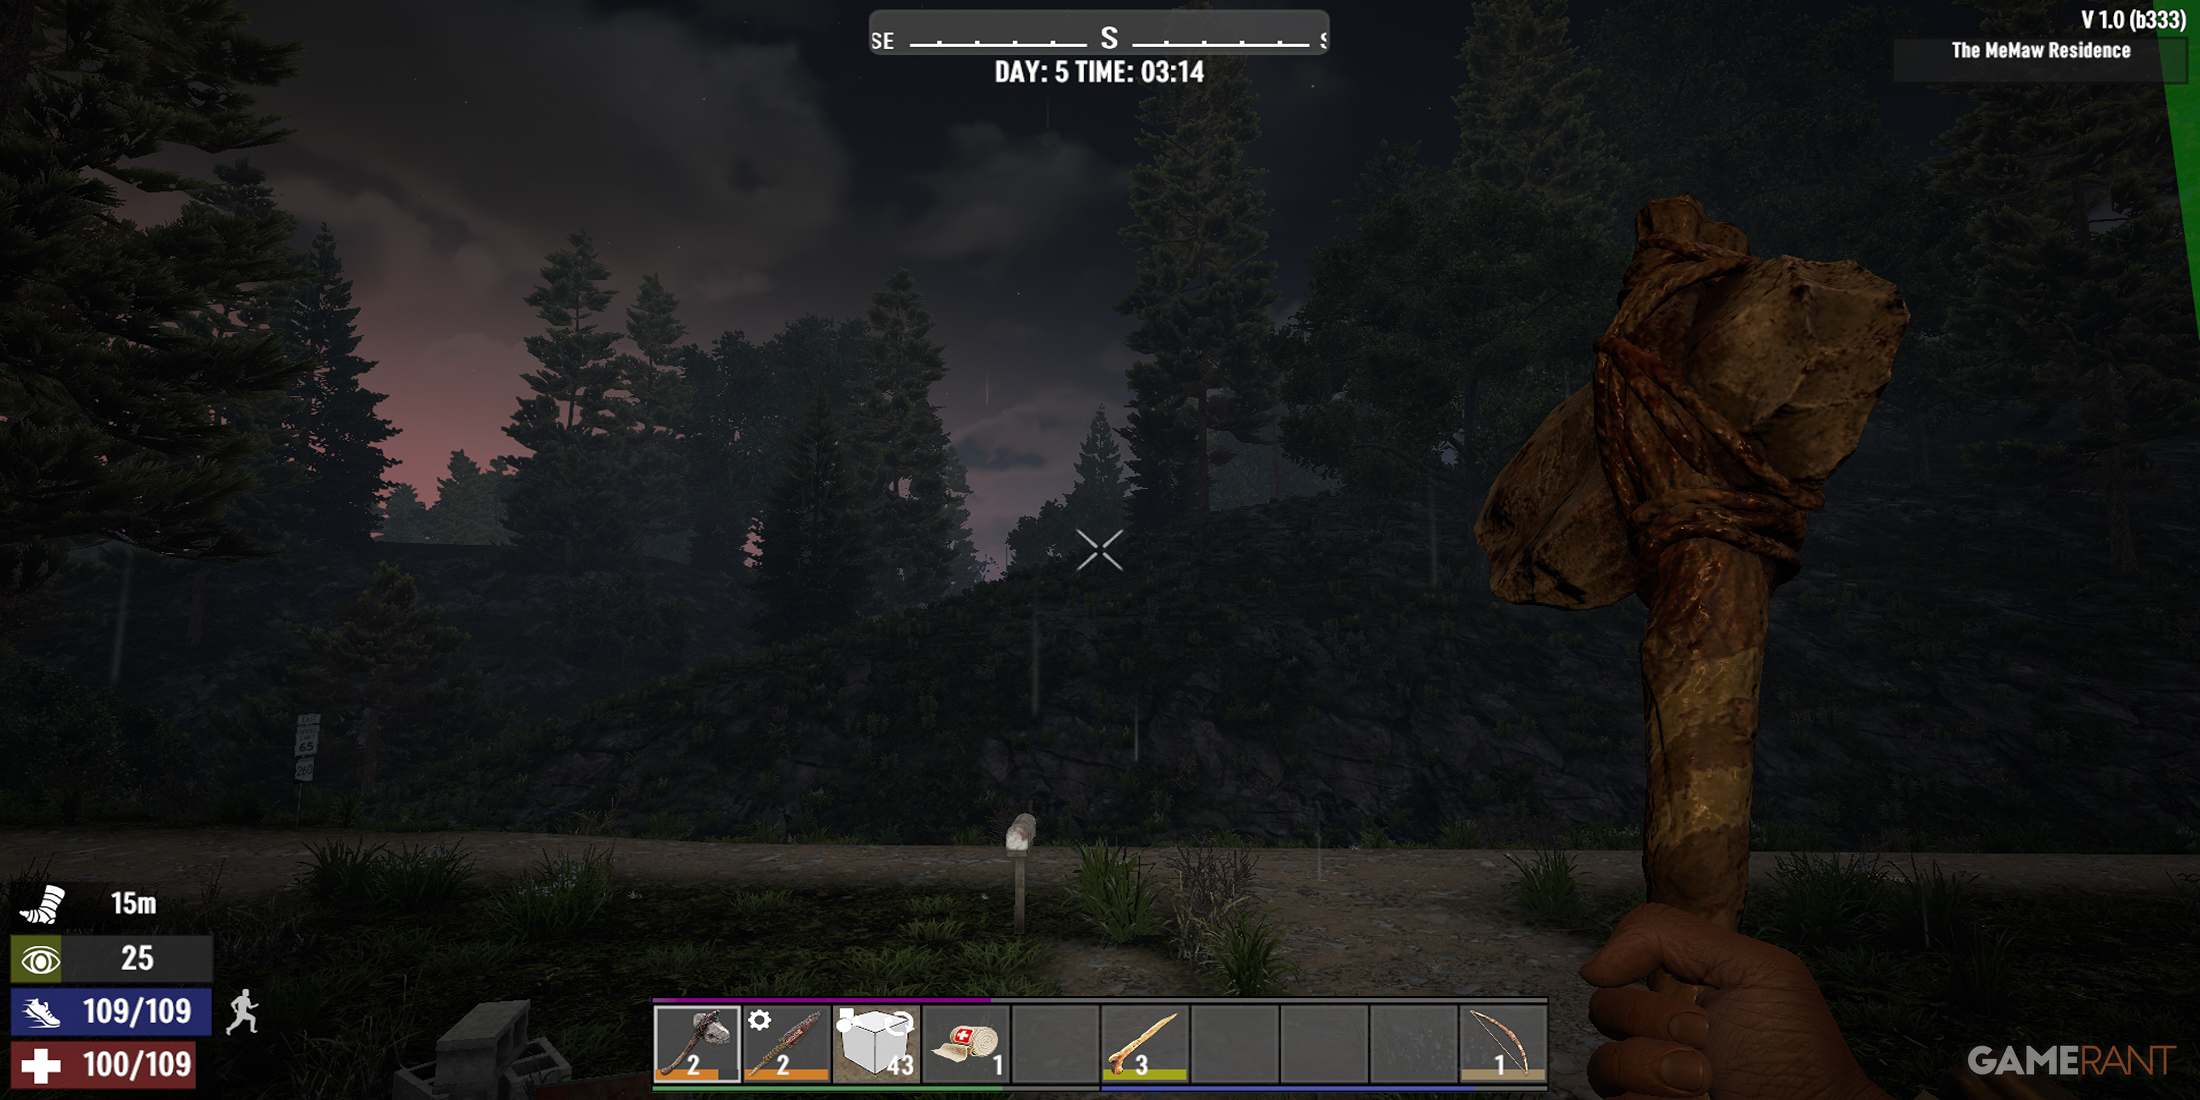
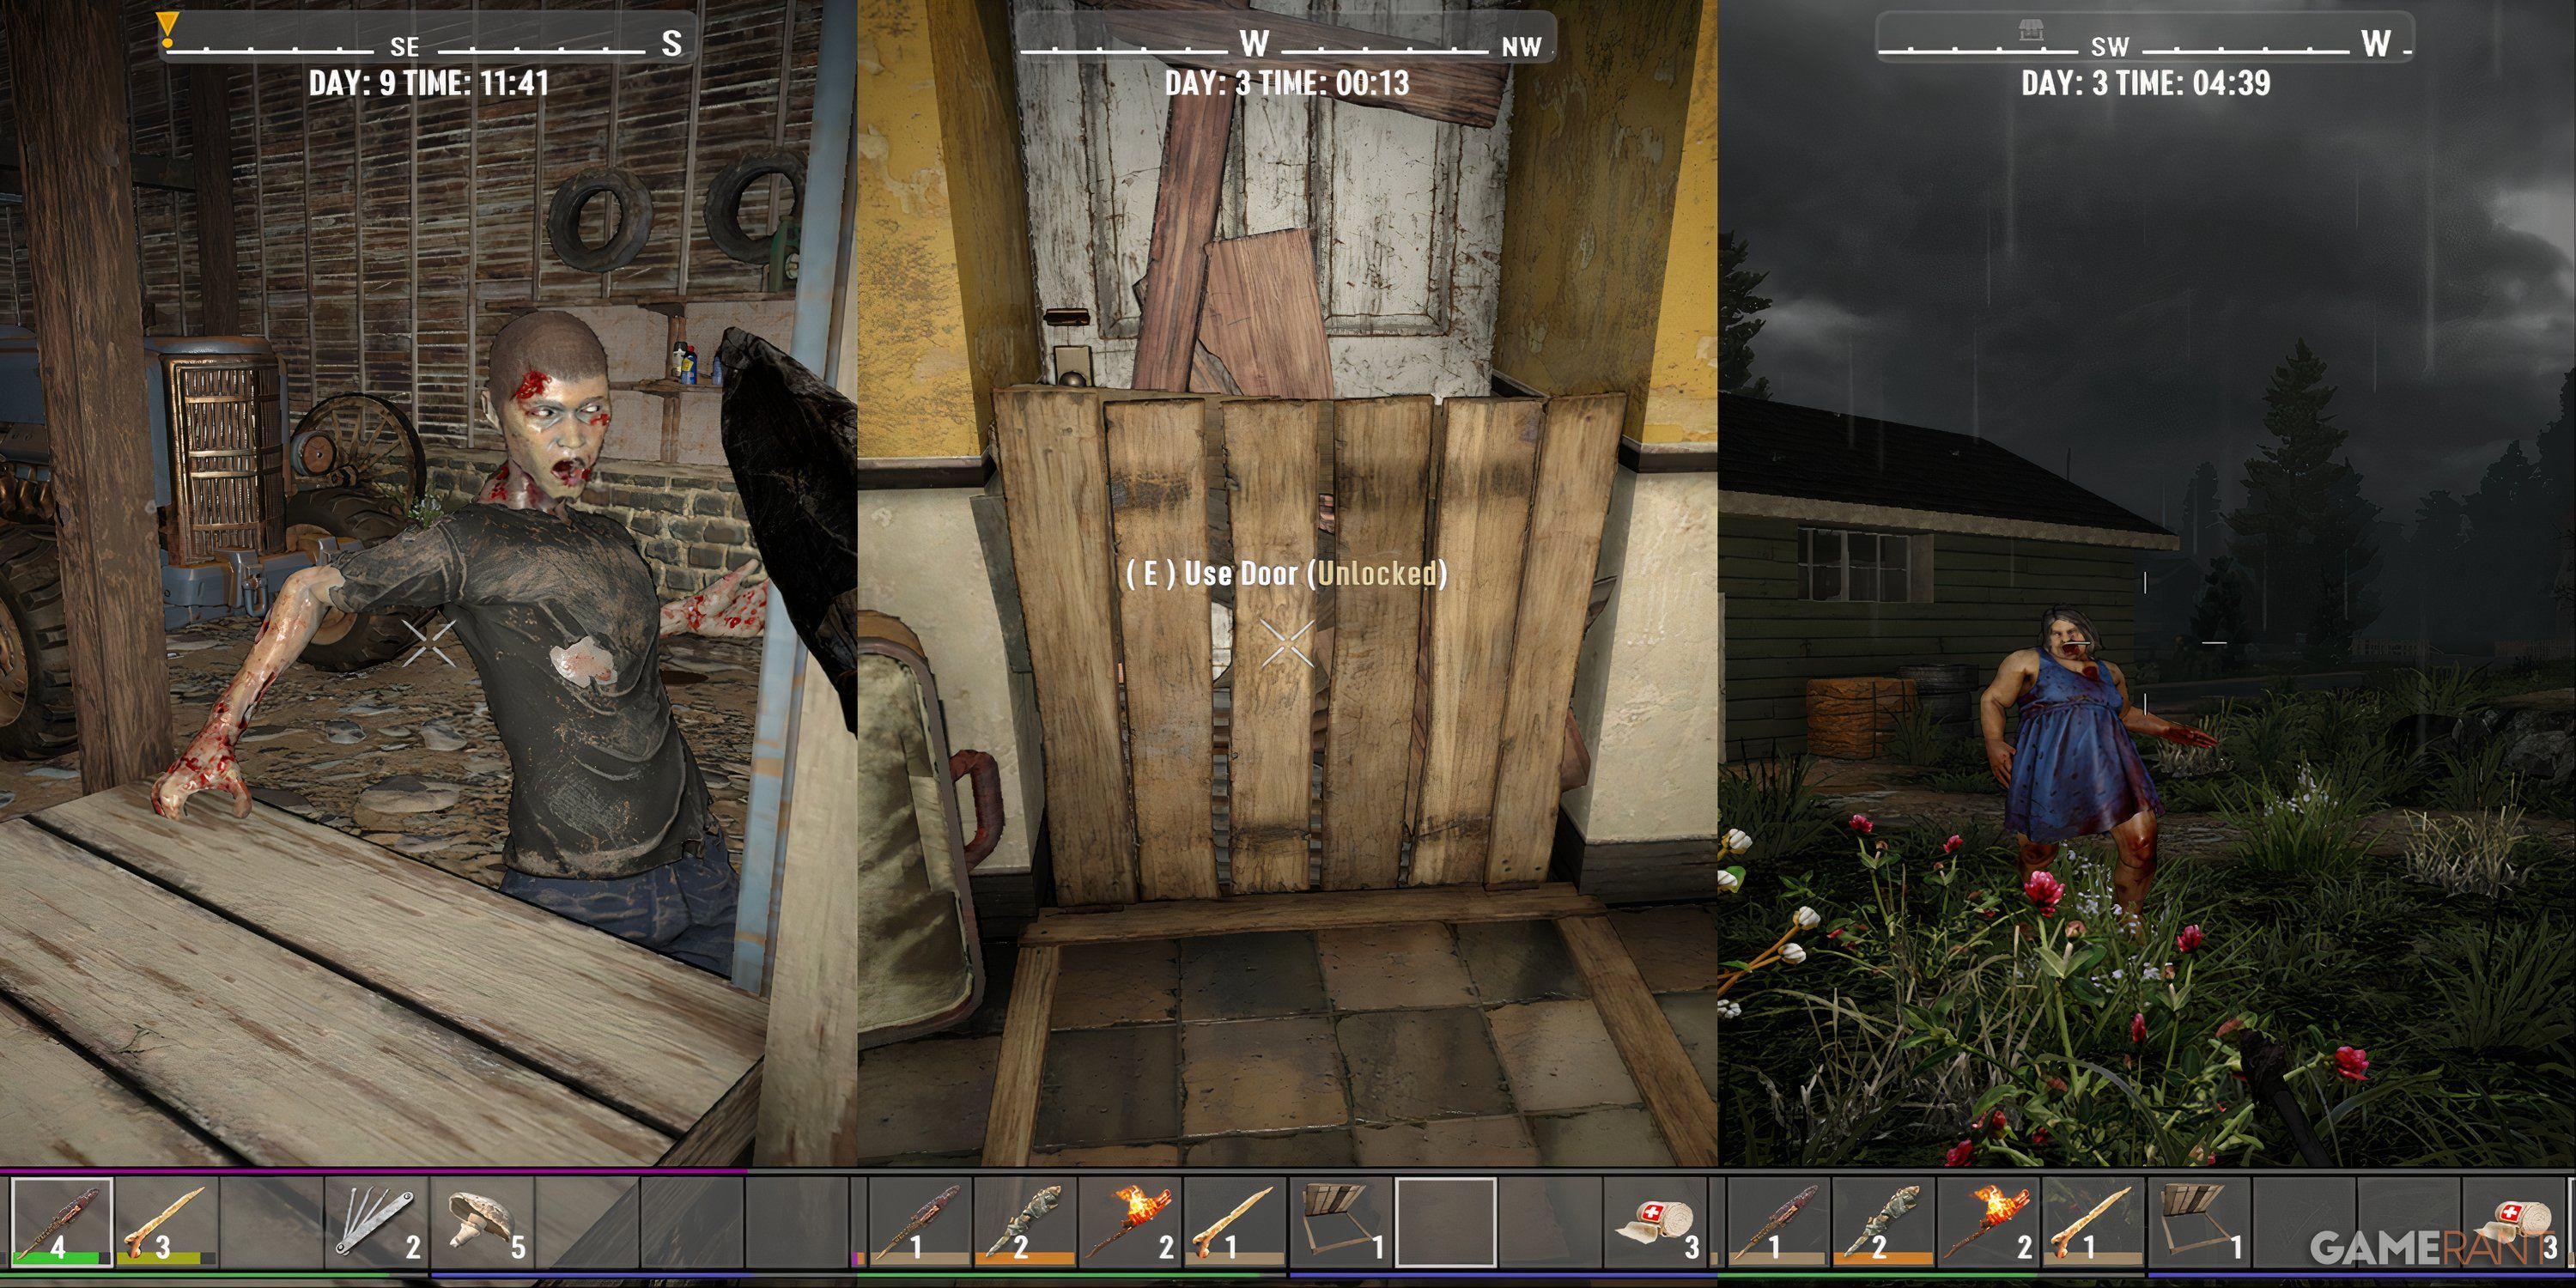
Nighttime is particularly perilous, especially in the early days. So, always keep an eye on time to prevent getting caught out after dark. If the player is using the normal settings, then between the hours of 10 pm and 4 am, zombies will run.
Related
7 Days To Die: How To Survive The First Blood Moon
Your first Blood Moon in 7 Days to Die can end your game early if you aren’t prepared. Follow these tips to survive until dawn.
To minimize the chances of having to run home in the dark, it’s best to try and return to base at least one hour before the zombies start to run. During the first week, it may be best to stay somewhat local to the player’s base, just to be safe.
7 Always Destroy Tree Stumps
A Chance To Find Honey
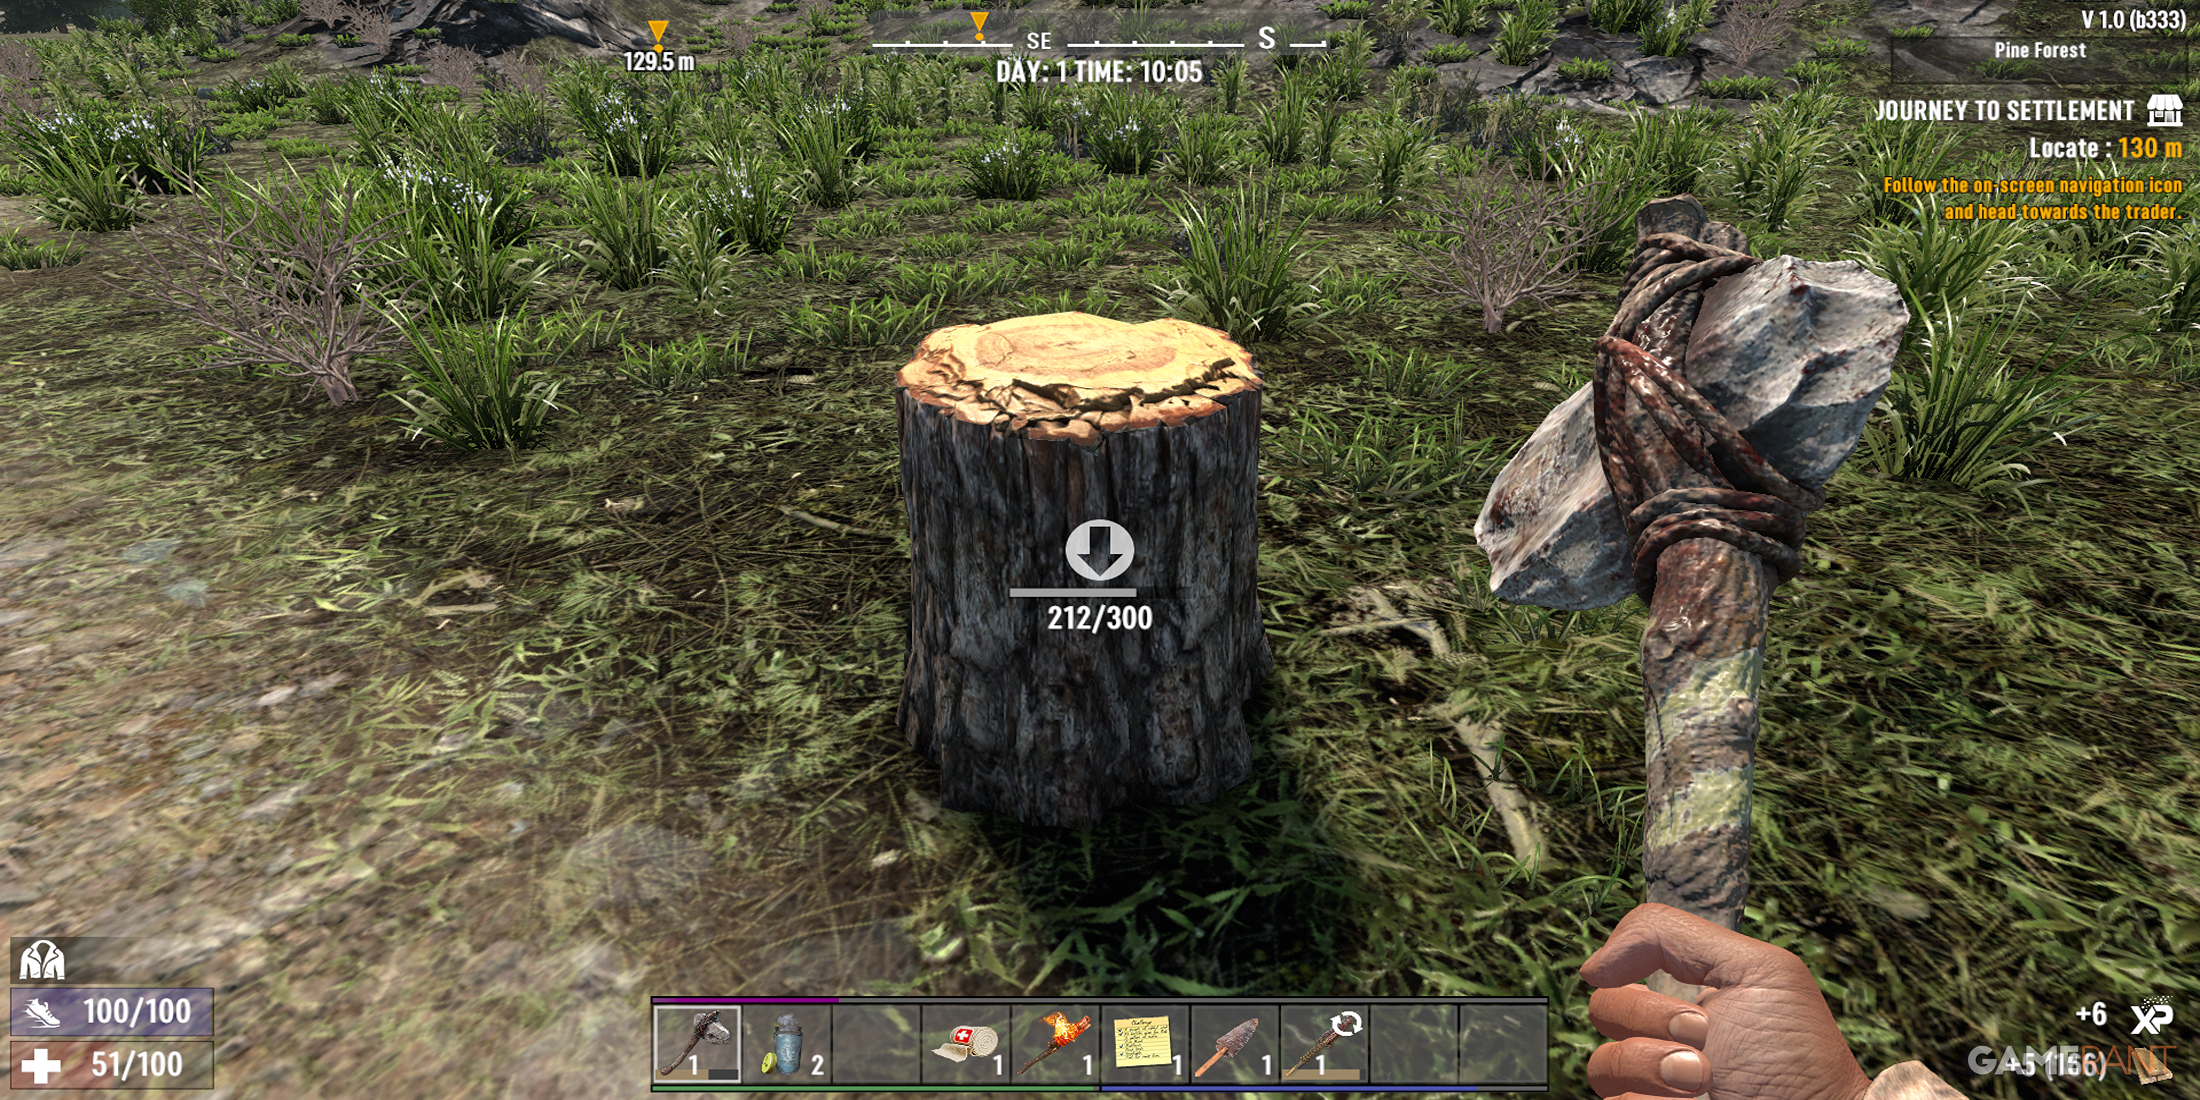
Players will find tree stumps all over the map. They are typically pretty easy to spot. It’s always worth grabbing an axe and taking down the tree stump. Not only does the player receive wood, but there’s a 25% chance that they will receive honey when the tree stump has been destroyed.
For those who don’t know, honey cures infections. If the player has been hit by a zombie and becomes infected, provided that their infection level doesn’t go past 5%, then honey will work to remove the infection. It’s also a good little snack that players can munch on to keep their hunger bar satisfied.
8 Get A Cooking Pot Early On
Crucial For Making The Essentials
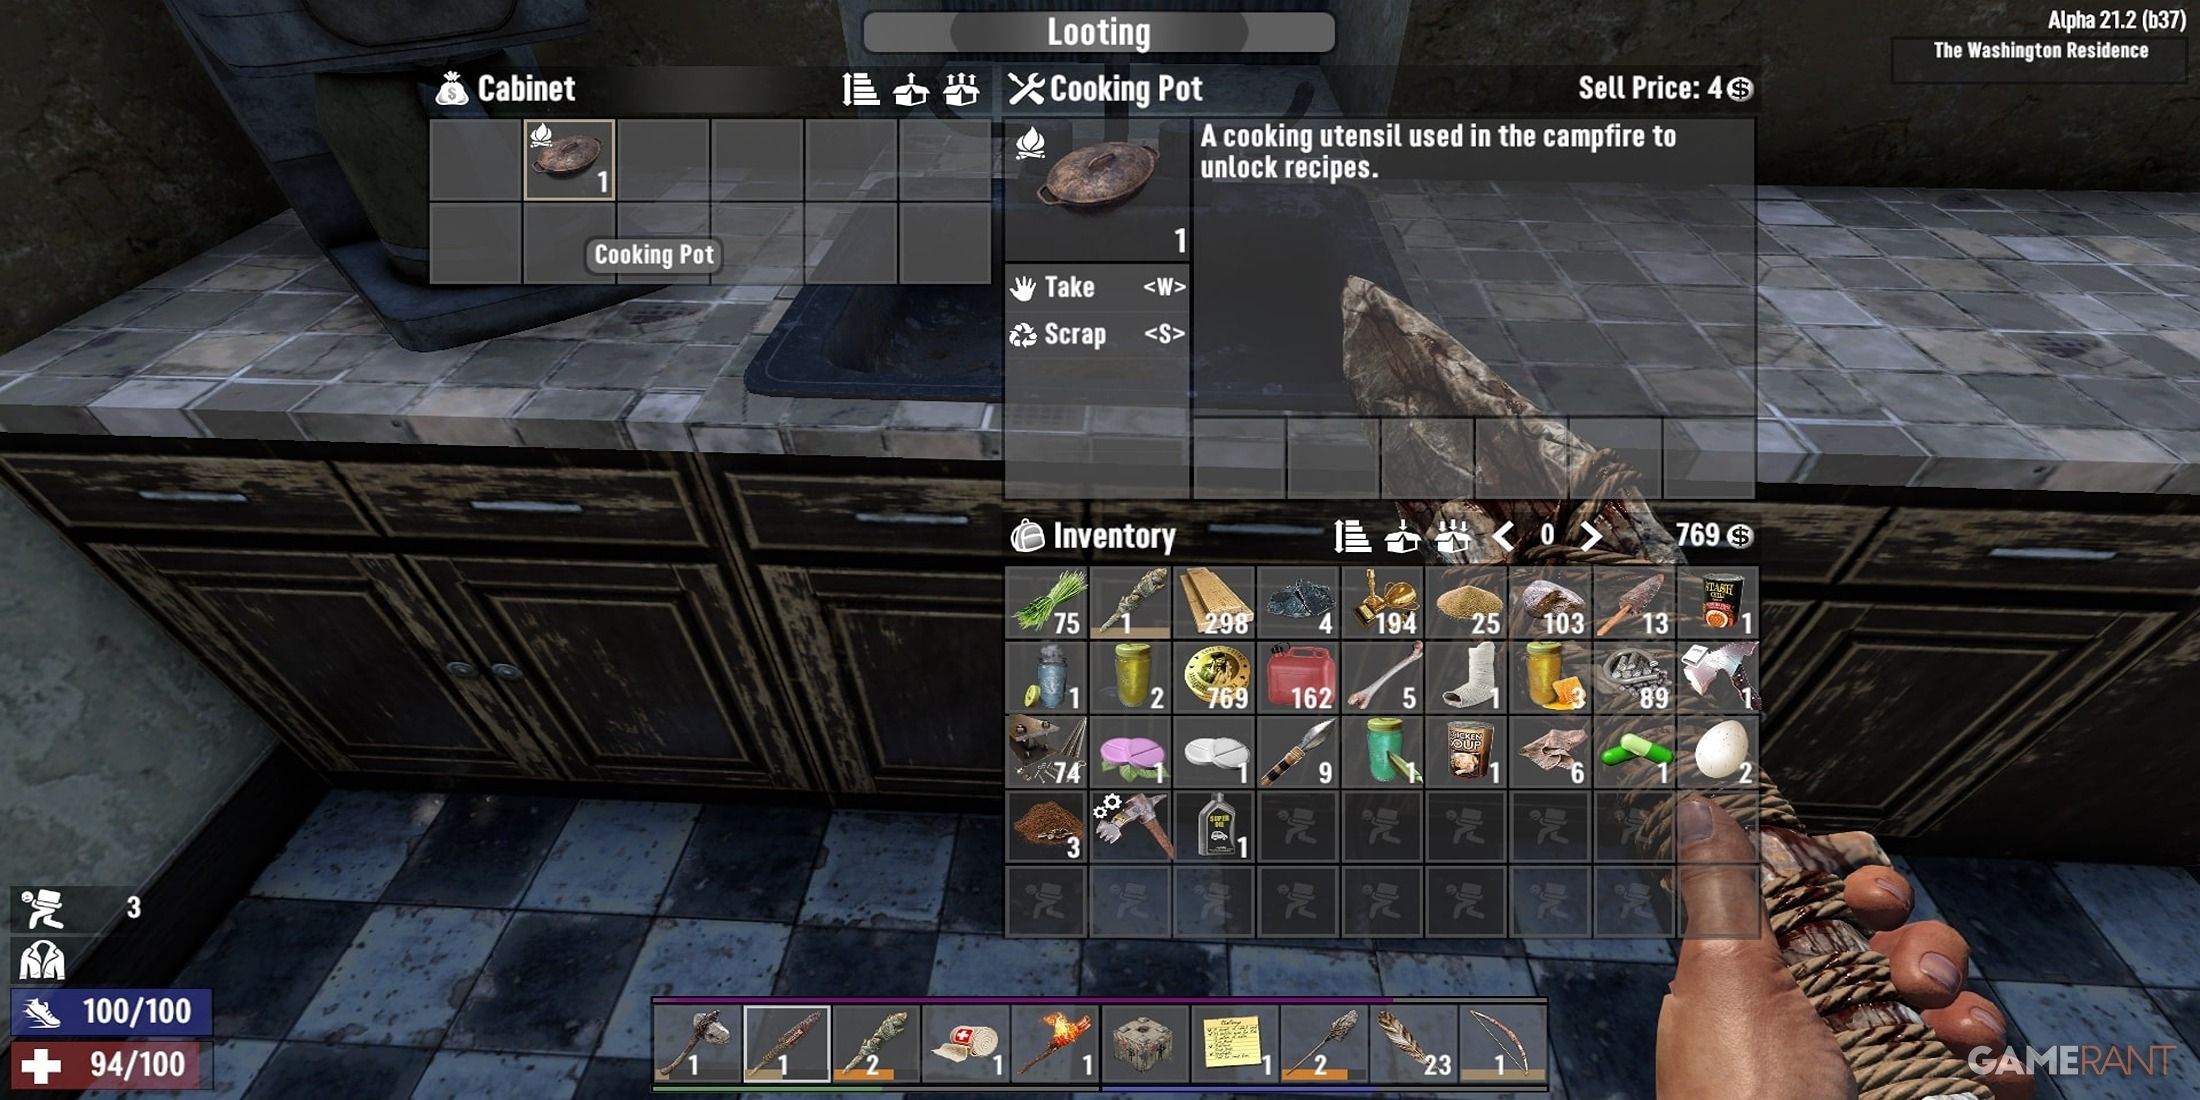
A campfire is pretty useless without a cooking pot. Players can’t boil murky water or cook basic meals without a cooking pot. Thankfully, cooking pots are typically easy to find. Players should check inside stoves, underneath sinks, and on top of kitchen counters, as these are the places with the highest chances of spawning a cooking pot.
Should the player struggle to find a cooking pot, then they should check with a nearby trader as there’s a chance that they will have one in their inventory. However, it will cost at least a couple of hundred Dukes.
9 Set Up A Dew Collector As Soon As Possible
Keep Well-Hydrated
Water can be hard to come by early on. While players can take their chances by drinking murky water or by drinking directly from lakes or rivers, dysentery can be a real pain to deal with. A Dew Collector is a great way of generating water passively.

Related
Best Zombie Games With Base Building, Ranked
Most zombie survival games have some form of base building, but several stand out above the rest.
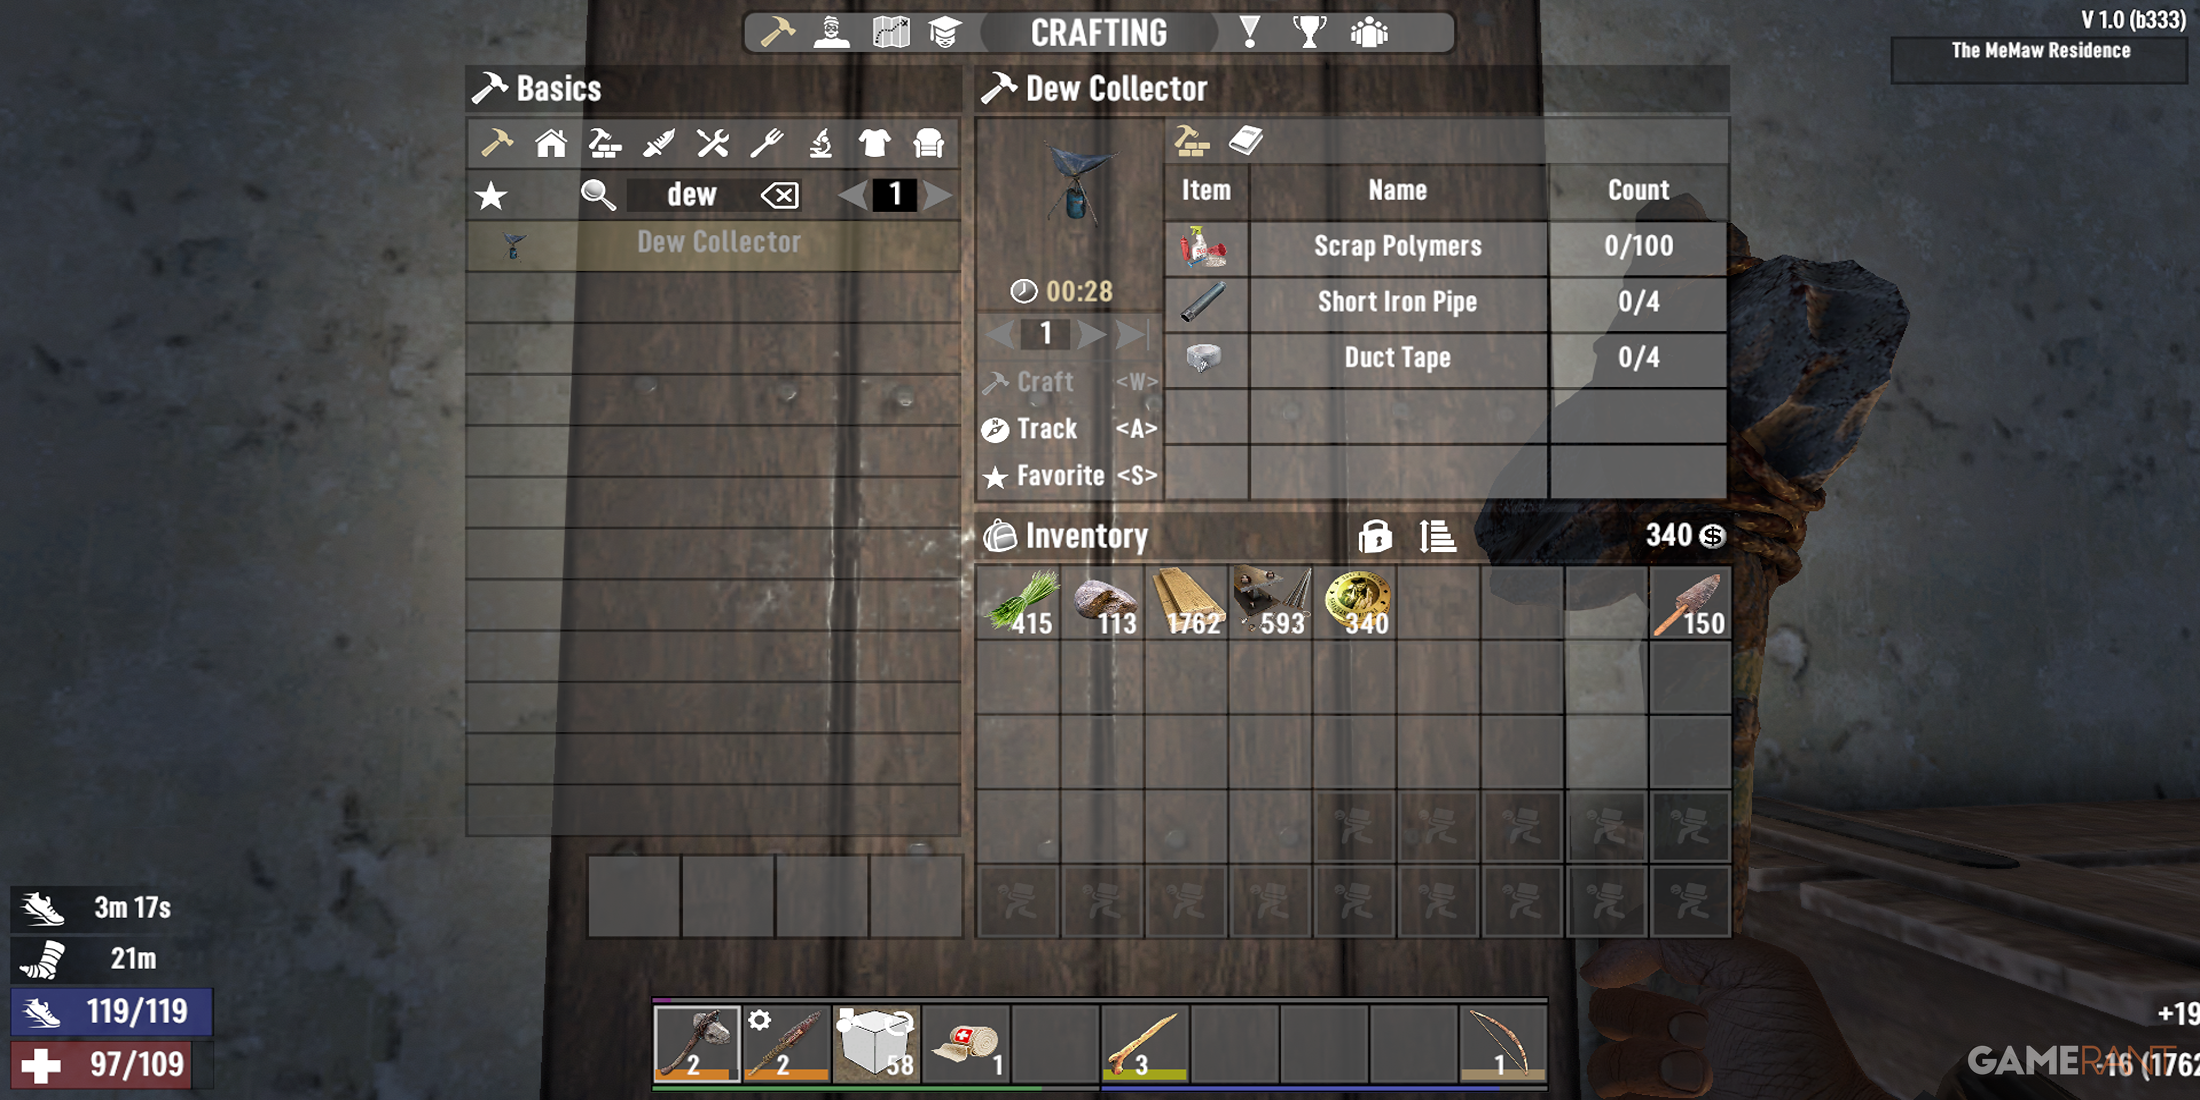
It doesn’t produce water particularly quickly, but it should produce enough to keep players from getting too dehydrated. Crafting a Dew Collector costs 100 Scrap Polymers, 4 Short Iron Pipes, and 4 Duct Tape. If players don’t have the materials, then they can save up their Dukes and buy some of the pieces from a trader. It’s important to note that the Dew Collector won’t work if there is a block above it. It needs to be able to collect moisture from the sky, so place it somewhere nice and open.
10 Look Closely For Hidden Loot
Check Every Corner
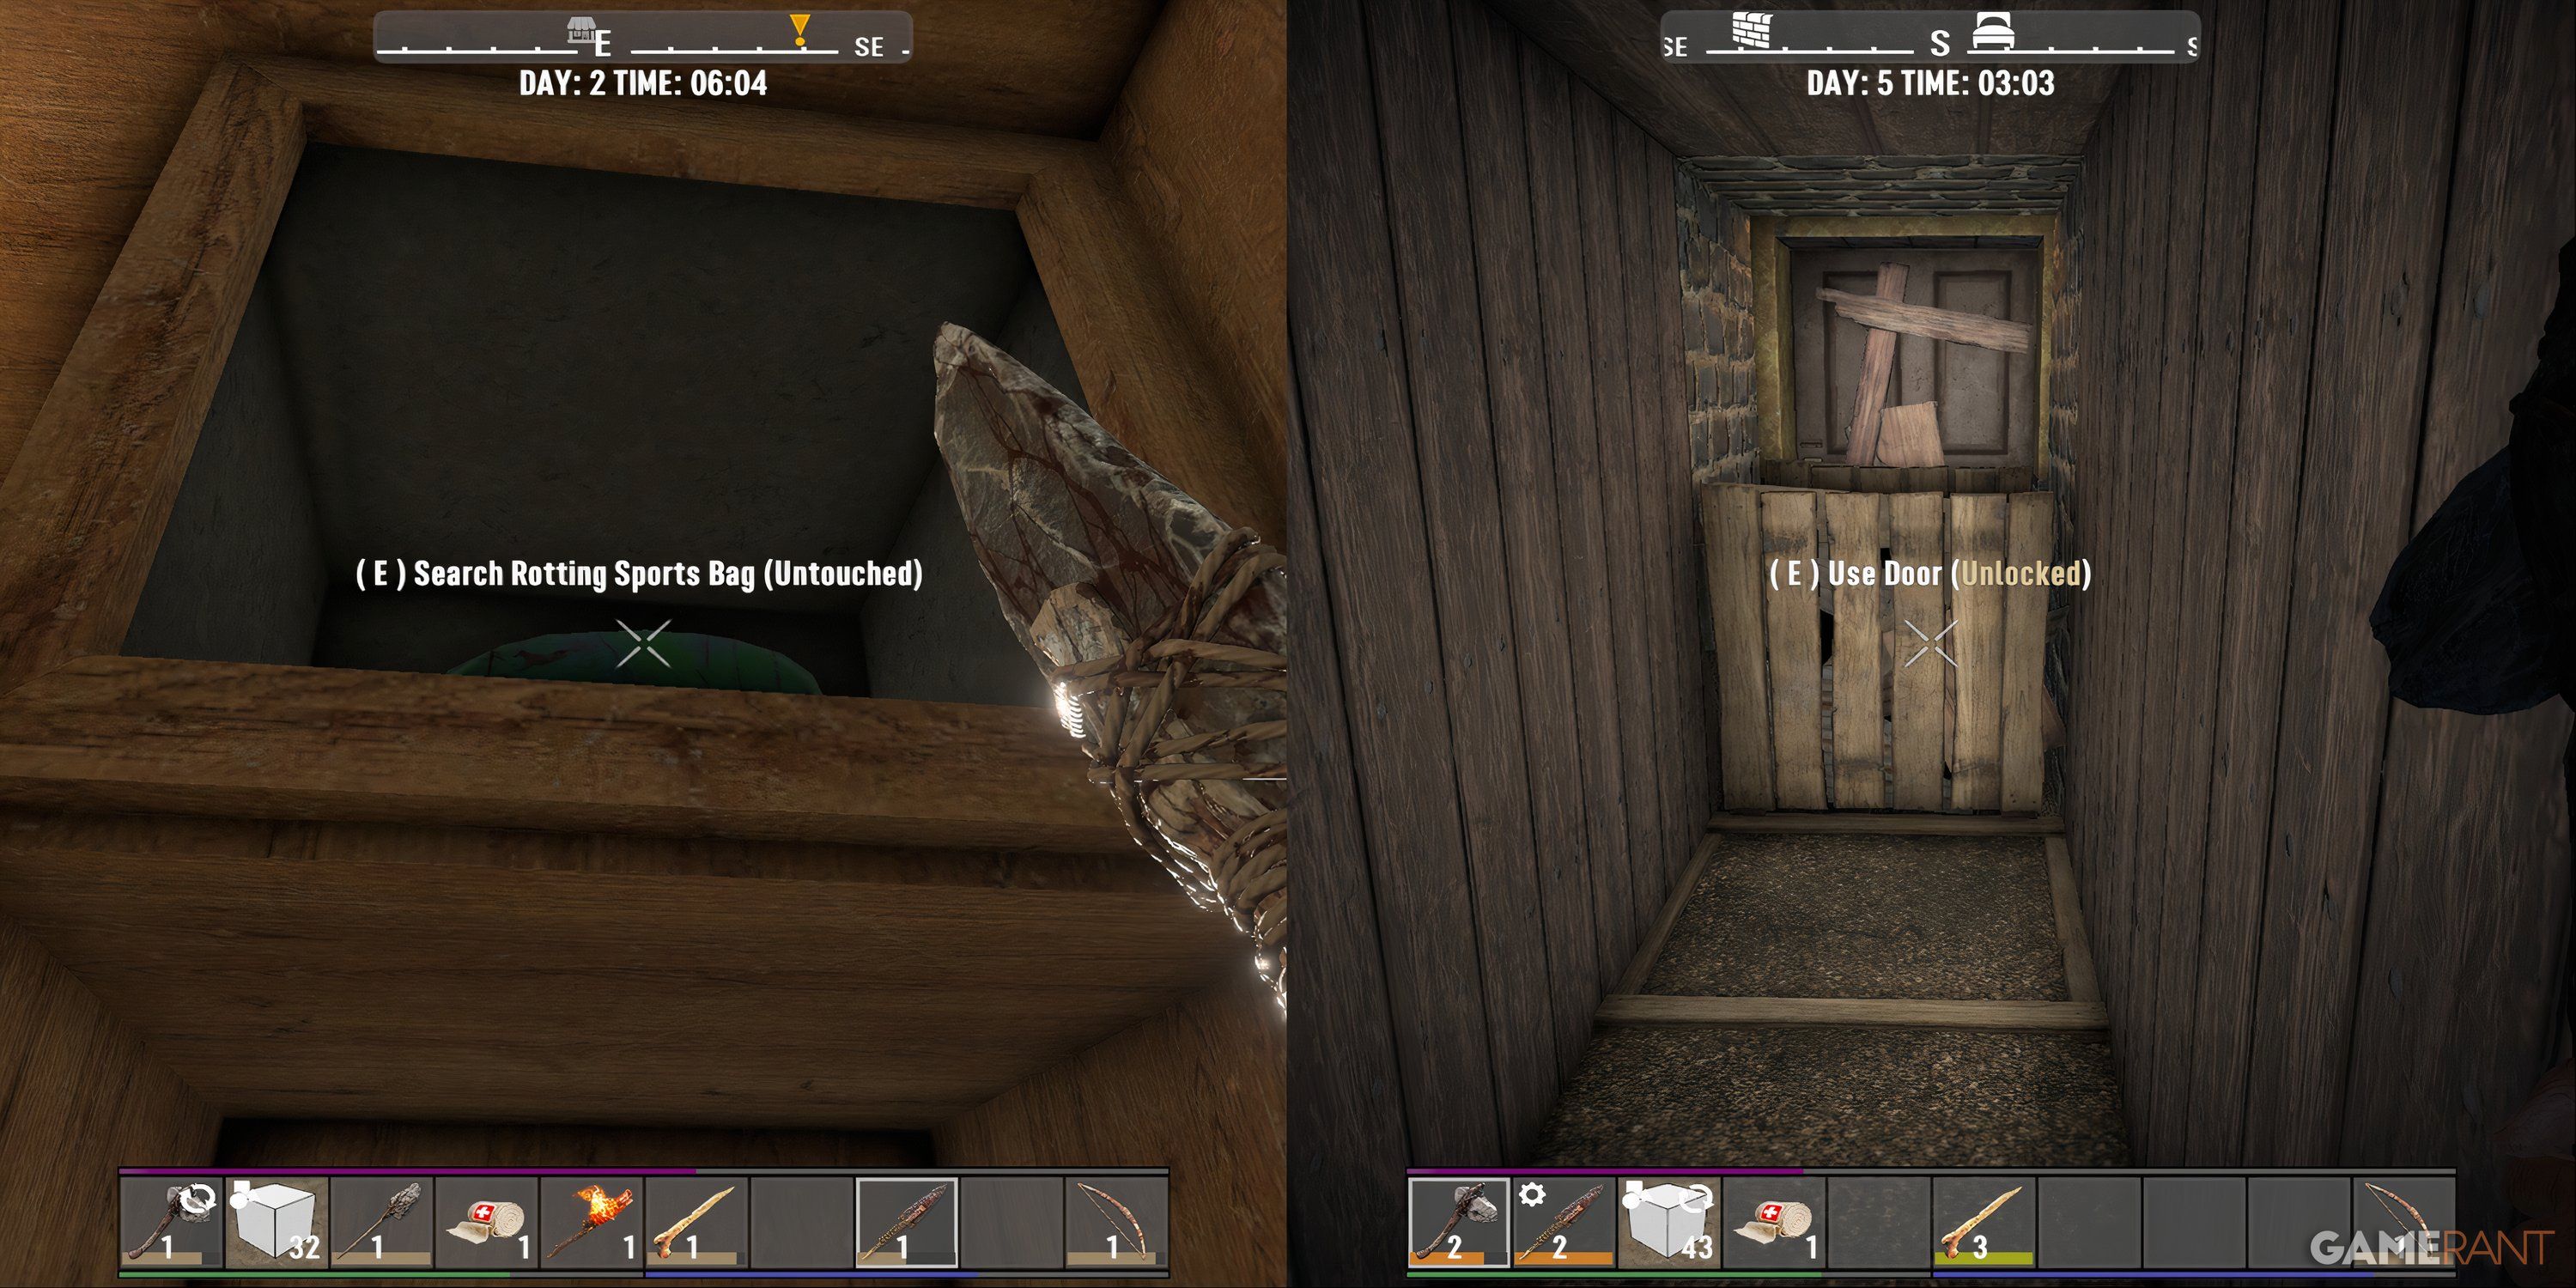
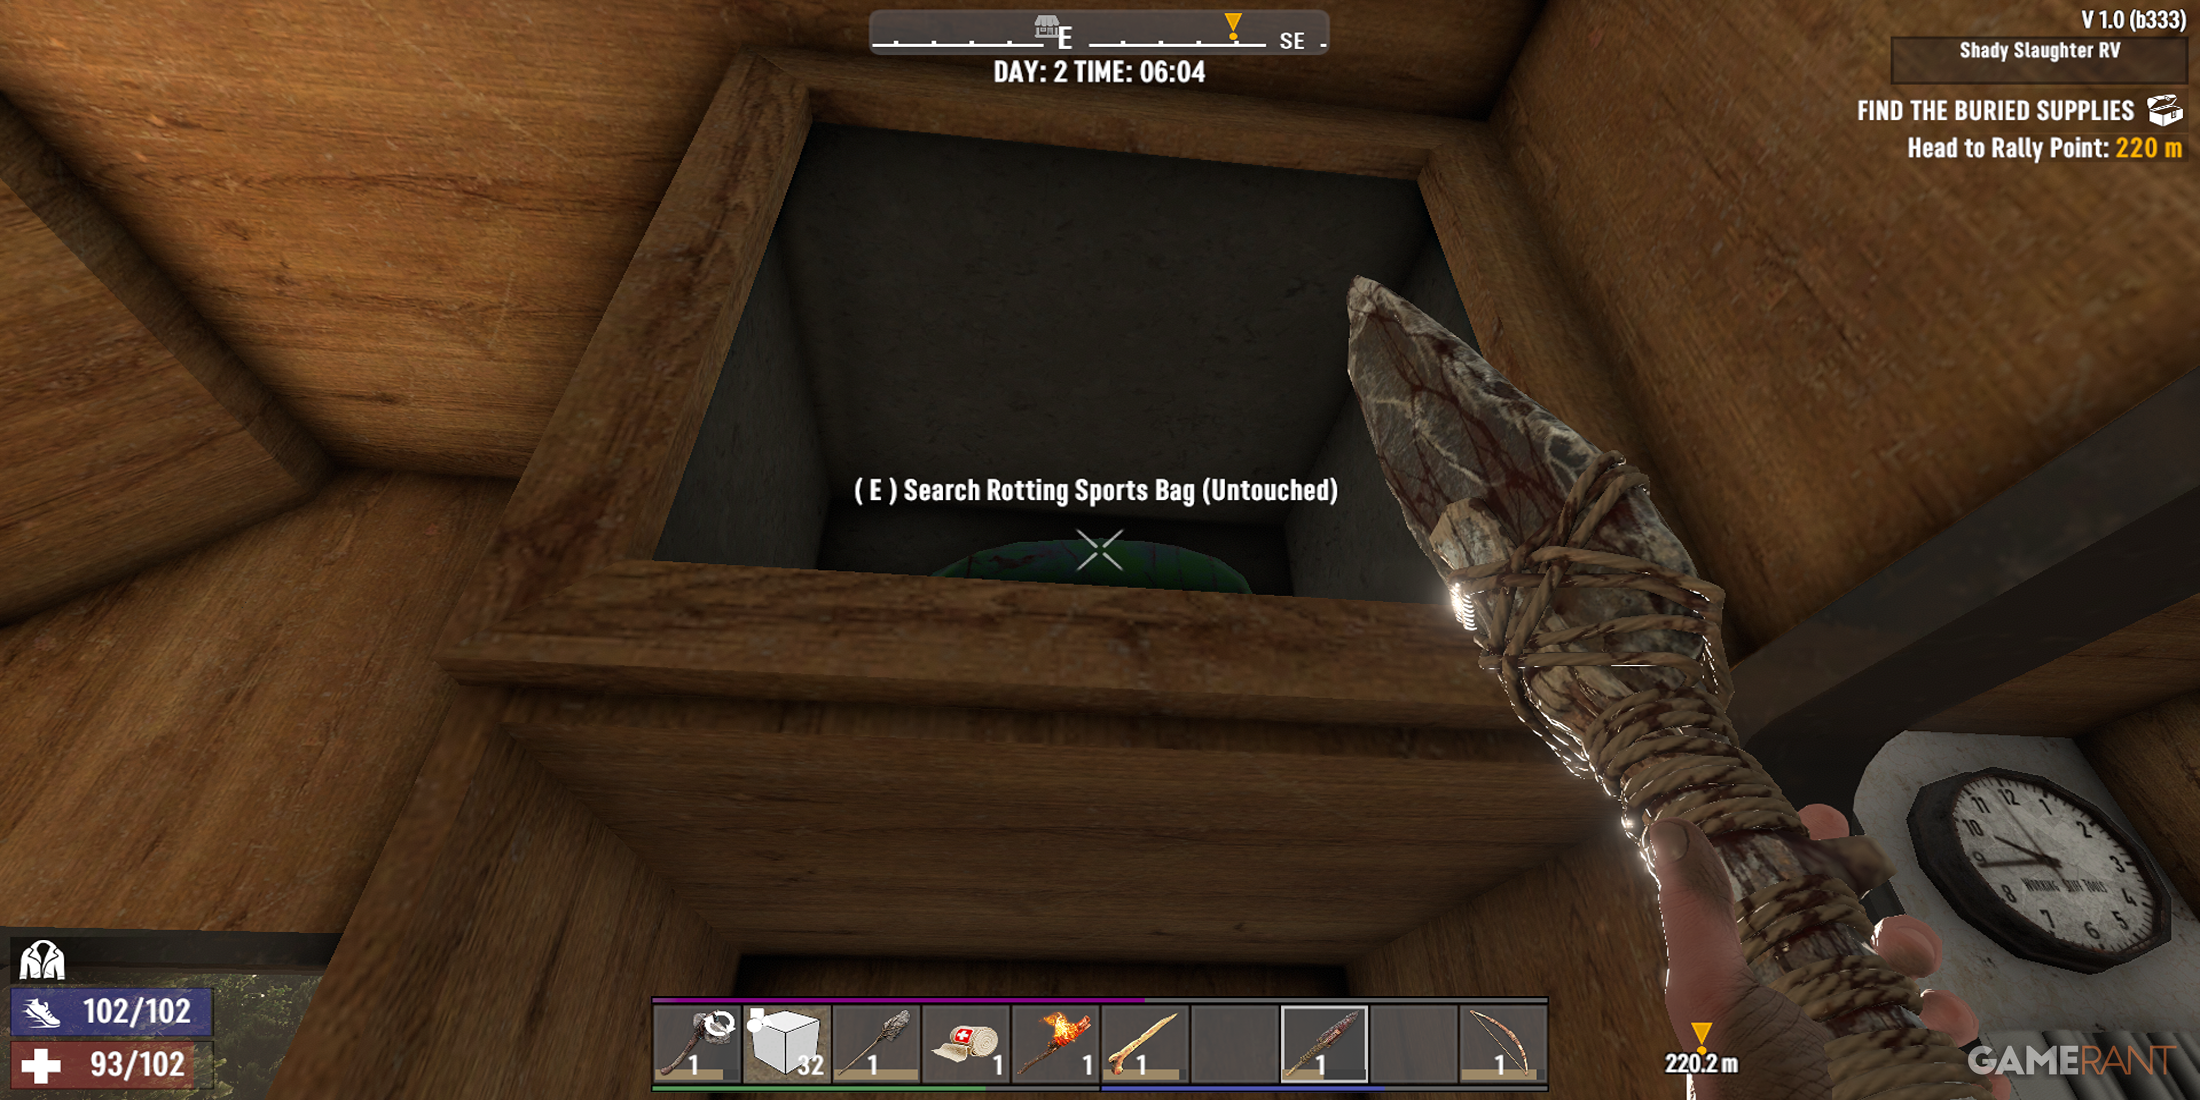
Loot is everywhere in 7 Days To Die. Players can search containers, vehicles, trash piles, and more to find all sorts of goodies. Most places in the game will have some sort of hidden loot pile located within. There are lots of areas that players may miss while looting. Be sure to check places like behind paintings, underneath loose floorboards, and crawlspaces, as there’s normally something interesting to be found.
Players will come across backpacks, purses, and other hidden containers if they think outside the box while looting. These containers can have anything from food and meds to weapons and ammo, so it’s worth checking every corner for goodies.
7 Days to Die
- Released
- November 22, 2014
- Developer(s)
- The Fun Pimps

/cdn.vox-cdn.com/uploads/chorus_asset/file/25301215/STK463_SCOTUS_B.jpg)
