Hogwarts Legacy features plenty of great side quests, but the best one is arguably a PlayStation exclusive. “Minding Your Own Business” is an hour-long epic that feels like it belongs in a psychological horror game rather than in a game that was inspired by a book series that was originally written for kids.
Every Exclusive Quest In Hogwarts Legacy
The House a player chooses in Hogwarts Legacy affects gameplay, mostly cosmetic, but with one big mechanical change: House Exclusive Quests.
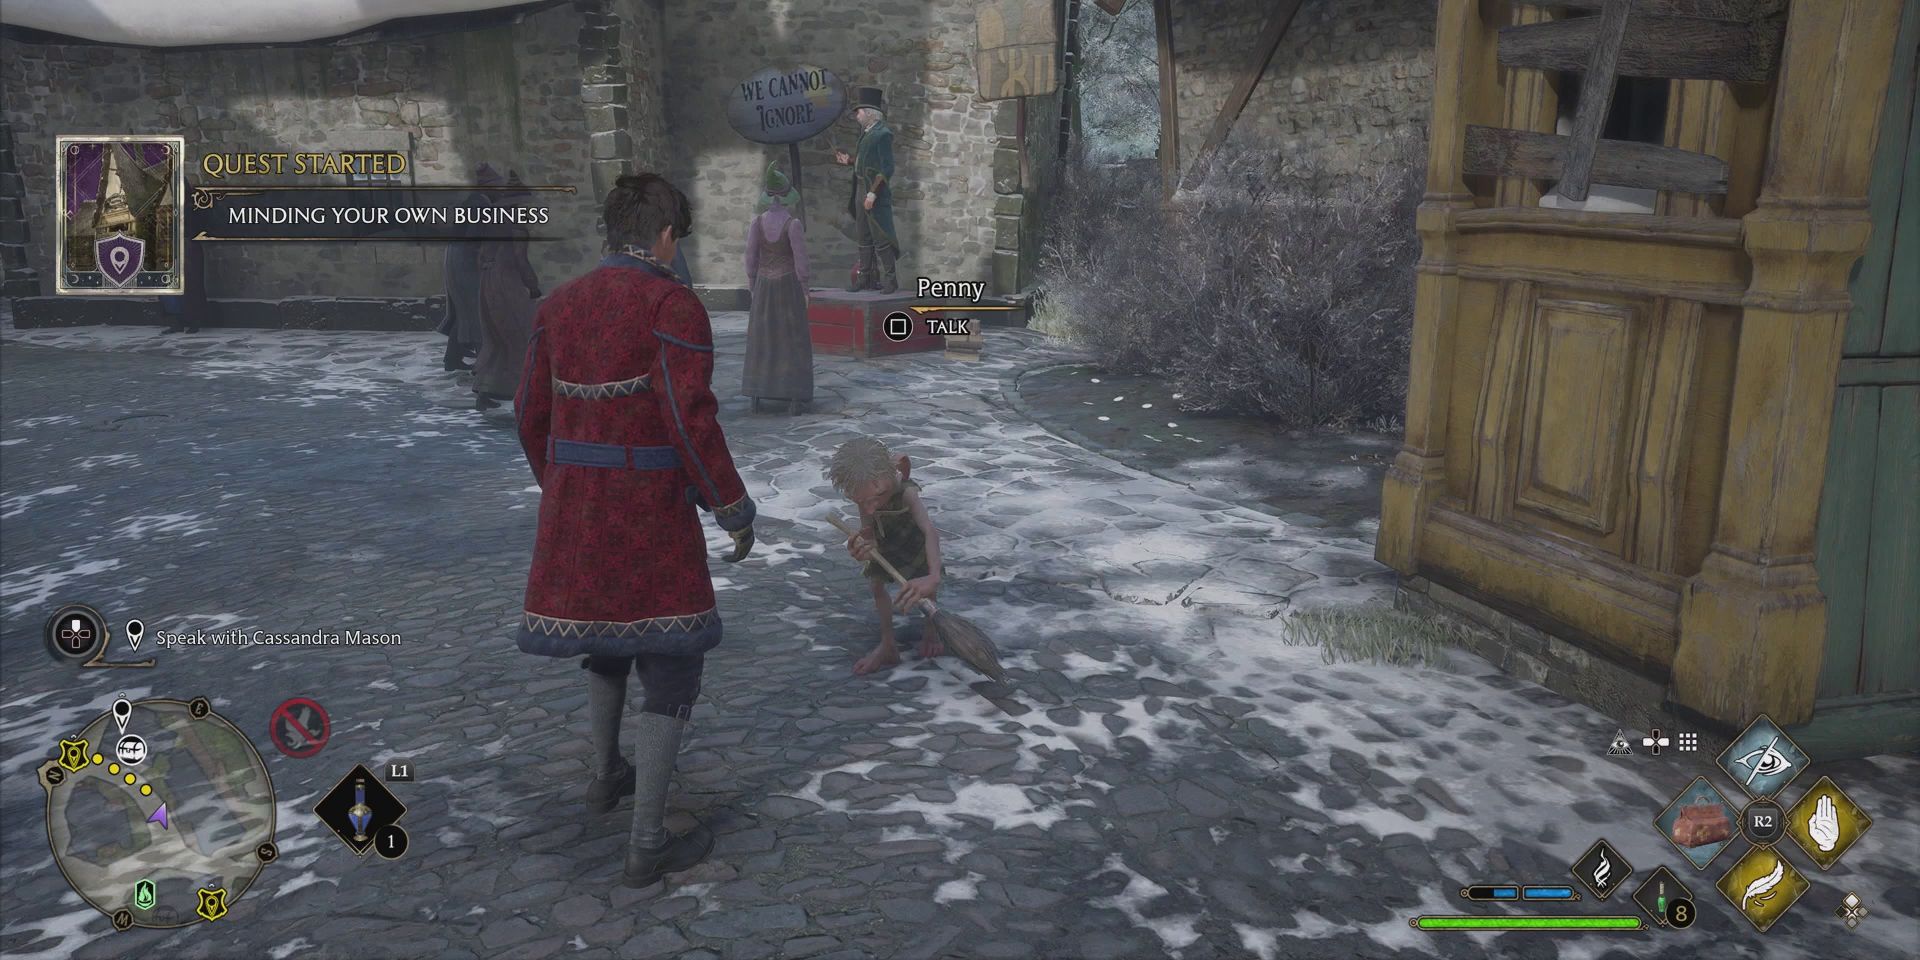
“Minding Your Own Business” becomes available once players have unlocked the “Fire and Vice” main story quest. To get started, they’ll simply need to speak with Penny, a House Elf who can be found standing outside a vacant store in Hogsmeade. What follows is easily the most intense side quest that Hogwarts Legacy has to offer.
Updated February 10, 2024, by Tom Bowen: With today marking the one-year anniversary of Hogwarts Legacy, many had been hoping that the Minding Your Own Business side quest would finally be coming to other platforms. Sadly, however, although the developers have confirmed that the quest will be coming to PC, Xbox, and Switch at some point in the future, it appears as though Minding Your Own Business will remain a PlayStation exclusive until the summer of 2024, at the very least. To mark the game’s anniversary and better prepare non-PlayStation players for what’s eventually in store for them, this Minding Your Own Business walkthrough has been updated to include some additional information as well as a few extra links.
How to Start the Minding Your Own Business Side Quest in Hogwarts Legacy
After speaking with Penny, Hogwarts Legacy players will be prompted to talk to the vacant store’s owner, Cassandra Mason, who can be found outside her home nearby in Hogsmeade. She’ll agree to sell the store to them for 1,500 Galleons, so players should pay up and then make their way back to their brand-new business. After a few casts of Reparo, the store is ready to open to the public, though players will first need to unlock the mysterious chest that Cassandra mentioned.
Explore What Lies Below
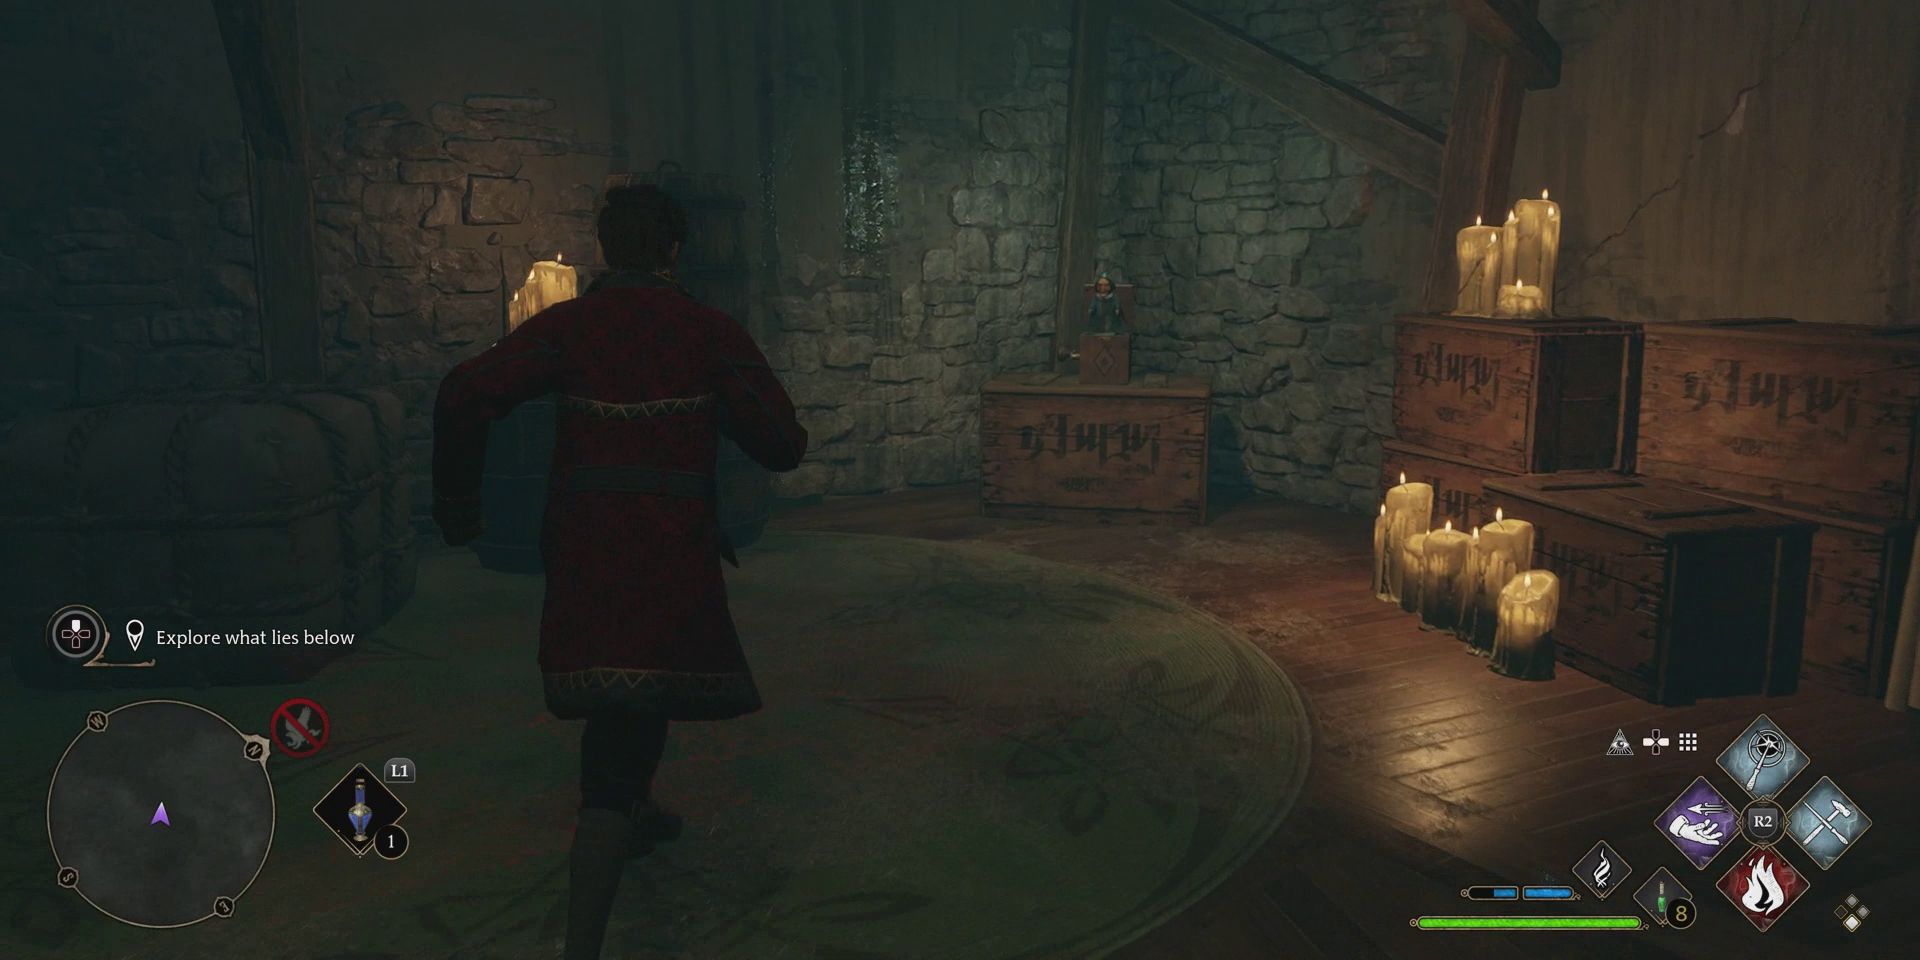
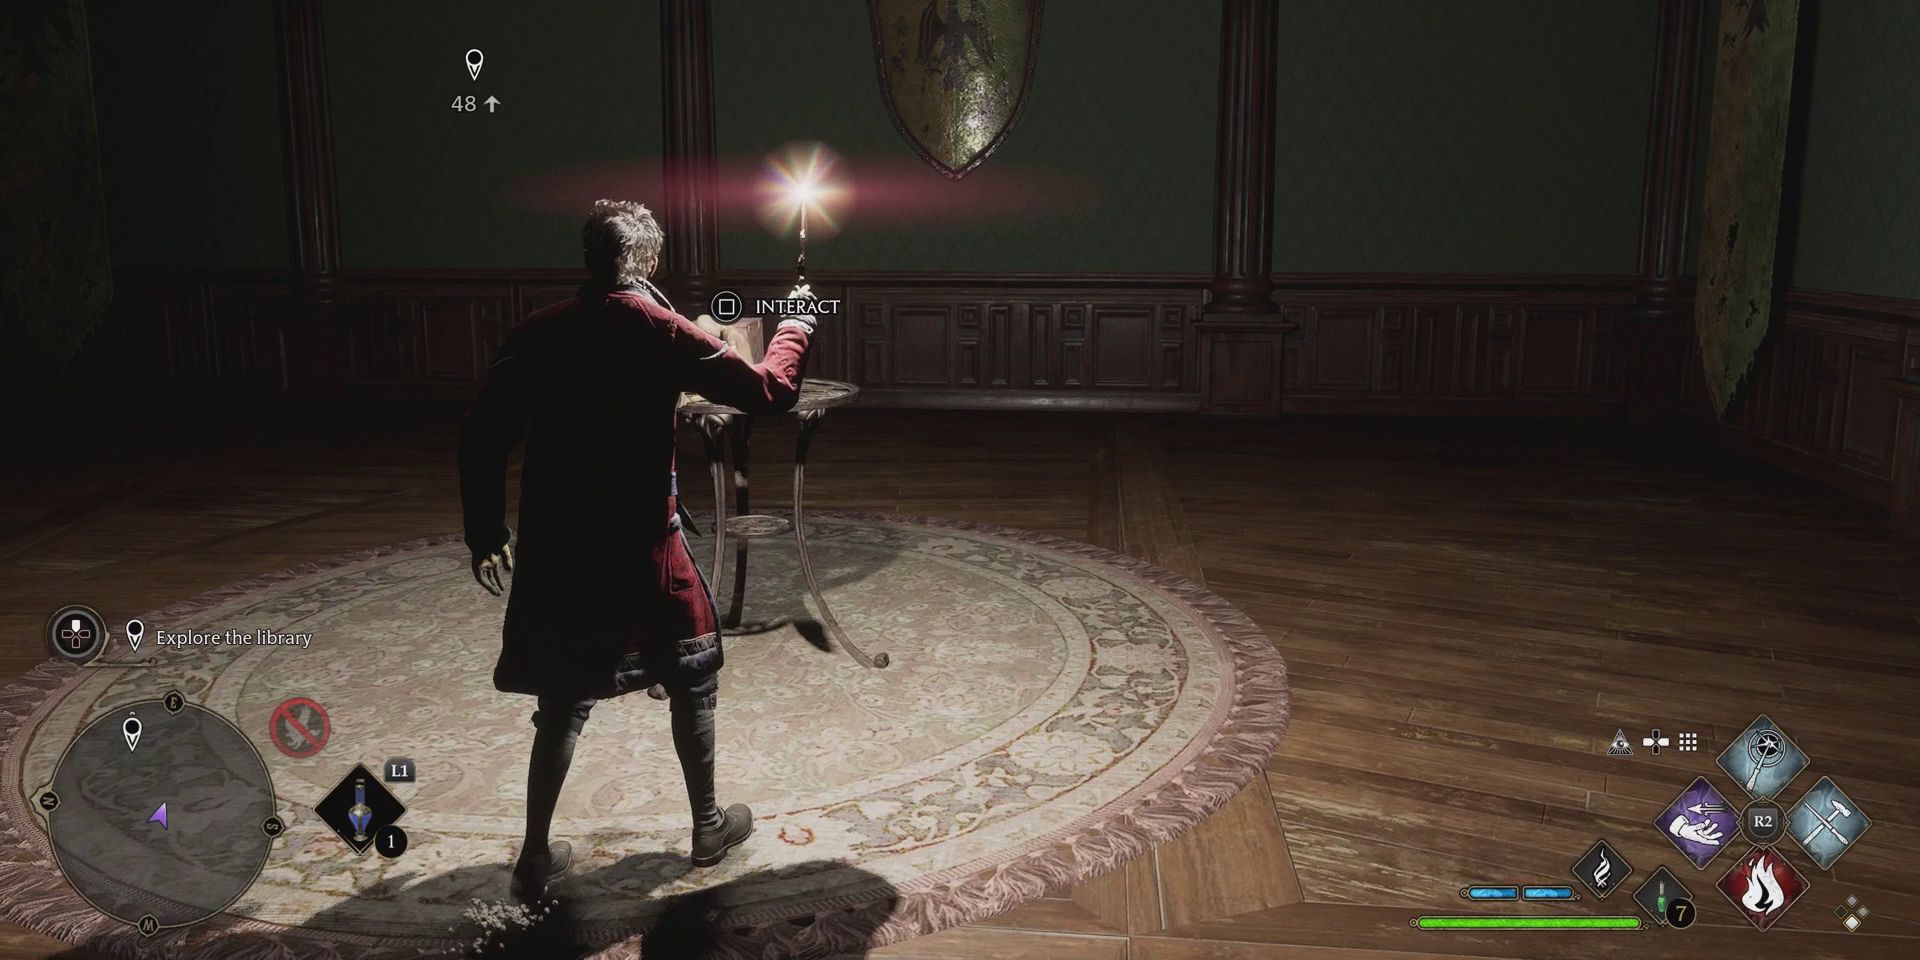
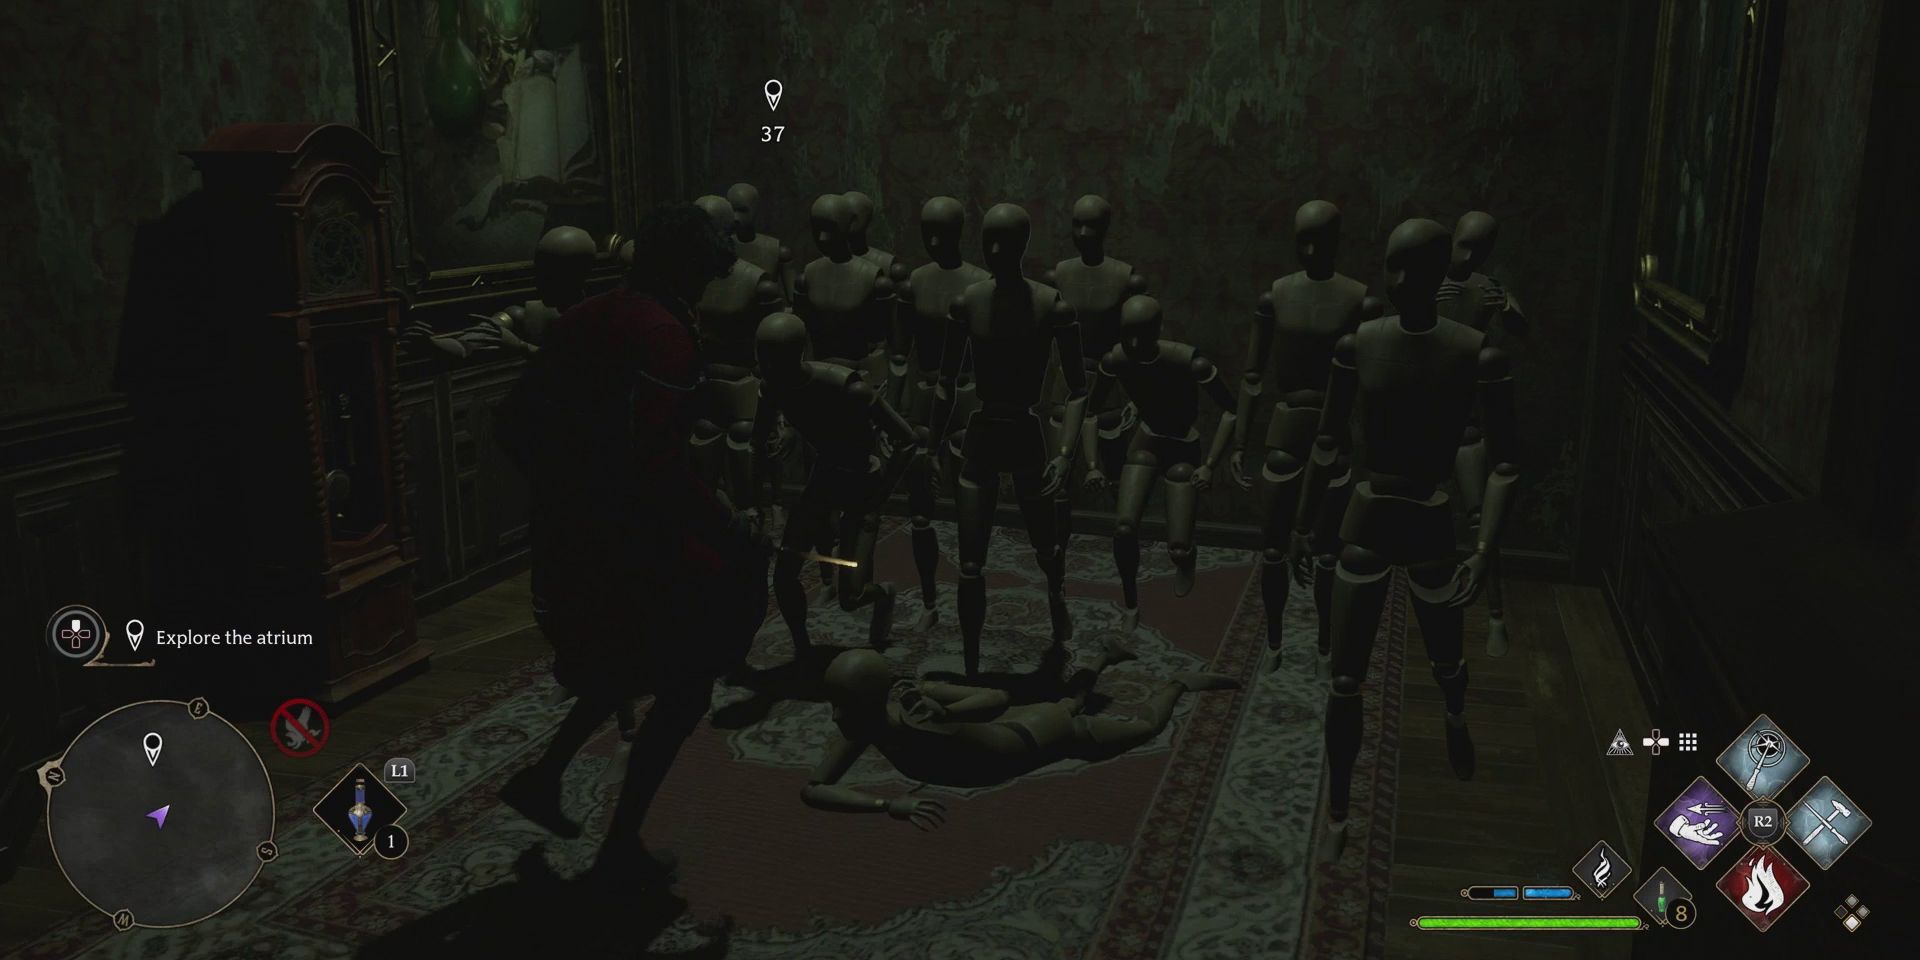
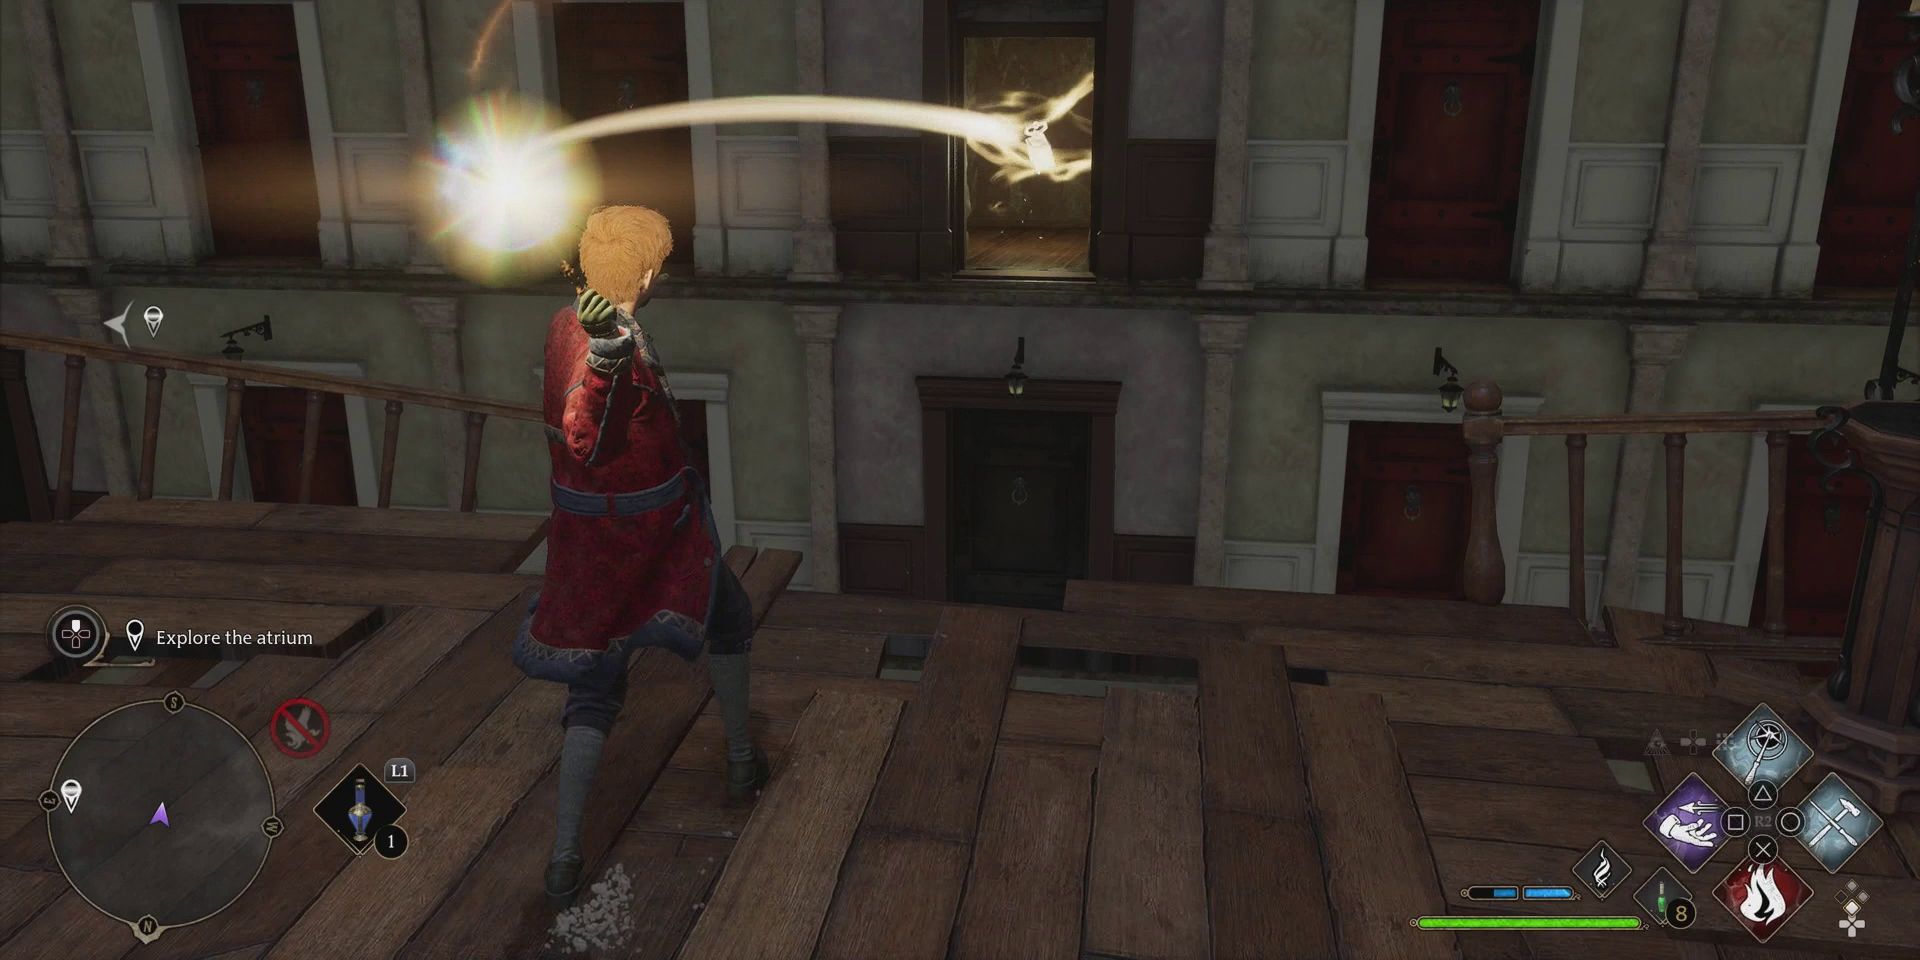
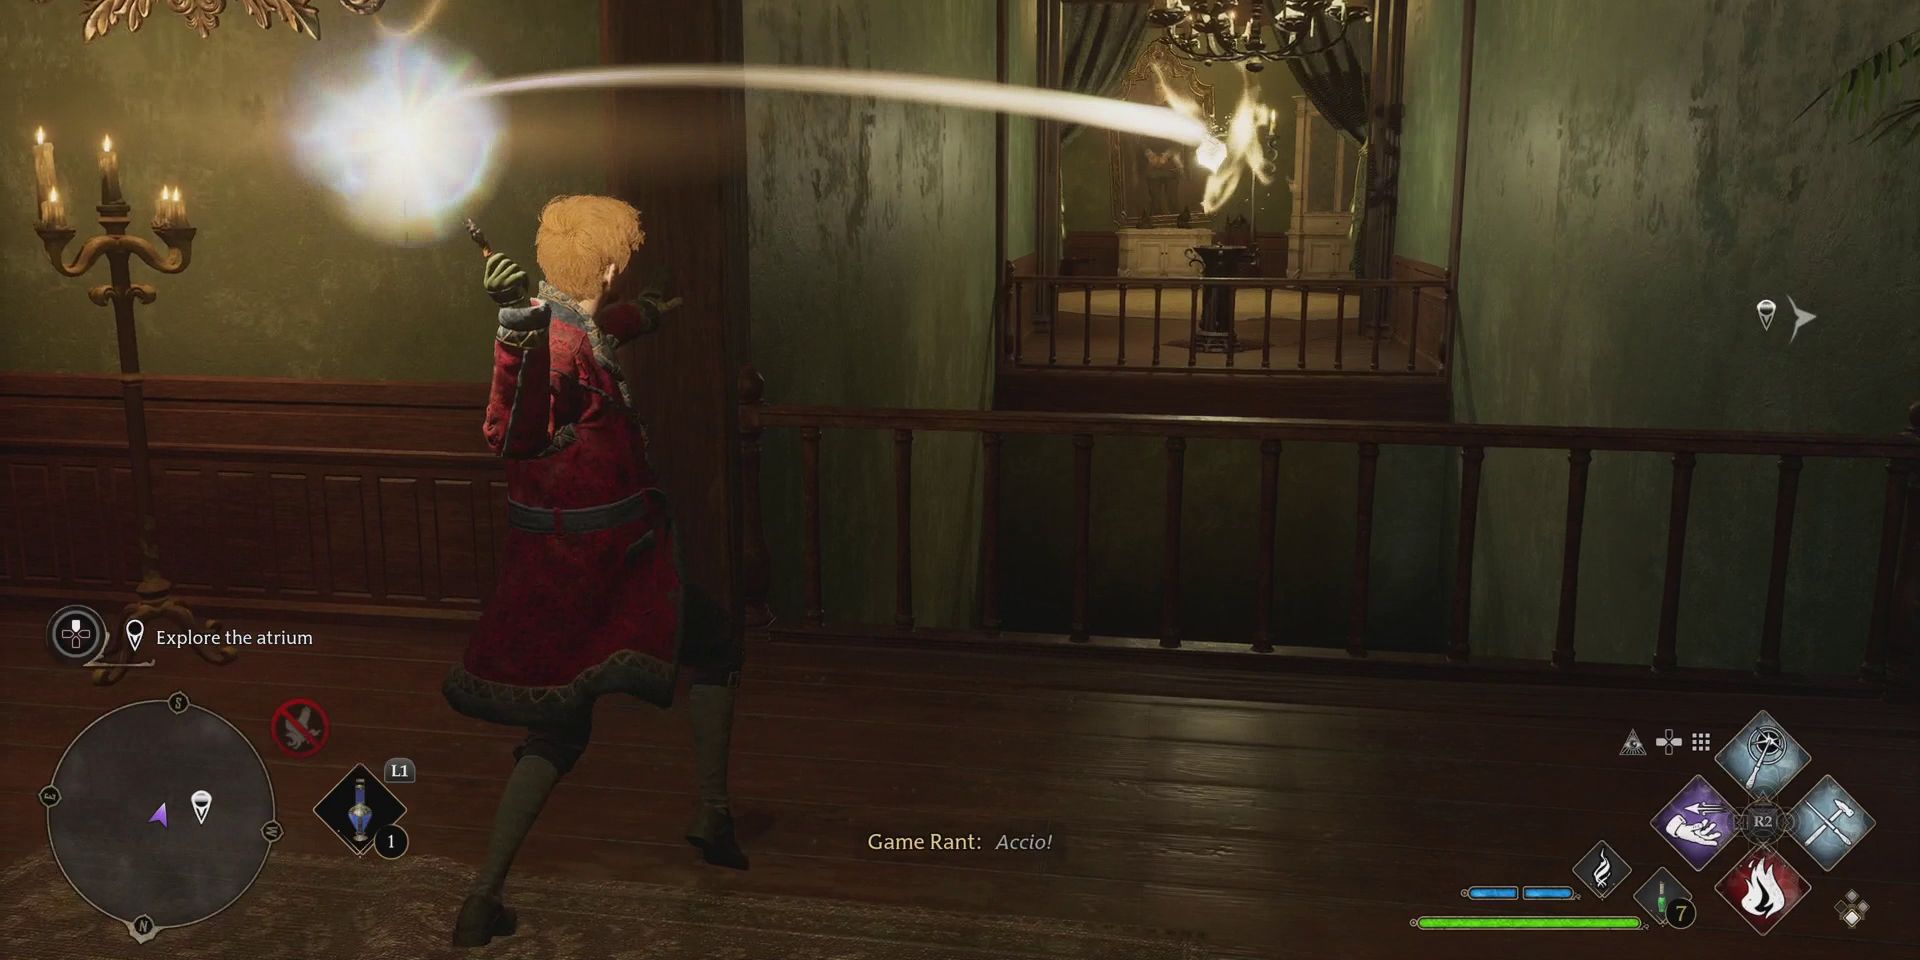
After heading down the ladder, players should keep exploring until they come to another chest. After opening it, things will go dark, at which point, they should cast Lumos and look around until a door appears. A bit more exploration will lead to a room full of mannequins, at which point, heading over to the jack-in-the-box in the corner will cause the room to change. Players should then continue onward until they see a floating lantern on their right. To progress, they’ll need to cast Accio or Wingardium Leviosa on this Lantern and then place it on the hand-shaped hook to unlock the nearby door.
Explore the Foyer
Through this door is the foyer area, with players needing to explore the two areas branching off from either side in order to unlock the main door in front of them. It doesn’t matter which order players tackle these two areas, though both will need to be fully explored before players can complete the quest and return to the wizarding world above. The Library is to the left and the Atrium is to the right. Each has two sections, which can again be tackled in any order players like.
Explore the Library (Left Path)
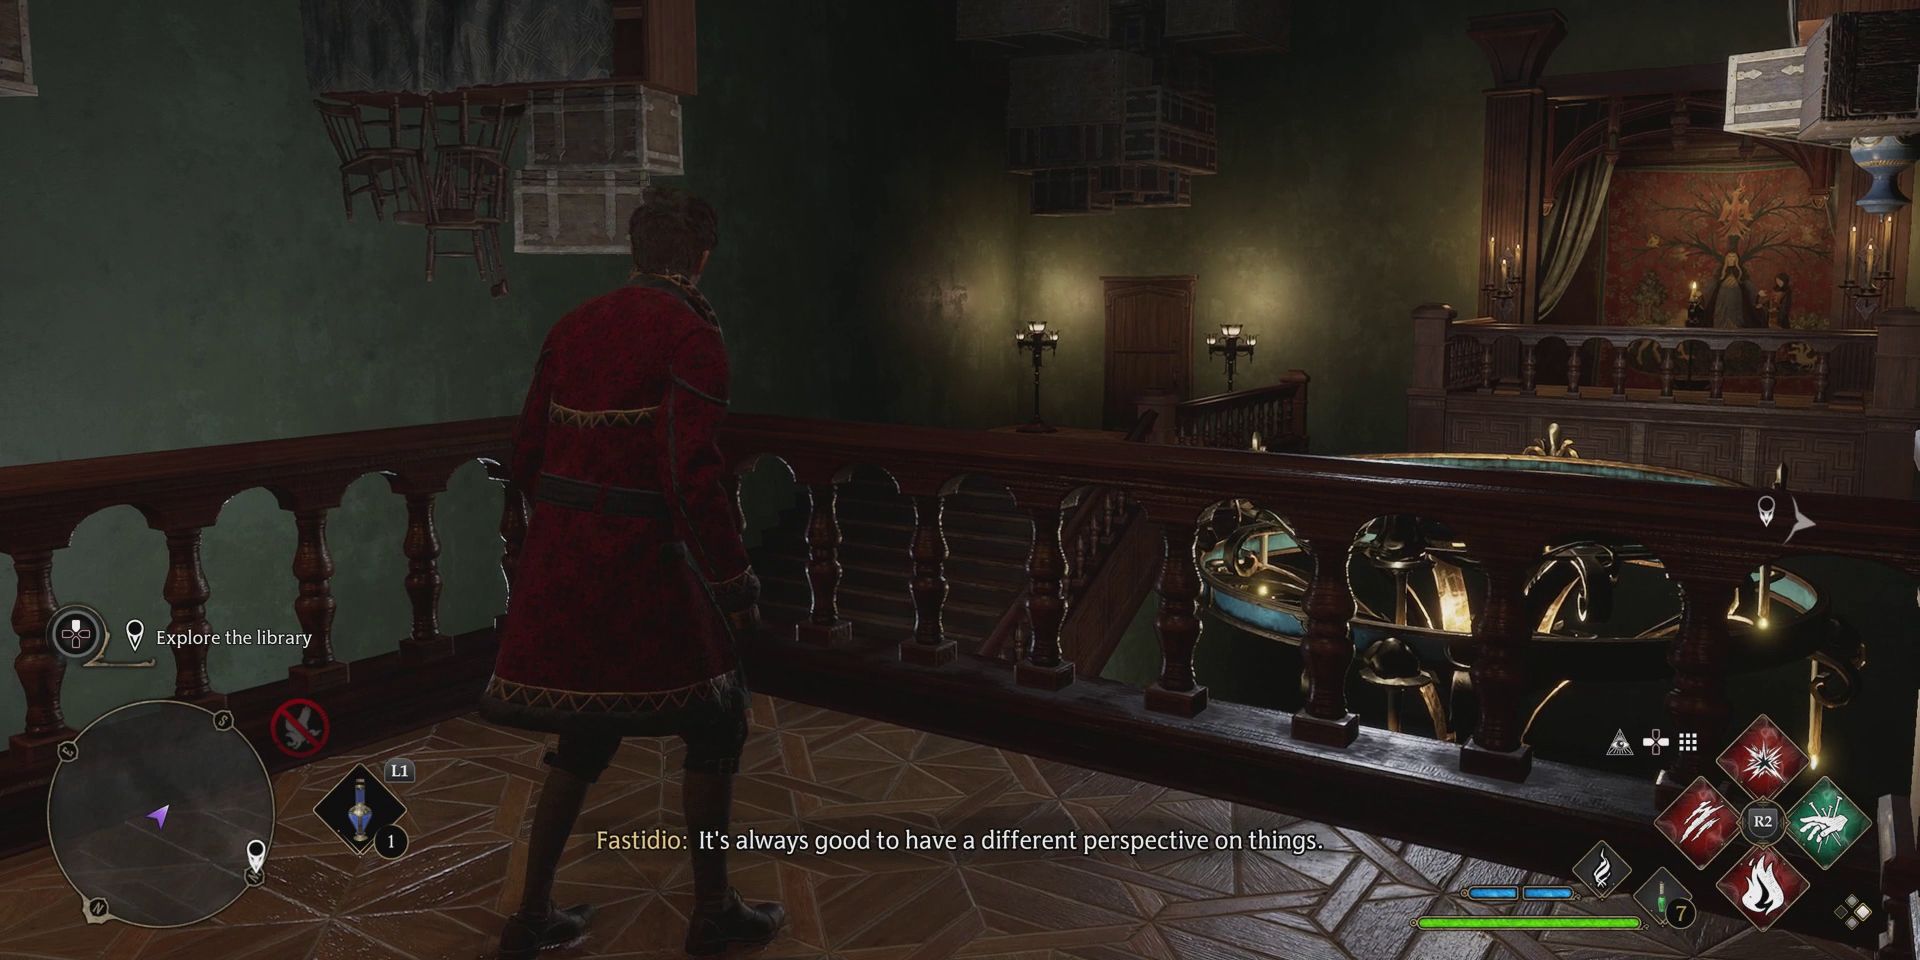
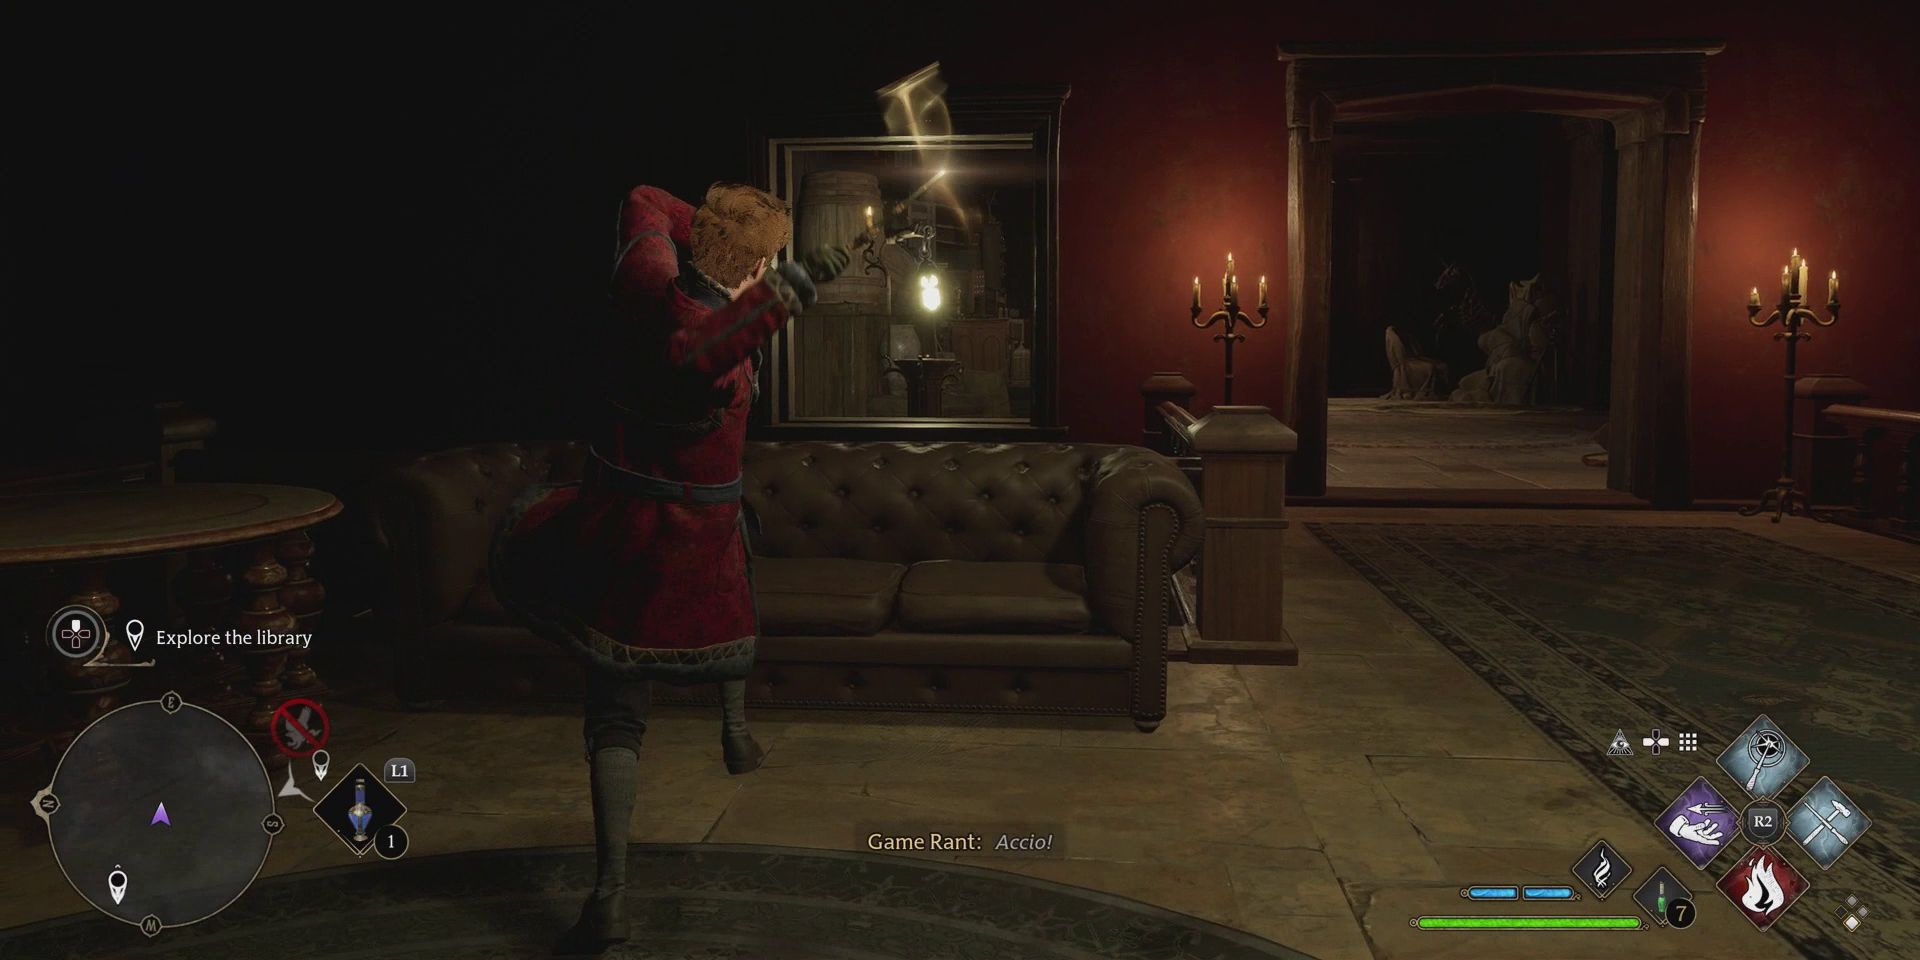
To complete the library section, players will need to retrieve two lanterns and place them on the hooks on either side of the wooden doors. If players head left here, they’ll pass a large statue before eventually coming to an area with a balcony. This will open up a new path where they’ll again need to use Accio or Wingardium Leviosa to summon a lantern from up above them and place it on the nearby hook to make the room spin.
They’ll then need to climb through the window and drop down into the area below before following the path until they come to another lantern. Placing this on the hook will allow them to pass through the nearby door, after which, they should summon the lantern through the window and place it on the hook at the bottom of the stairs. This will open up the path to the first of the two Lanterns needed to unlock the library’s double doors.
Explore the Library (Right Path)
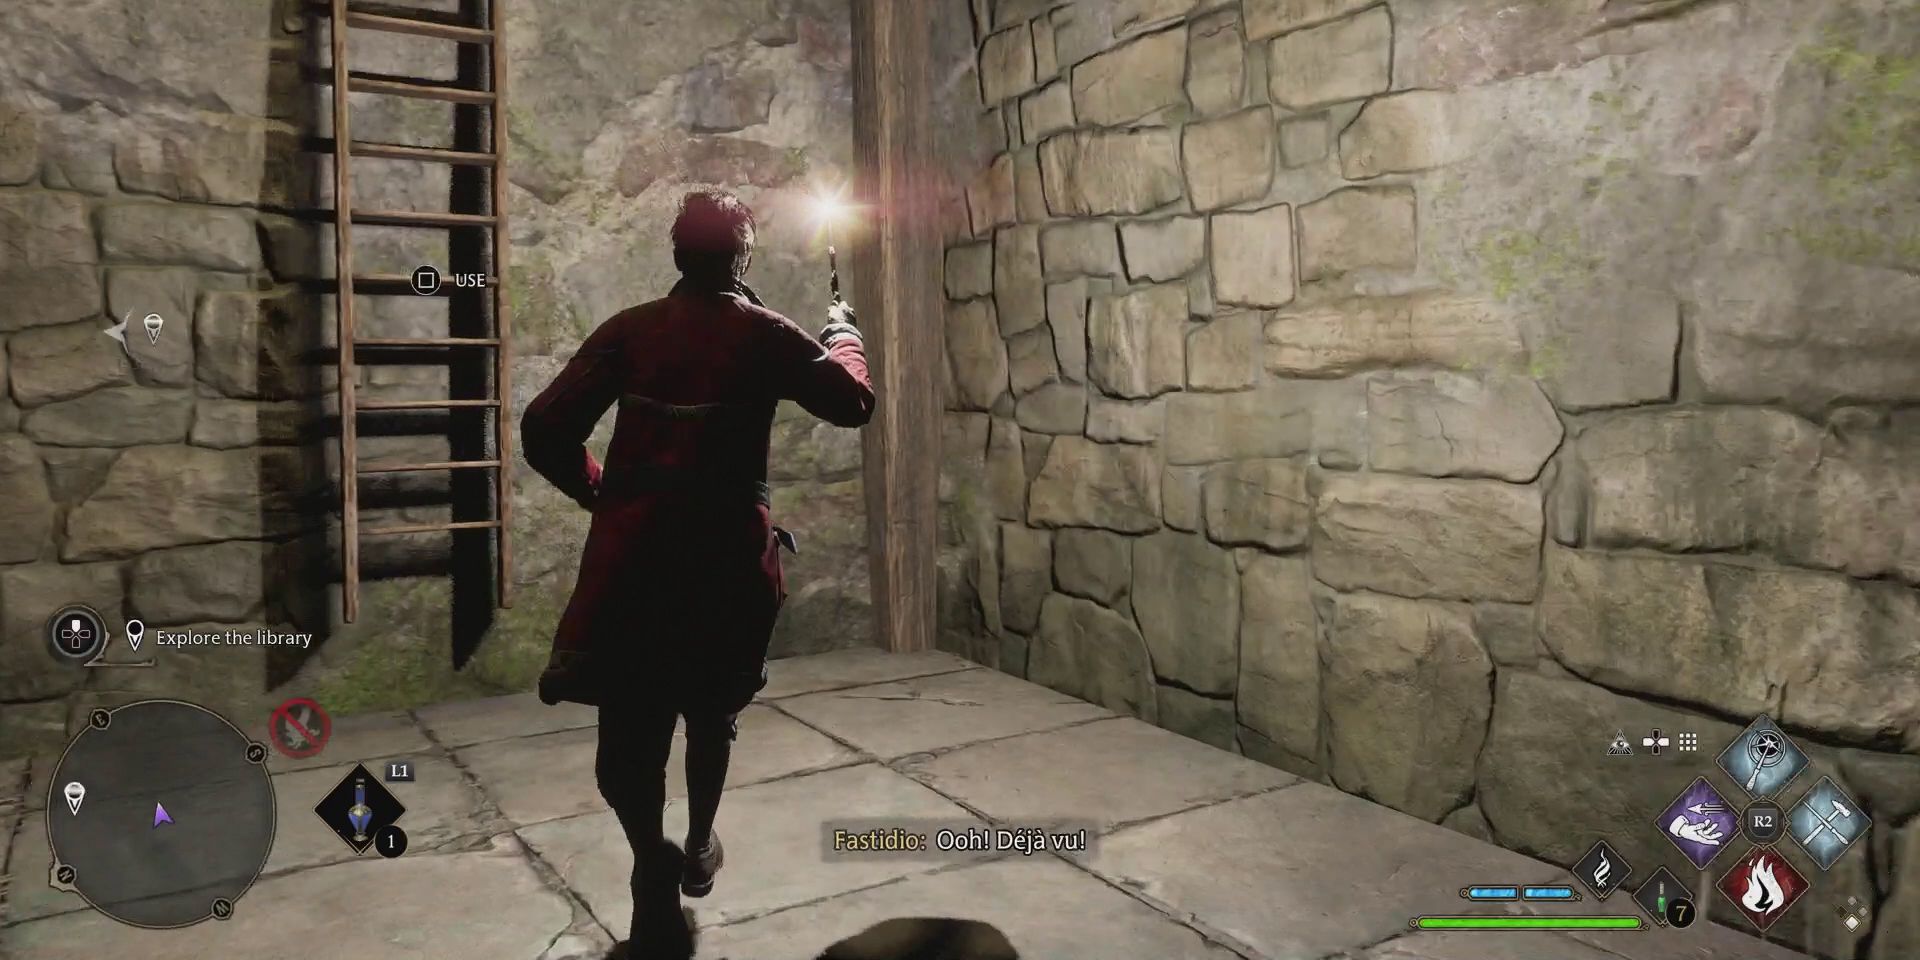
After placing the first lantern, players should take the path on the right and head down the stairs to their left once they reach the golden statue. This will lead them to a room with three doors, with the middle door being the one that they need to go through first. Through it, they’ll find a ladder, though trying to climb it sees players returning to the room that had the three doors.
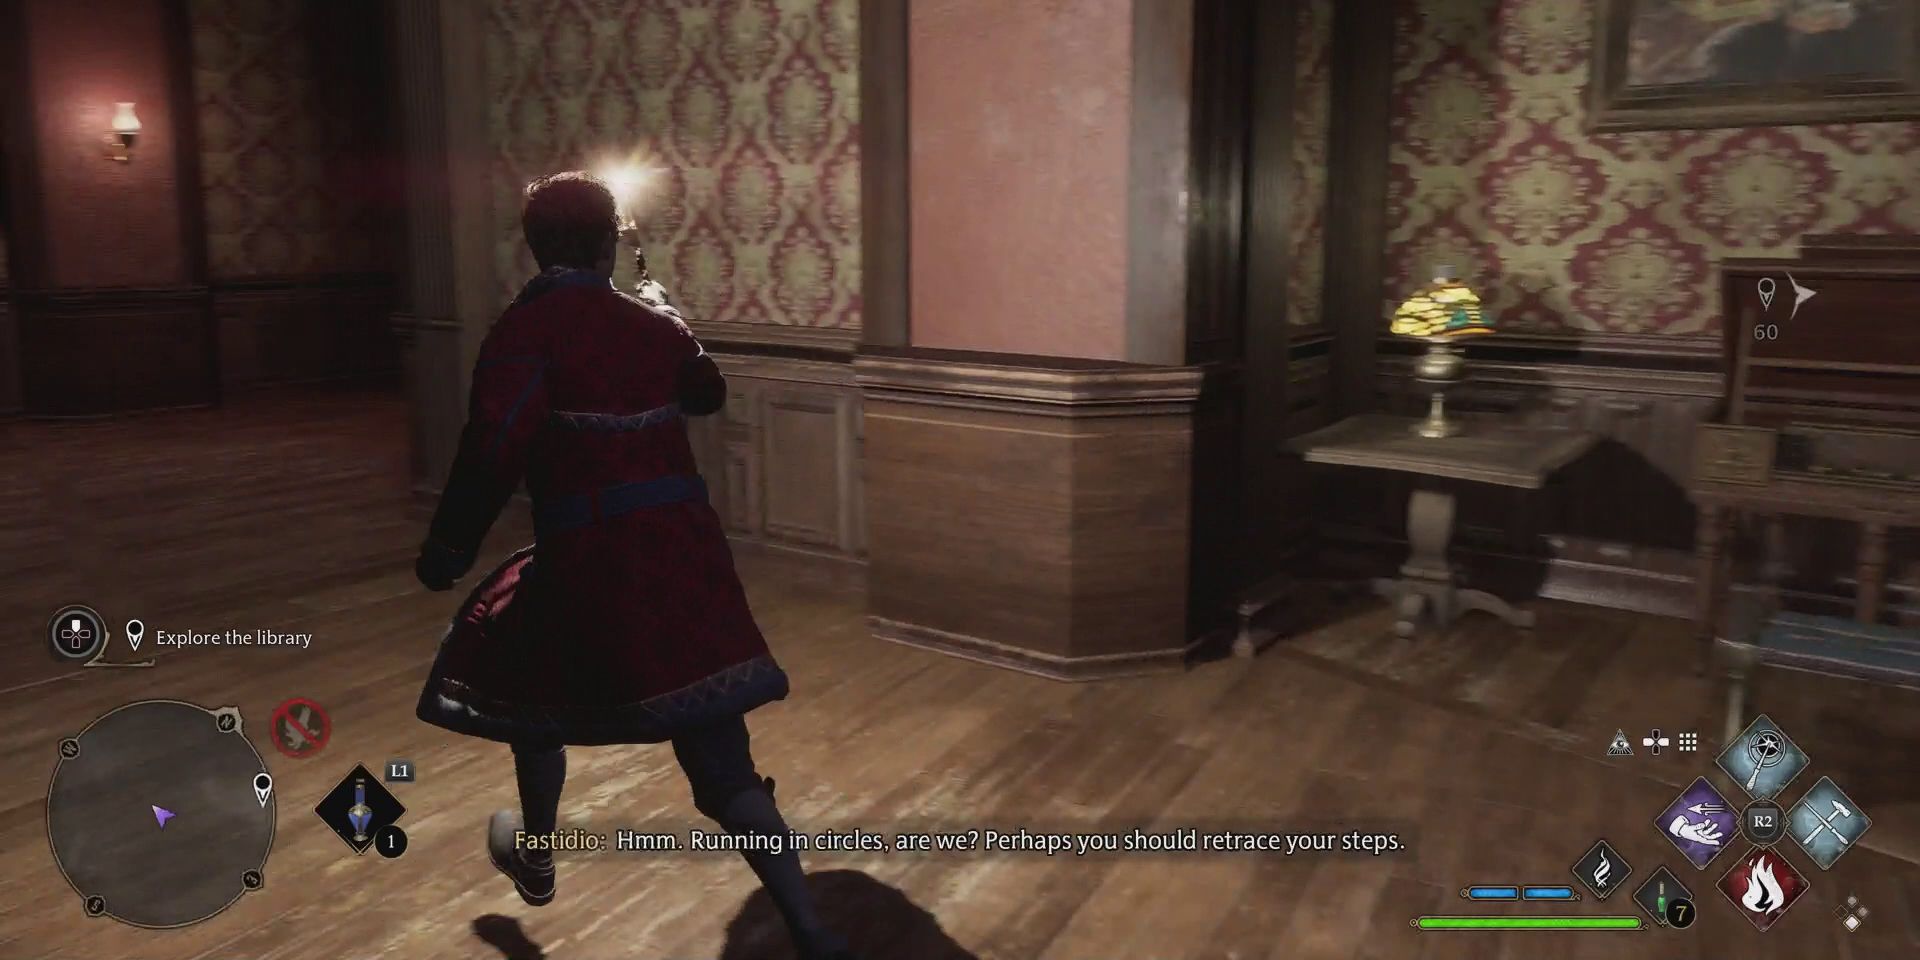
Next, players should take the door on the left and keep running around the endless corridor until Fastidio says something about running in circles. At this point, they’ll be able to turn around and head through the door to progress. A few jump scares later, players will find themselves back in the room with the three doors surrounded by mannequins, at which point, they can take the last remaining door on the right.
This final door leads to a room with another jack-in-the-box, which players will need to interact with. After that, they should run around the area that they’re in, killing any mannequins that come to life as they do so. Eventually, once all of the living mannequins have been dealt with, players will be able to find an open door, through which they can find the second of the two lanterns needed to open the library’s double doors.
Entertain Fastidio
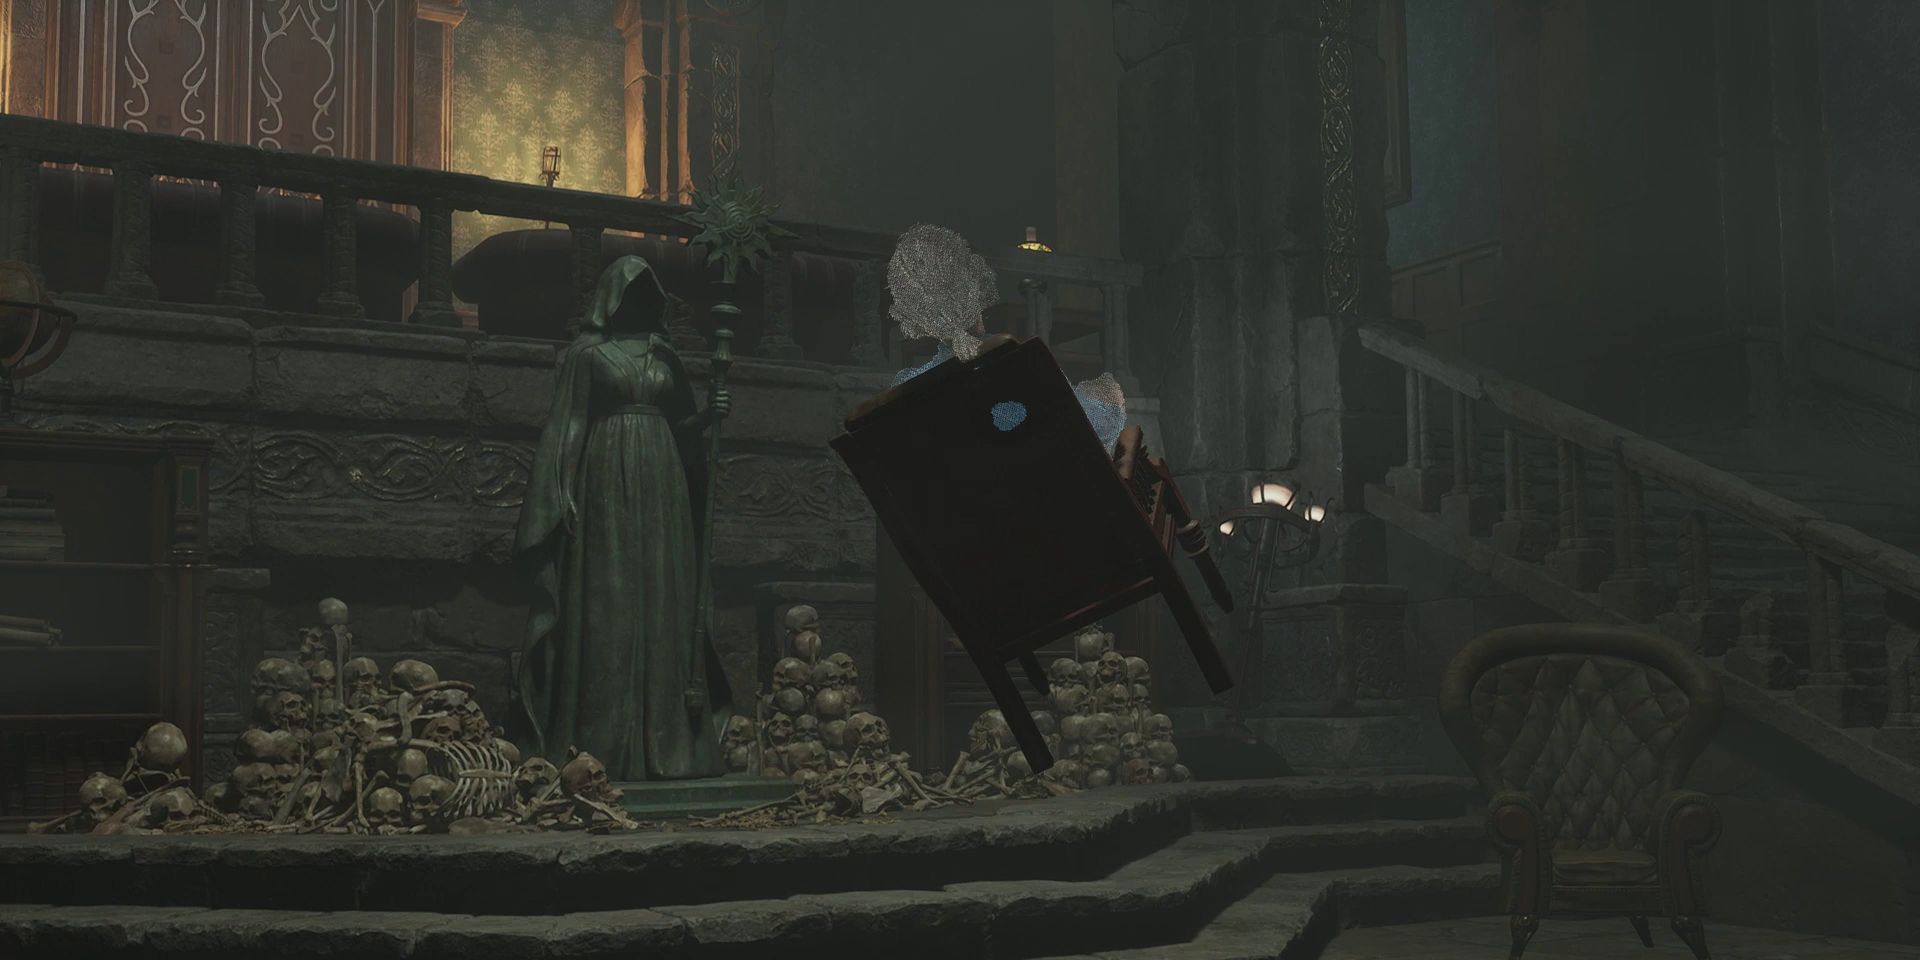
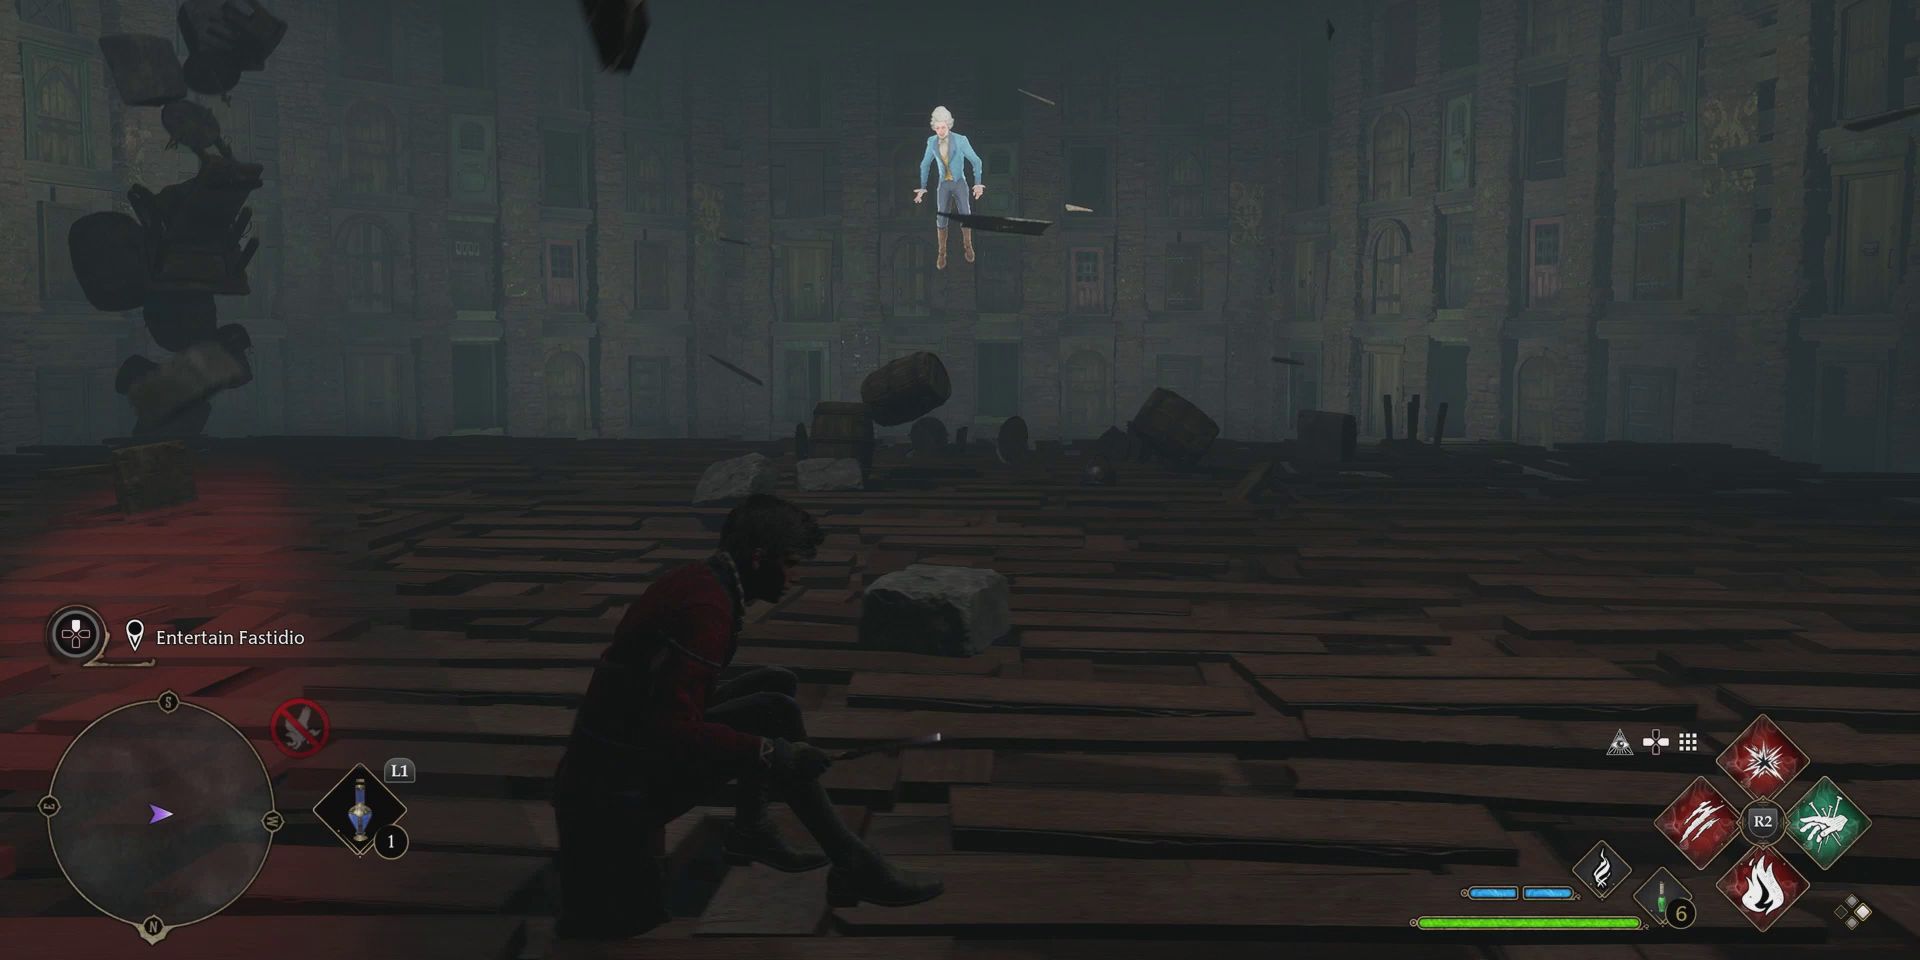
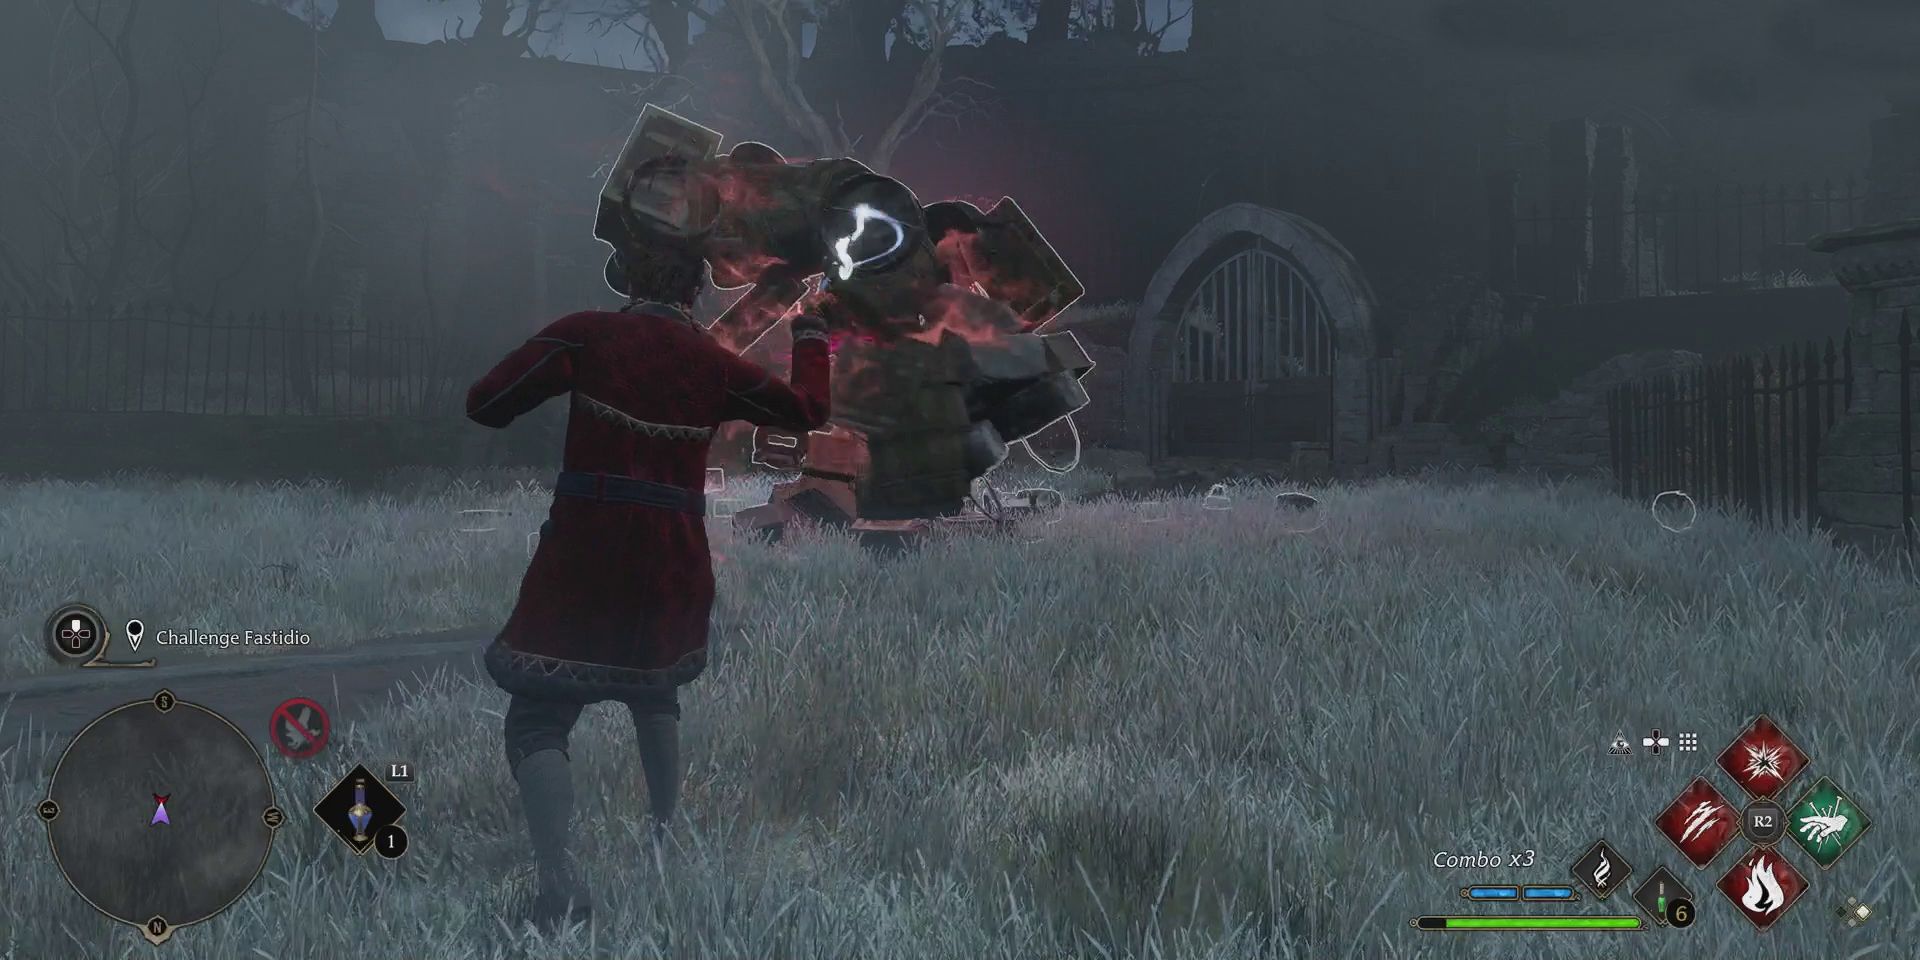
In this next area, Fastidio will attack players with rocks and pieces of furniture. Providing they keep moving though, it should be fairly easy to dodge all of his attacks, and, after a minute or two, he’ll give up and disappear. Players can then return to the foyer, where the first of the two metal bars blocking their escape will be removed. Now, it’s time for players to visit the Atrium, which can be accessed via the path on the right.
Explore the Atrium (Left Path)
The Atrium is a lot like the Library, with players needing to explore two areas in order to retrieve lanterns and progress. Taking the path on the left will at first lead players into what appears to be a stately home. After having a couch hurled at them, they’ll come to a dead end with a single mannequin standing in it, and turning around will see their path once again blocked by a bunch more mannequins.
If players turn around once more though, they’ll come to a boarded-up doorframe, which they can pass through after blasting the boards with any offensive spell. In this next area, they’ll simply need to move a lantern from hook to hook to progress. Placing the lantern on the third hook at the far end of the area will open up another door with a lantern behind it, and placing this lantern on the hook in the middle section will open up another door to the right.
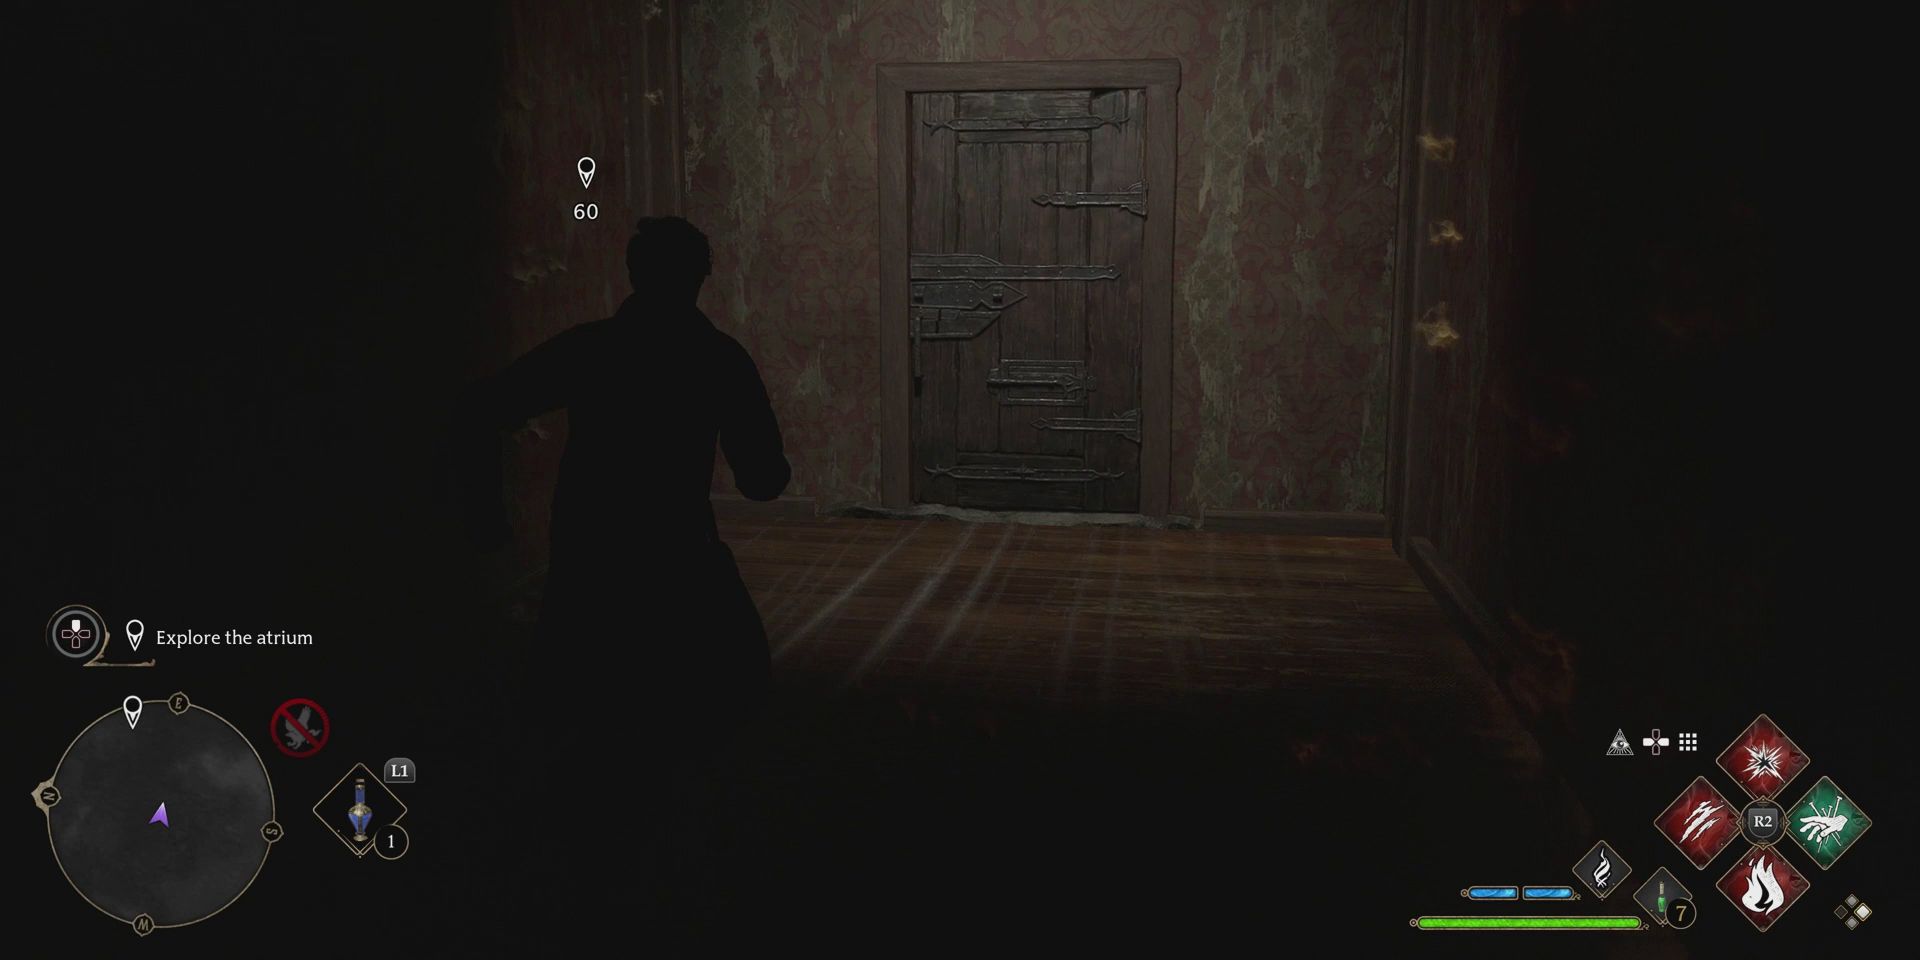
In this next area, players will need to defeat multiple waves of mannequins until one of the doors opens up. They’ll then need to chase a doorway as it moves away from them, which leads them to a dark corridor. Here, casting Lumos and then running from one end of this corridor to the other a few times will open up another door, through which is a chest and the first of the lanterns needed to complete the Atrium section.
Explore the Atrium (Right Path)
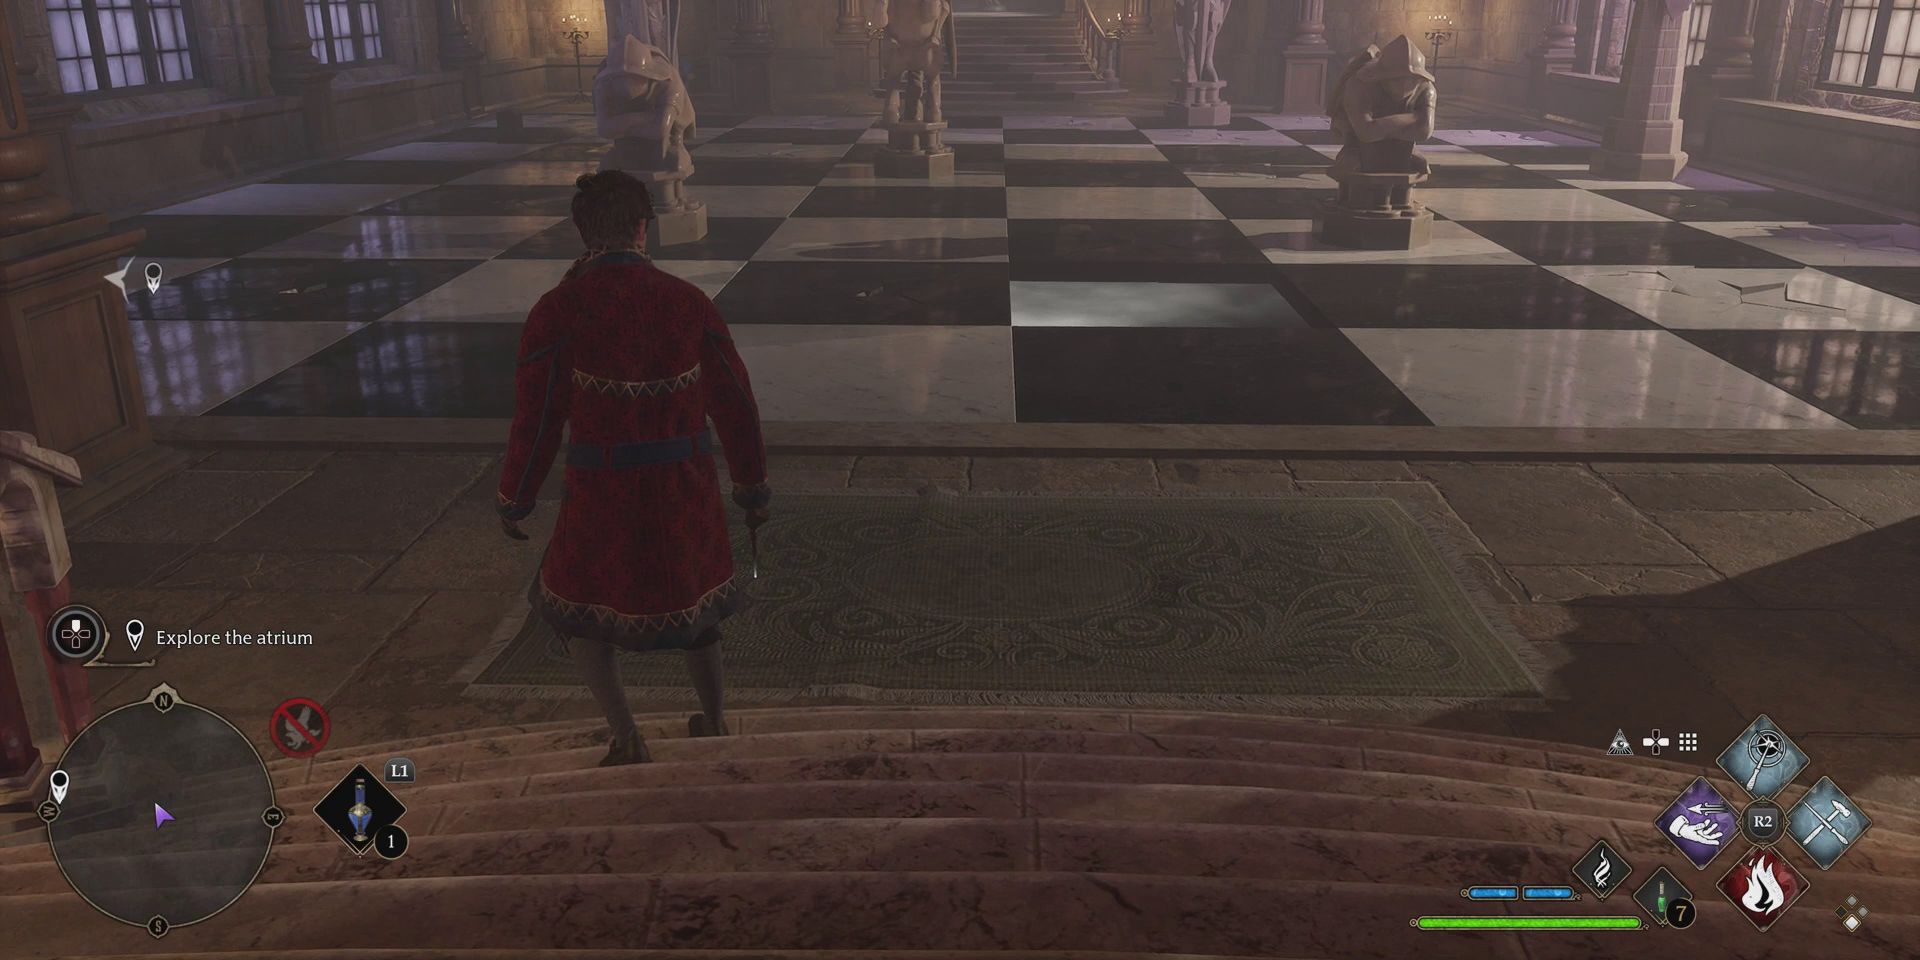
After placing the first Atrium lantern, players should take the path on the right, which will lead them to a room with a lantern and a hook. Placing the lantern on the hook will rearrange the room, allowing them to progress to a new area and through an open door. Here, players will find a large chess board, with certain squares breaking when they are stood upon. Players can work out which squares are safe based on the positions of the chess pieces or simply avoid the cracked squares, which glow red when scanned with Revelio.
Heading up the stairs at the far side of the chess board will lead players back to the room they were just in, only this time, they’ll be on the opposite side. They should pull the lantern back over toward themselves and place it on the hook, which will cause a bridge to form from one side of the room to the other. Following this newly opened path will eventually lead players to another lantern, which they can then place on the hook by the Atrium doors to unlock another encounter with Fastidio.
Play with the Poltergeist
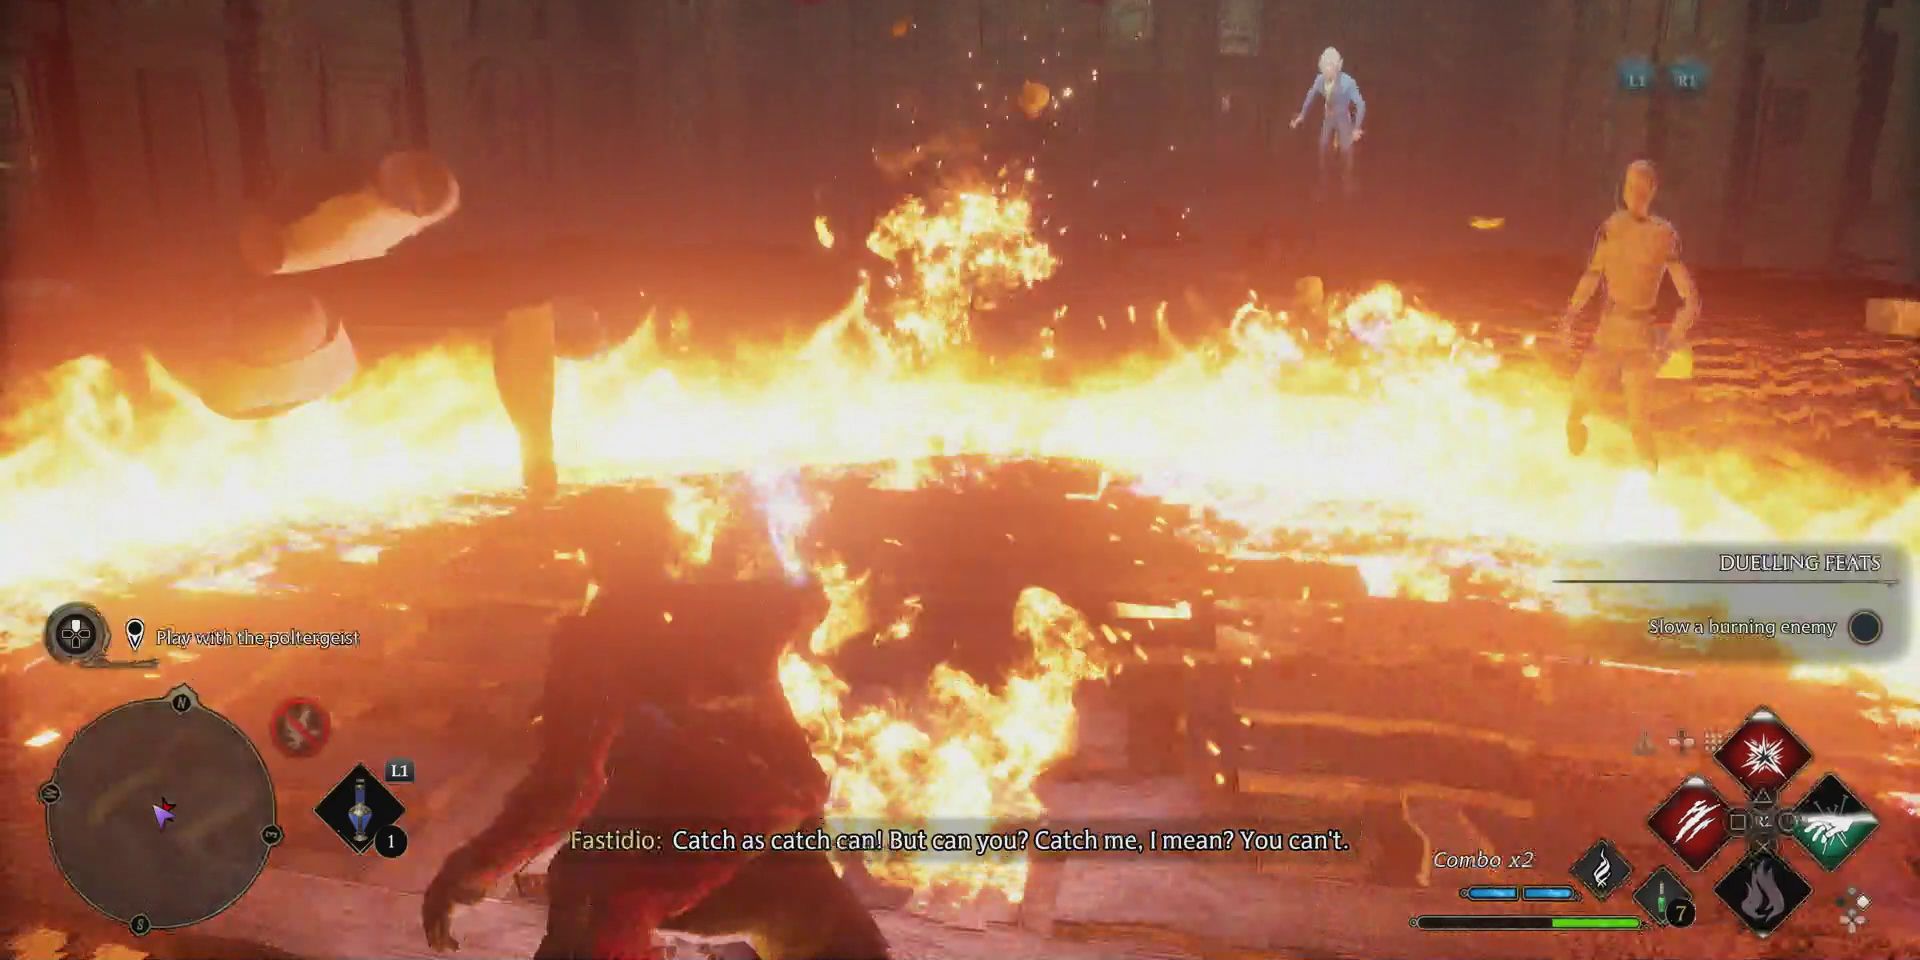
After passing through the Atrium doors, players will once again have to defend themselves against Fastidio. This time, however, rather than just a few crates, he’ll also throw a couple of waves of enchanted mannequins at players. Incendio can be useful here, particularly if players have mastered the skill using talents so that it lets out a ring of fire each time it is cast. Once the mannequins are all gone, Fastidio will leave, and players can return to the foyer for their final showdown with this pesky poltergeist.
How to Beat Fastidio’s Monster
The fight with Fastidio’s Monster takes place over three phases, as indicated by its health bar. The first two phases are incredibly straightforward, with players simply needing to hit the monster with powerful spells and dodge and block whenever prompted. It does summon a bunch of mannequins between stages though, so players should make a point of taking these out first to avoid being dogpiled, which can happen quite quickly if they aren’t careful.
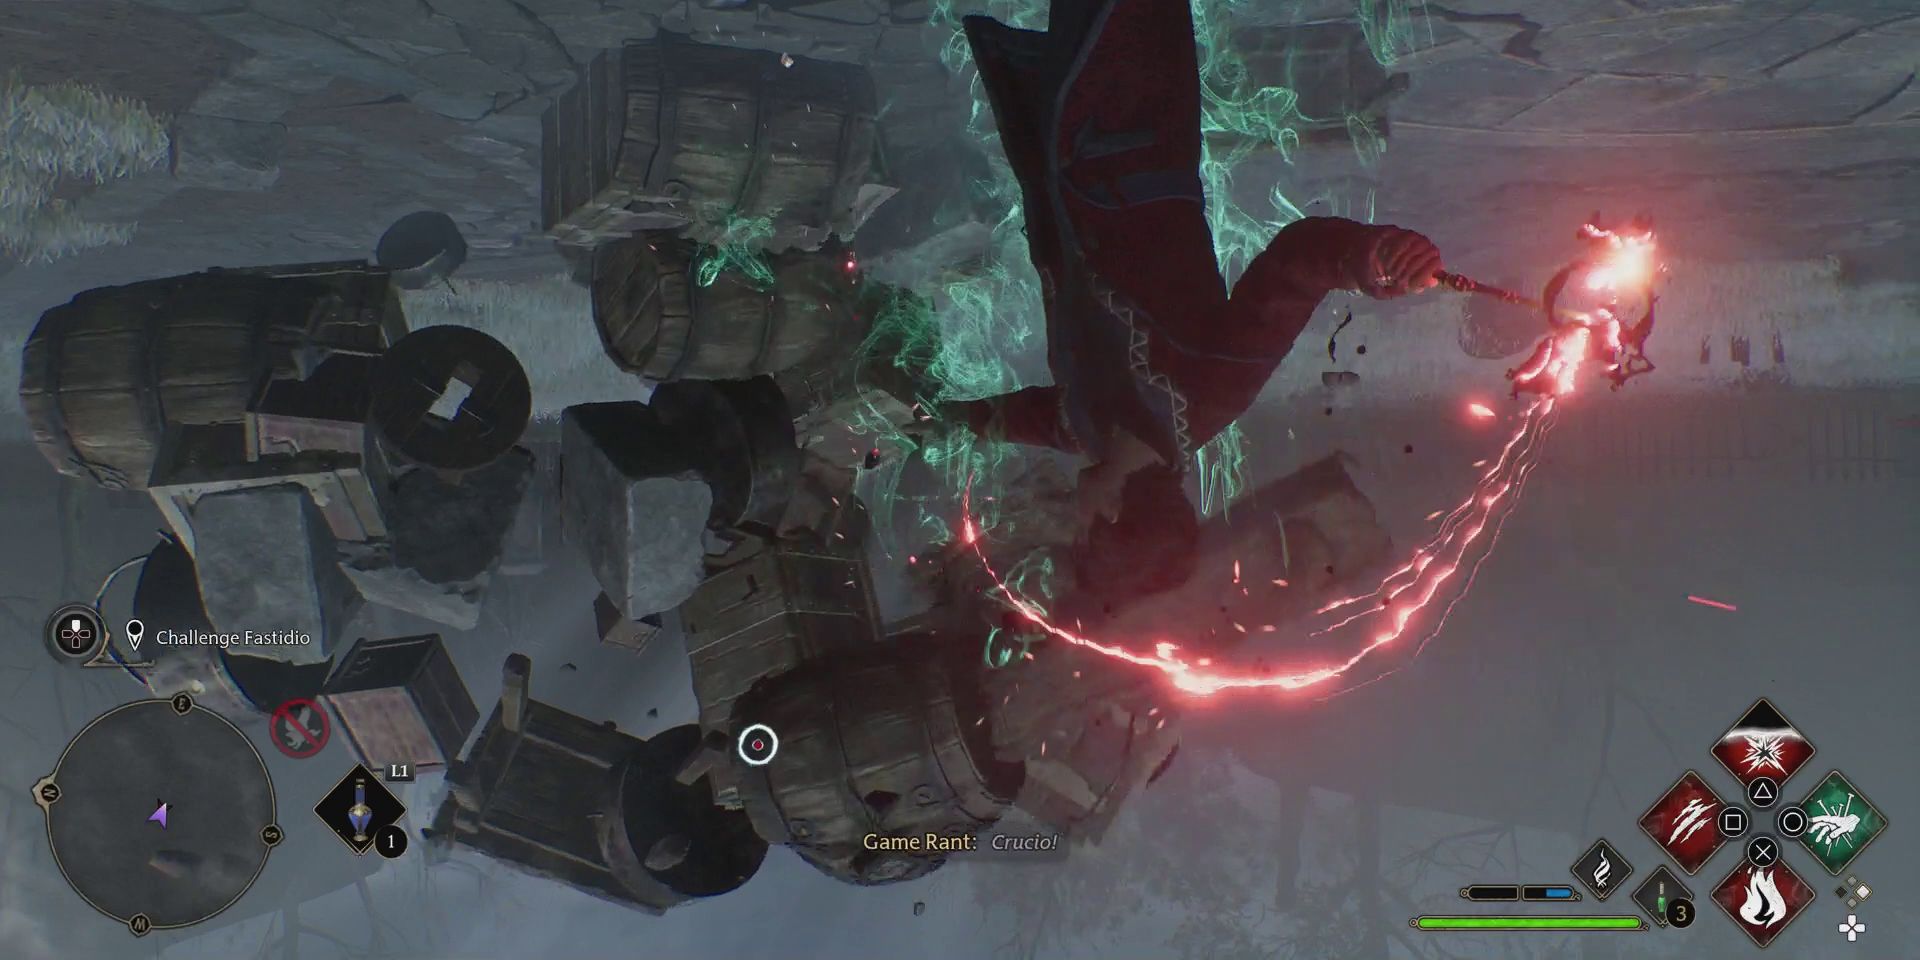
The final stage of this boss fight is quite tricky, as players will have their screens turned upside down and their controls inverted for a good chunk of it. For this reason, it’s a good idea to save Ancient Magic for Phase 3 so as to end the fight as quickly as possible. Once it is over, Fastidio and the protagonist will come to an agreement and players will finally be able to leave the chest and confront Cassandra.
Confront Cassandra
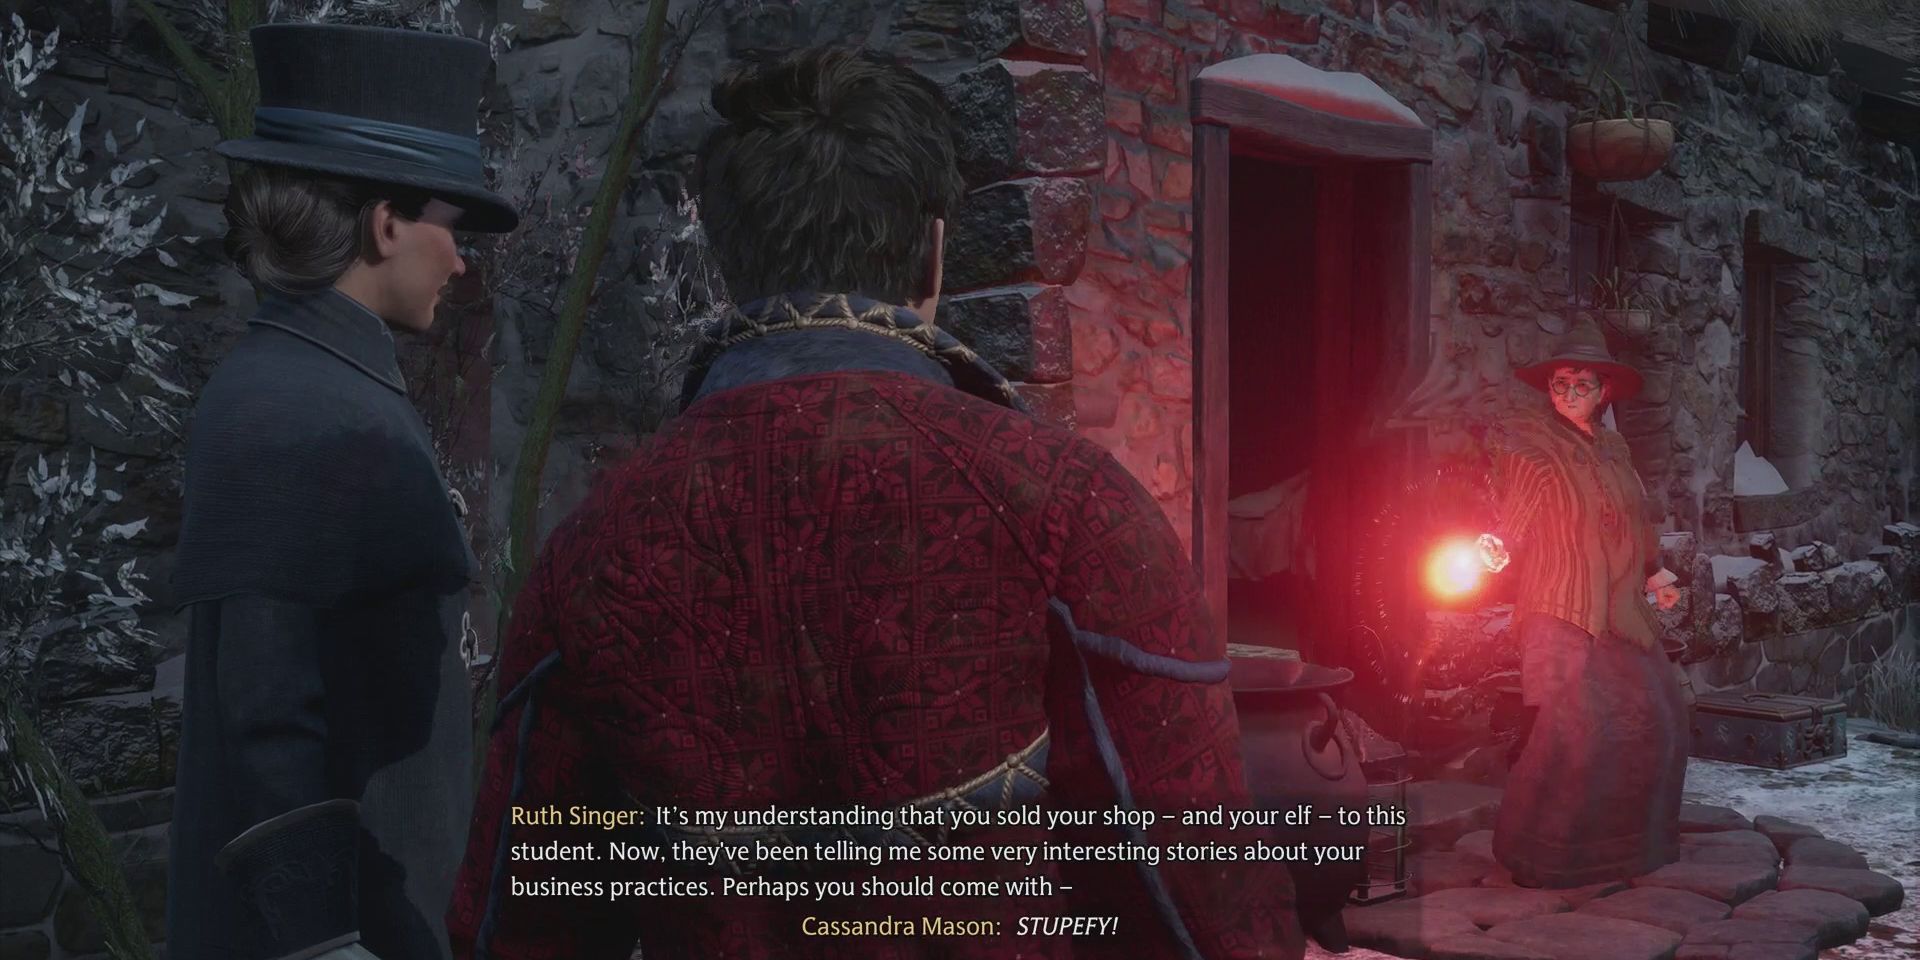
After a few stern words with Penny, players will be guided to Officer Singer, who’s very interested to hear what Cassandra has been up to. Unfortunately, the latter has no intention of going quietly and will hit Officer Singer with a curse while her guard is down. Players are then left to fight her on their own, with the battle once again taking place over three phases.
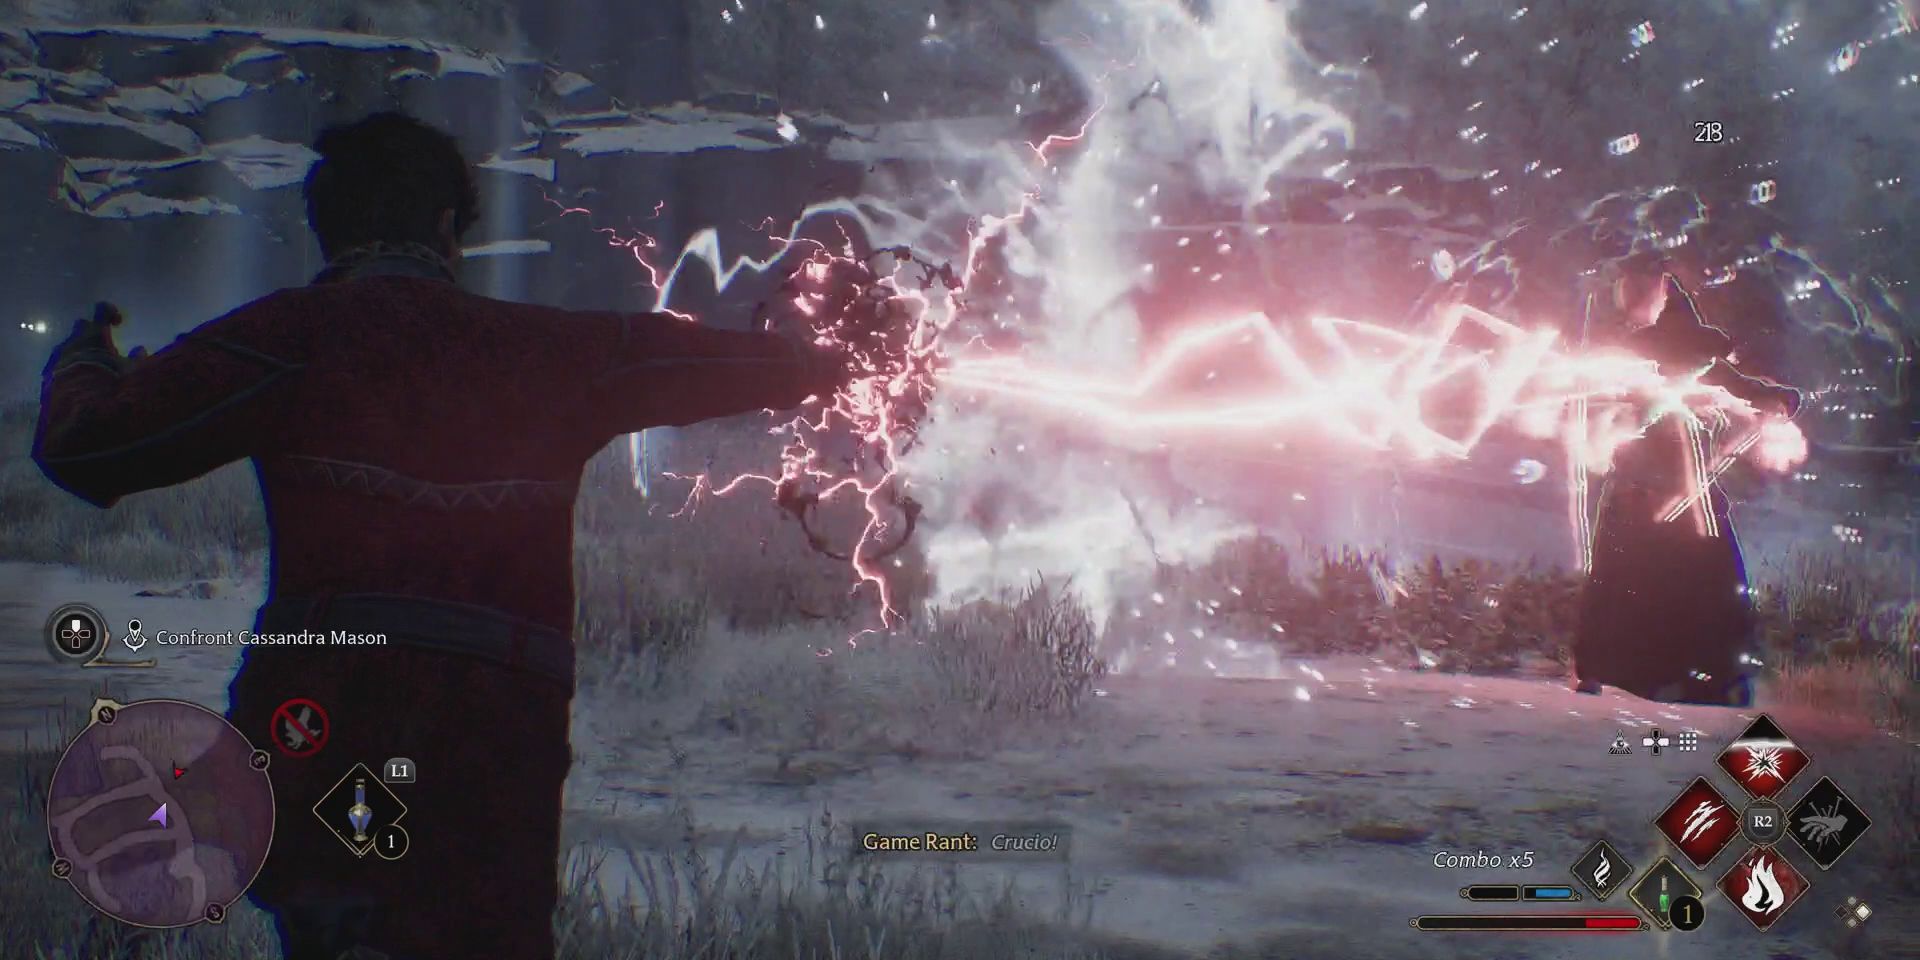
For the first few phases, players should just focus on hitting Cassandra with their hardest-hitting spells, being sure to cast Protego whenever she attempts to go on the offensive. Deflecting her projectiles will break her guard, though players can also just cast Crucio if they happened to learn the unforgivable curse earlier on. This can make the Cassandra fight considerably easier than it would otherwise have been.
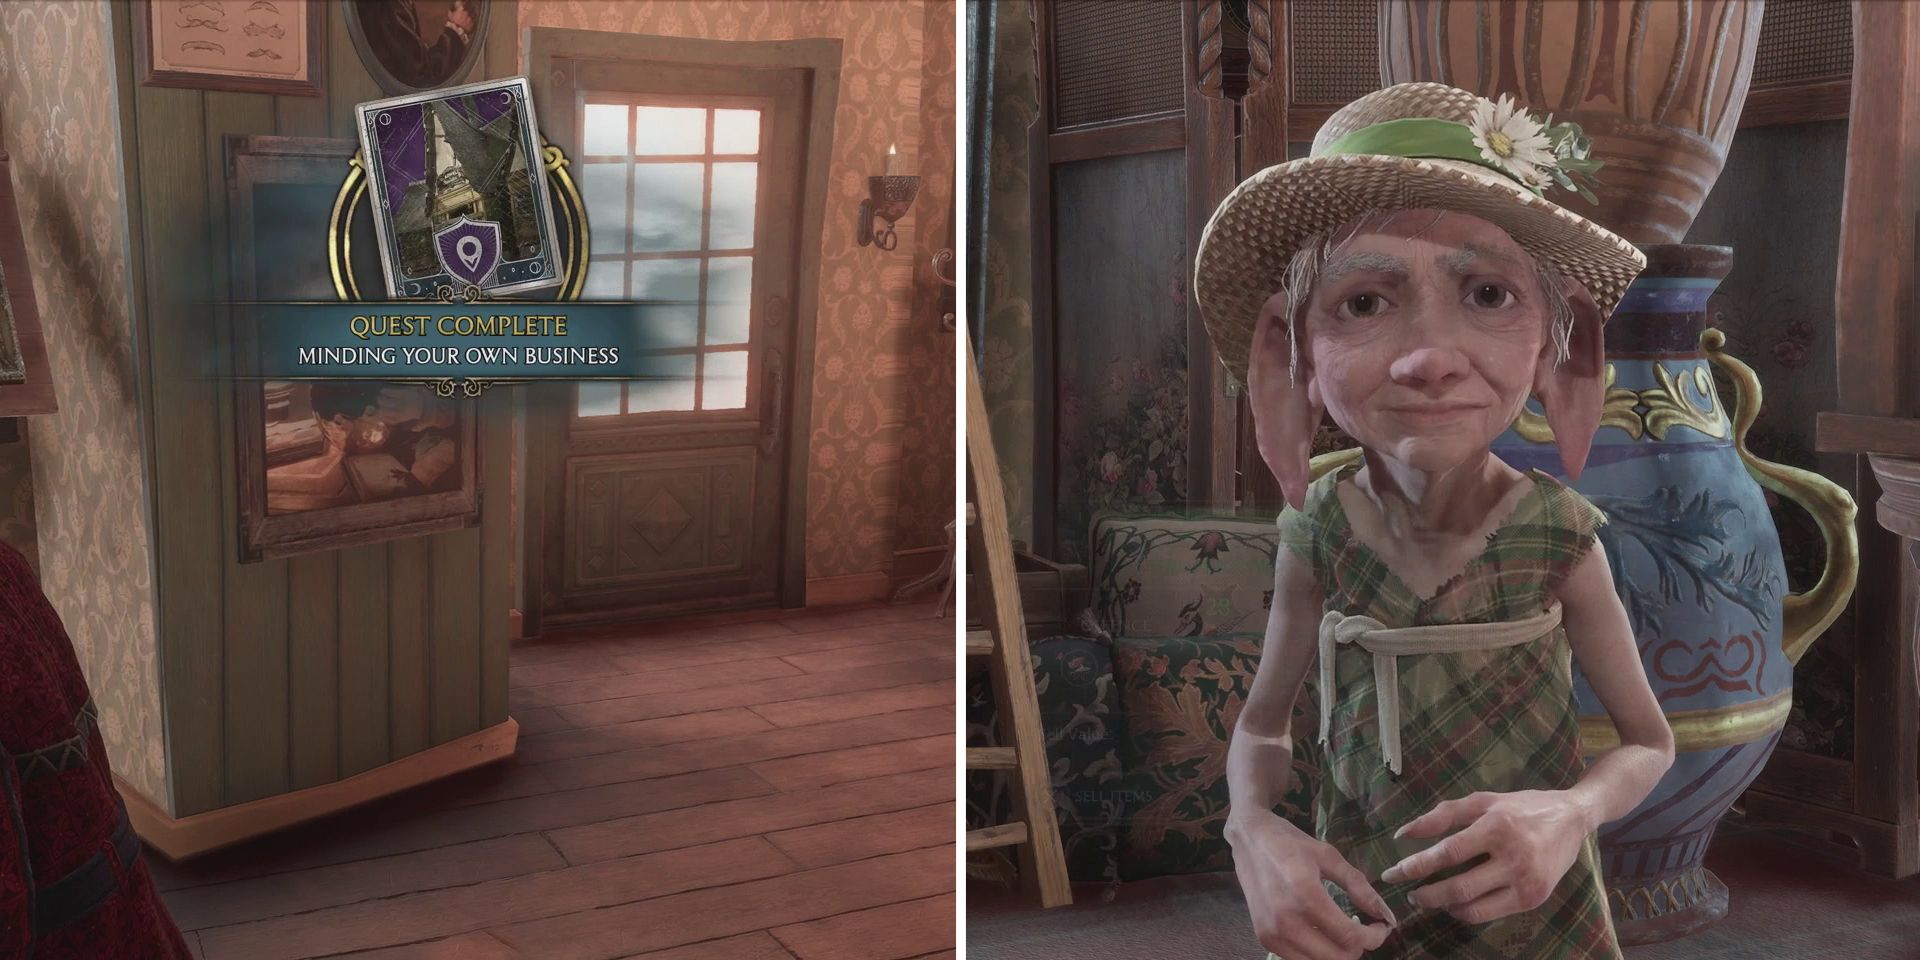
Once the fight is over, Officer Singer will regain consciousness and restrain Cassandra, after which, players can return to their hard-earned store. Speaking with Penny will allow them to choose a new name for the store, though it doesn’t really matter which one they opt for. Once the name is set, the quest will end and players will receive the Shopkeeper’s Cloak, Top Hat, and Ensemble. From this point onward, they’ll be able to visit the store at any time to sell their unwanted Gear for 10% more than they’d get from any other vendor in the game.

How Does the Player’s Hogsmeade Shop Work in Hogwarts Legacy?
Hogwarts Legacy players on PlayStation were promised an exclusive Hogsmeade shop, but it’s unclear while playing how the shop actually works.
Is Hogwarts Legacy Better on PlayStation or Xbox?
In most cases, there are very few differences between playing a multiplatform game on Xbox or PlayStation. When it comes to Hogwarts Legacy, though, PlayStation arguably offers a much better experience thanks in large to the inclusion of the Minding Your Own Business shop quest. This hour-long extravaganza is by far the best side quest in Hogwarts Legacy, giving players access to around sixty minutes of additional content for no extra cost. Better still, completing the quest rewards players with their very own Hogsmeade shop, which allows them to sell their unwanted gear for a higher price than their Xbox, Switch, and PC-playing peers.

Hogwarts Legacy
- Released
- February 10, 2023
