There are many things that one would expect to see in the full trilogy remake of Final Fantasy 7, and the Gold Saucer is certainly one of those things. It is hard to forget the annoyingly catchy music, or all the mini-games packed into a single location. For the eighth chapter of Final Fantasy 7 Rebirth, you can expect all that and more. Of course, this chapter is more than just fun and games, as Barret comes face to face with his past. Here is what you can expect as you begin Chapter 8: All That Glitters.
This walkthrough contains spoilers, so players should proceed with caution.
Final Fantasy 7 Rebirth Review
Final Fantasy 7 Rebirth is an epic-scale adventure with an unforgettable cast of characters that will keep players busy for dozens of hours.
Welcome to the Gold Saucer
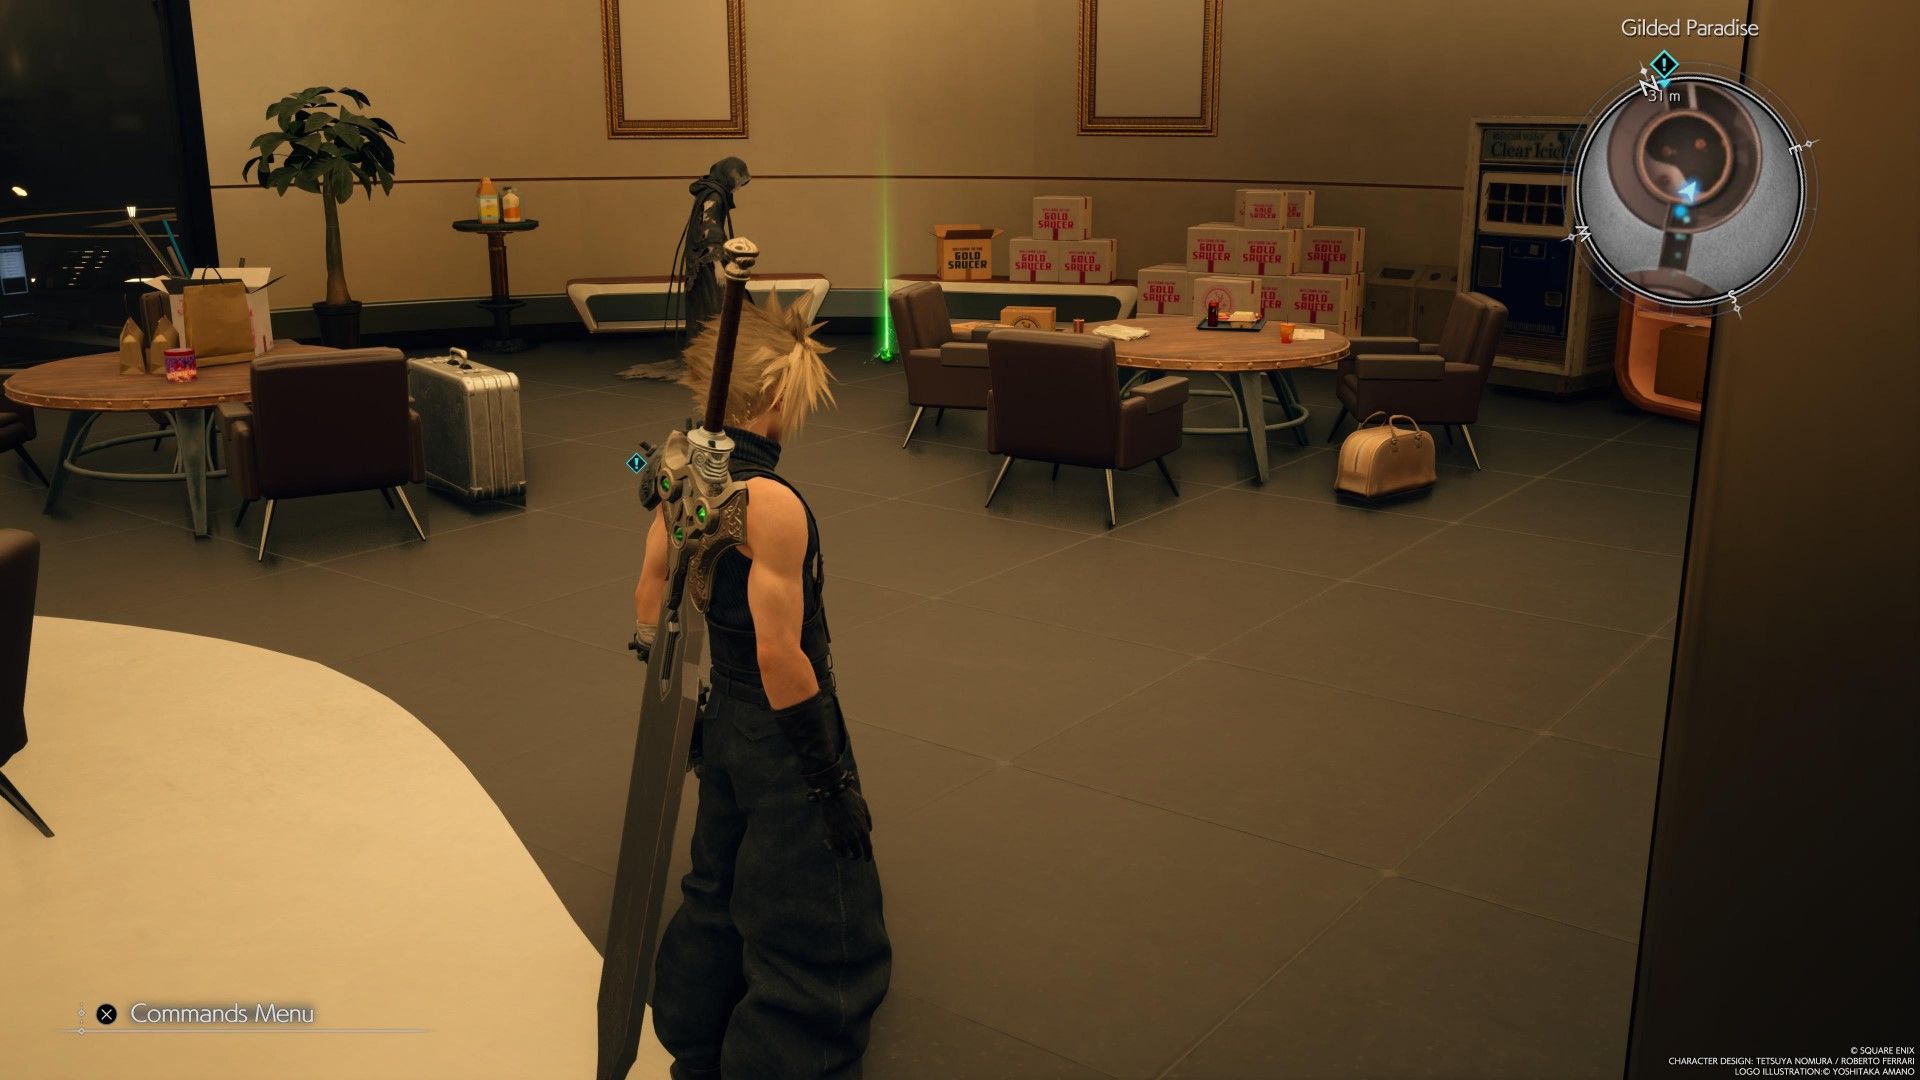
Once you arrive at the Gold Saucer, head up the stairs, go through the hallway, and enter the small round room directly ahead of you. Next to the robed figure is a healing materia. Leave the room and go down the stairs to trigger a cutscene. Once it is over, head toward the entrance where another cutscene will trigger. After that, its time for a mini-game.
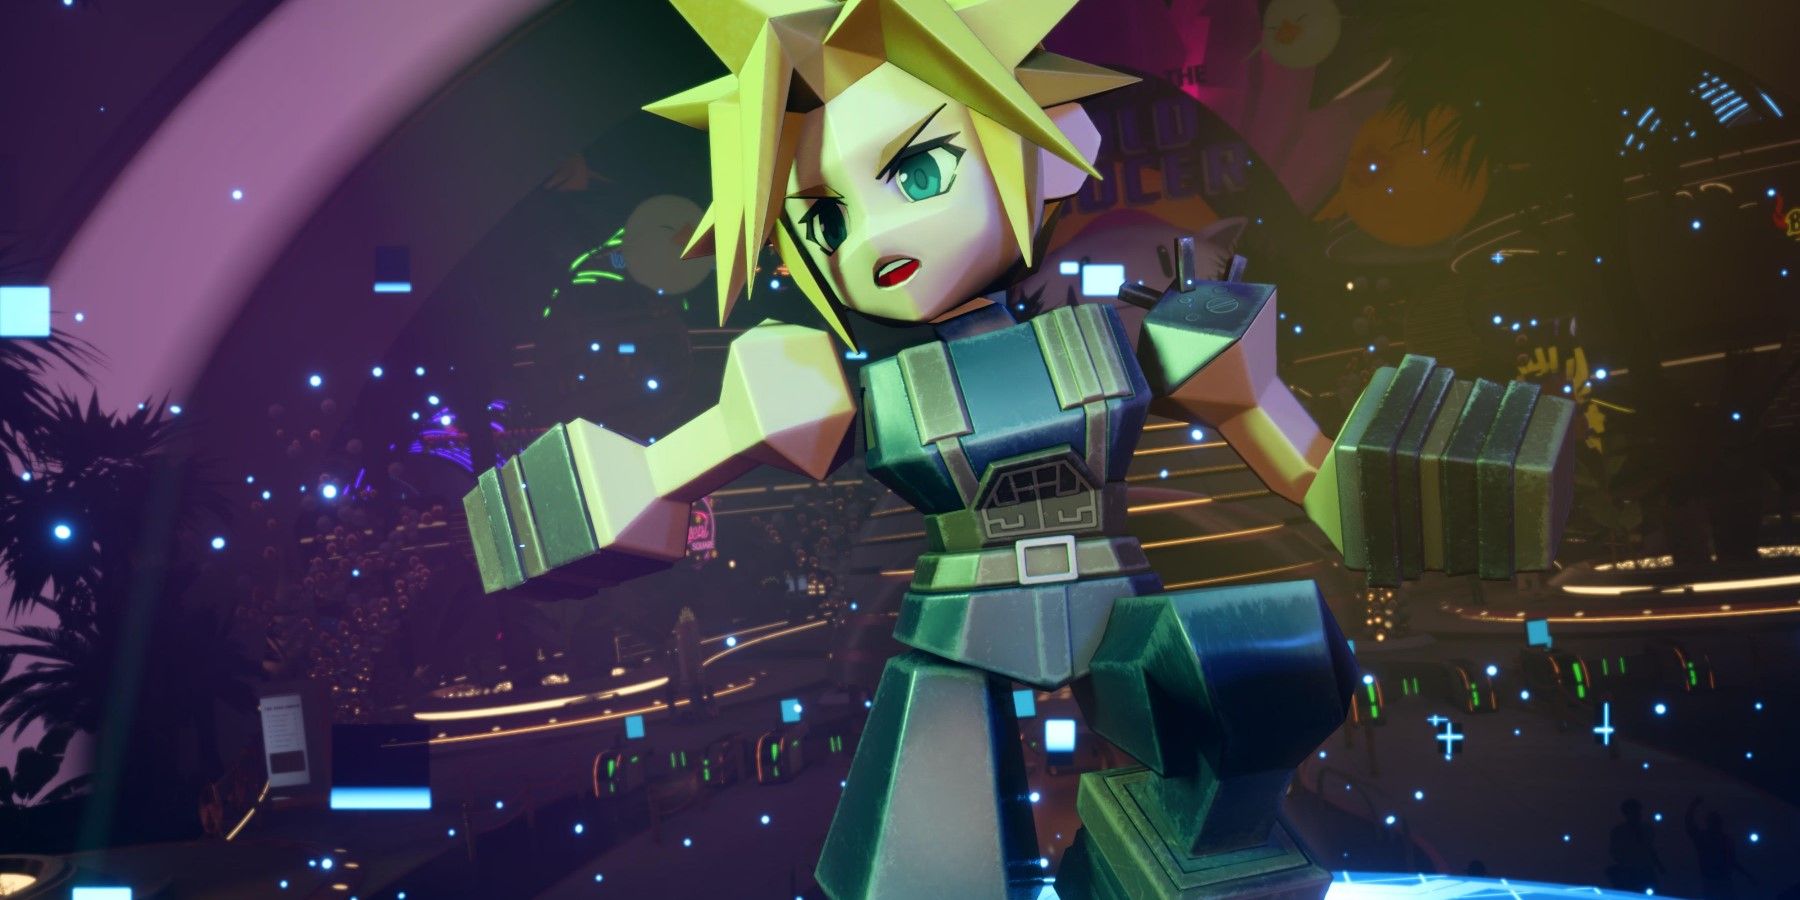
Retro Boxing
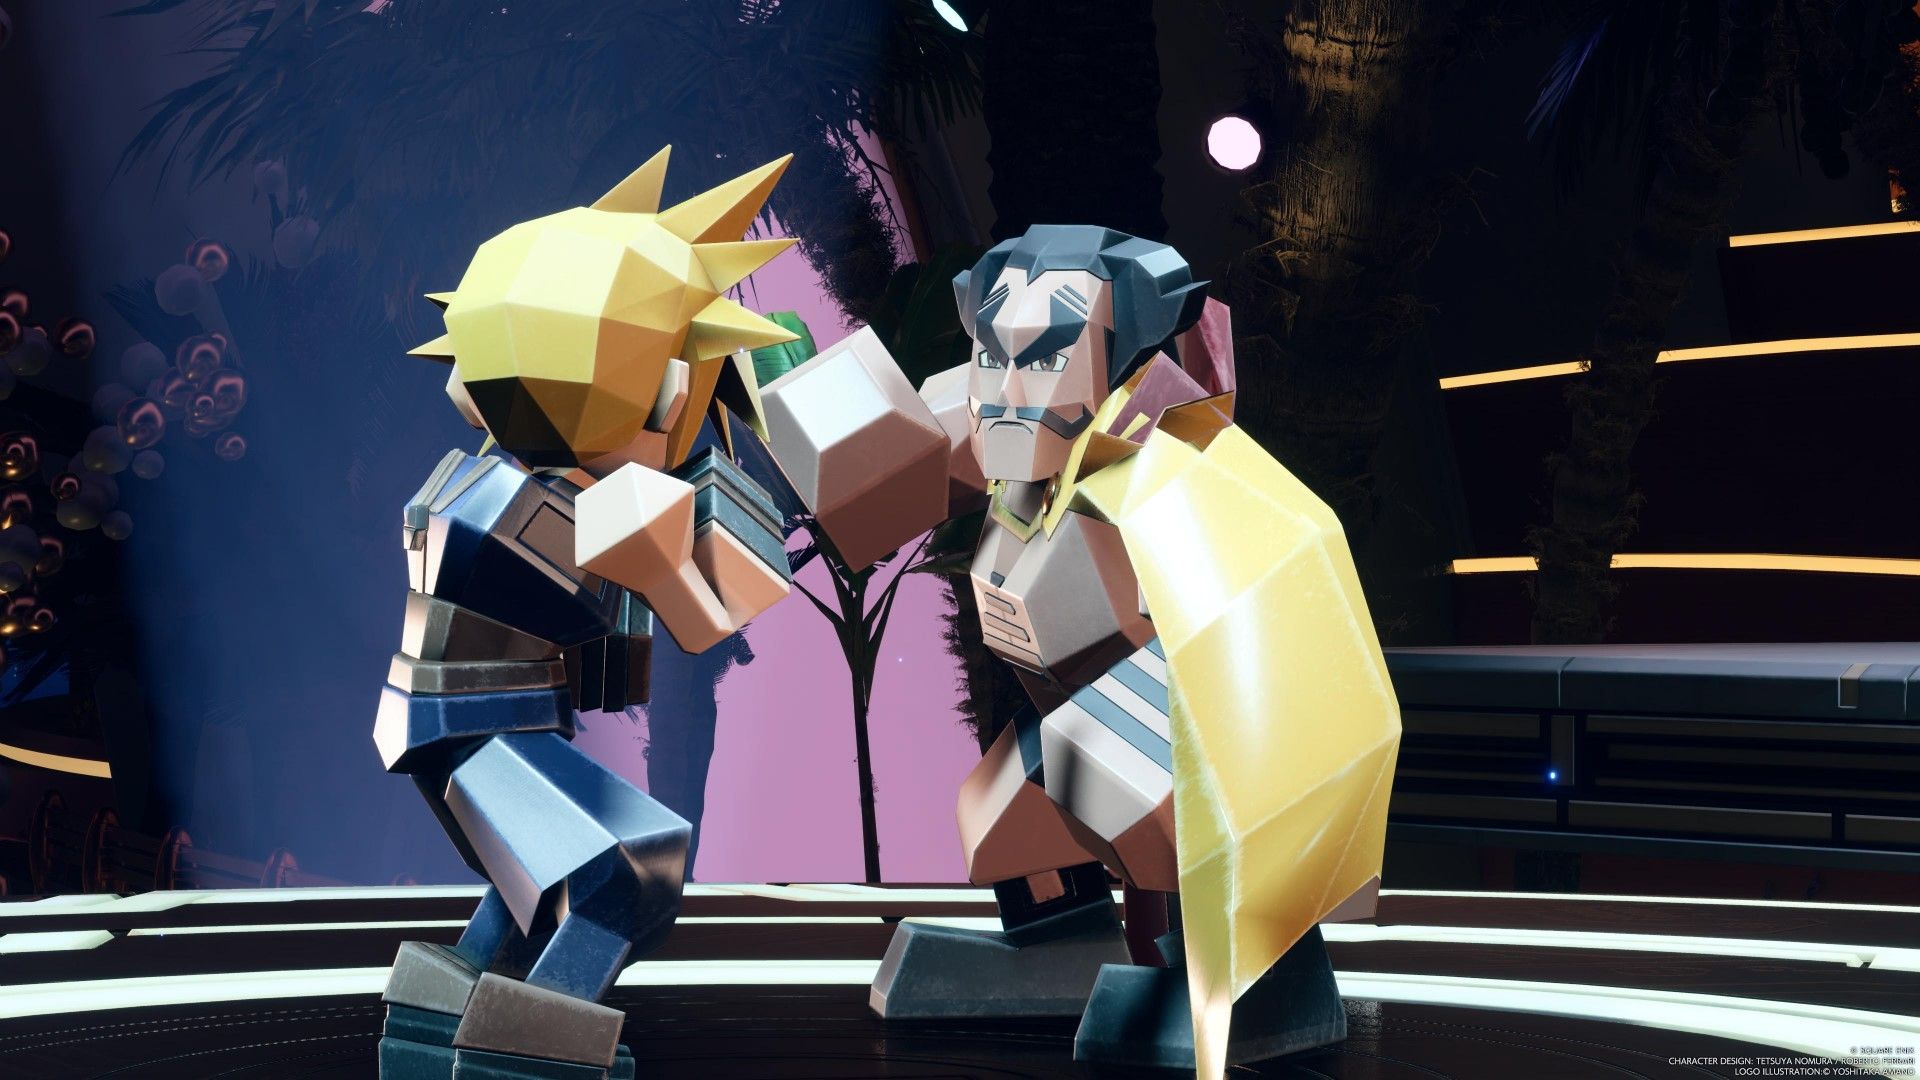
First off, you go through a tutorial where you need to hit Dio twice. Then you have to dodge two of his attacks. If he is winding back with his right arm, click the right stick to the right. If it is his left arm, click the left stick to the left. The tricky part about this tutorial is the two hits in a row. Despite the wording, you cannot get two hits at the same time. To successfully complete the third part of the tutorial, you must hit Dio, dodge his attack, and then hit him when you are prompted to do so.
Once you complete the tutorial, it’s time for the real match. In order to win, you must fill your Limit Break bar before Dio does. Then, hold down L2 and R2 to deliver the finishing blow. After the mini-game is over, head further into the Gold Saucer.
Get Some Rooms
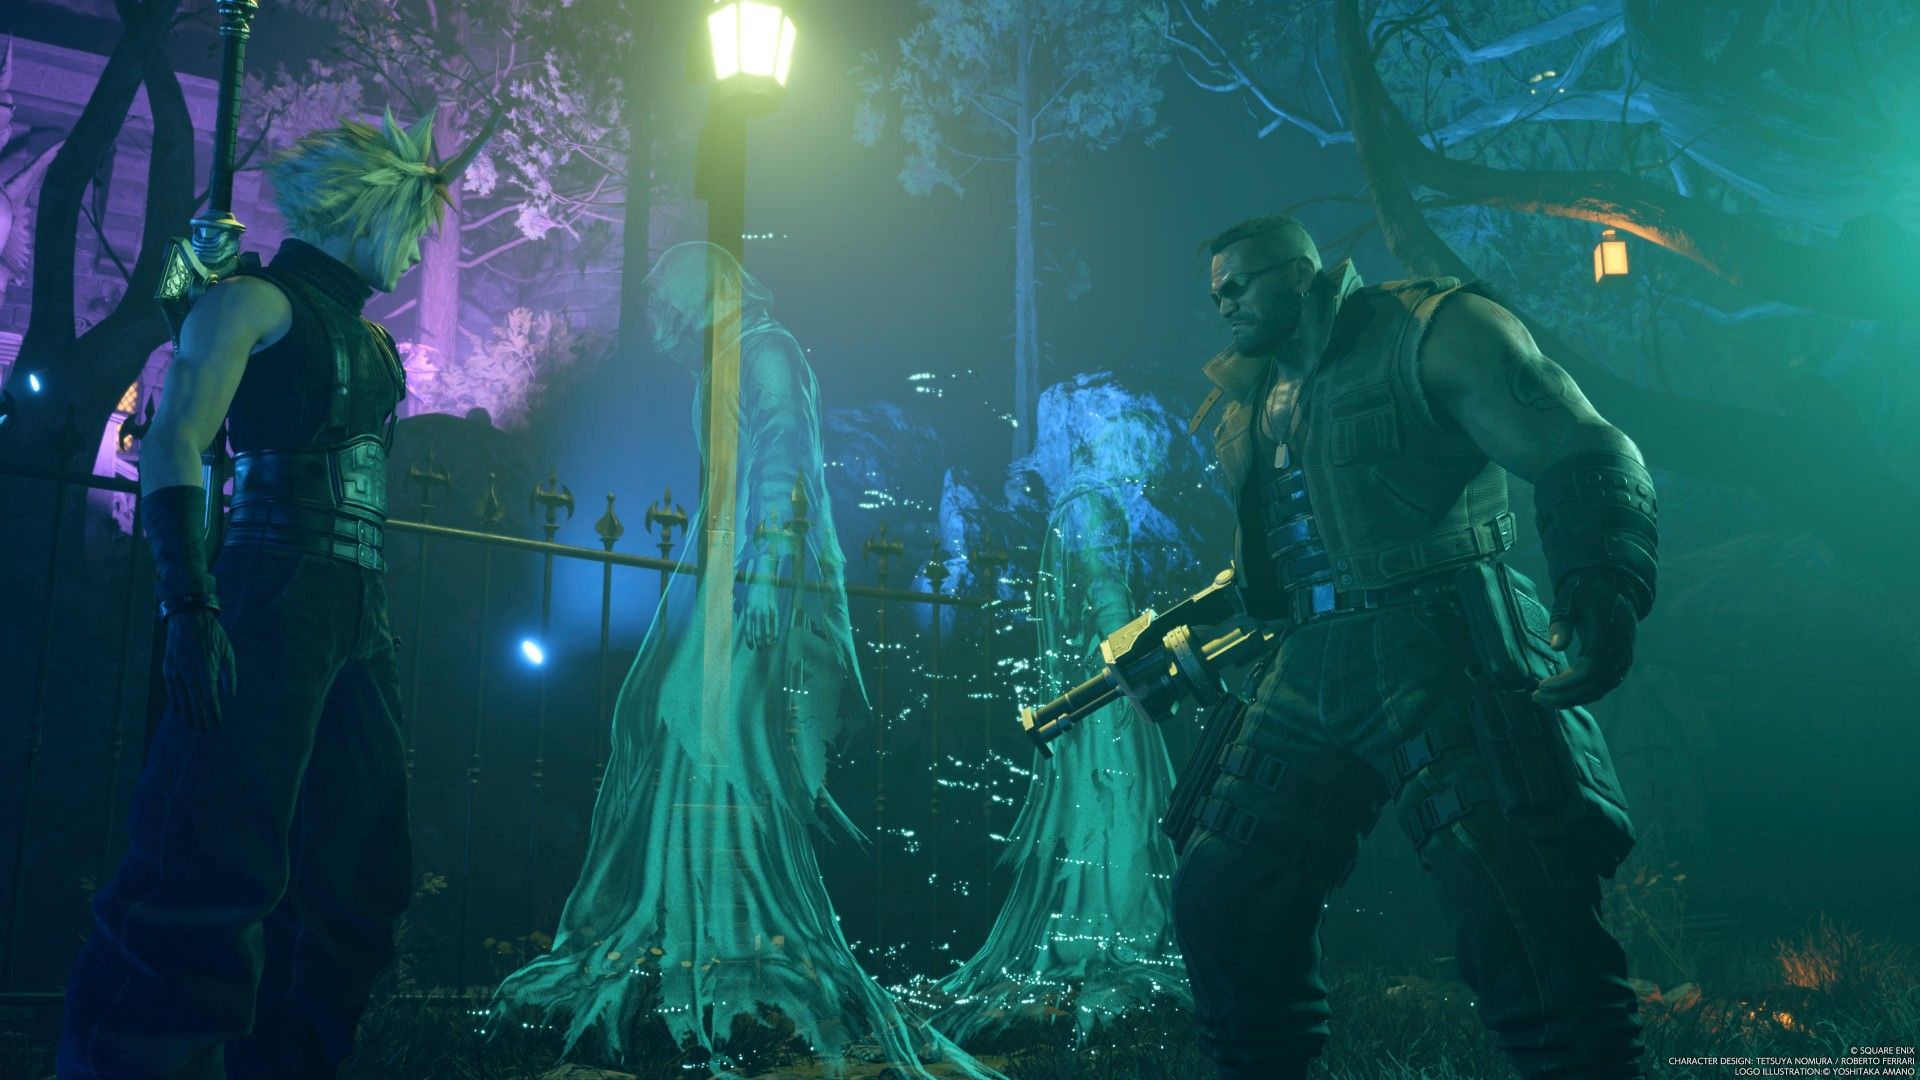
While Tifa, Aerith, Yuffie, and Red XIII all run off to have fun, Cloud and Barret focus on finding rooms for everyone to rest. Follow Barret up the stairs as he goes toward what appears to be a haunted attraction. After meeting Cait Sith, head up the stairs toward the Haunted Hotel. Go inside and head to the reception desk. Following that conversation, head up the stairs and head to the elevator.
Once you arrive at the fourth floor, go straight to the end of the hallway and enter the door on the left. There is a chest you can open in this room, but it doesn’t contain anything helpful. When you are ready to proceed, use the bed and go to sleep.
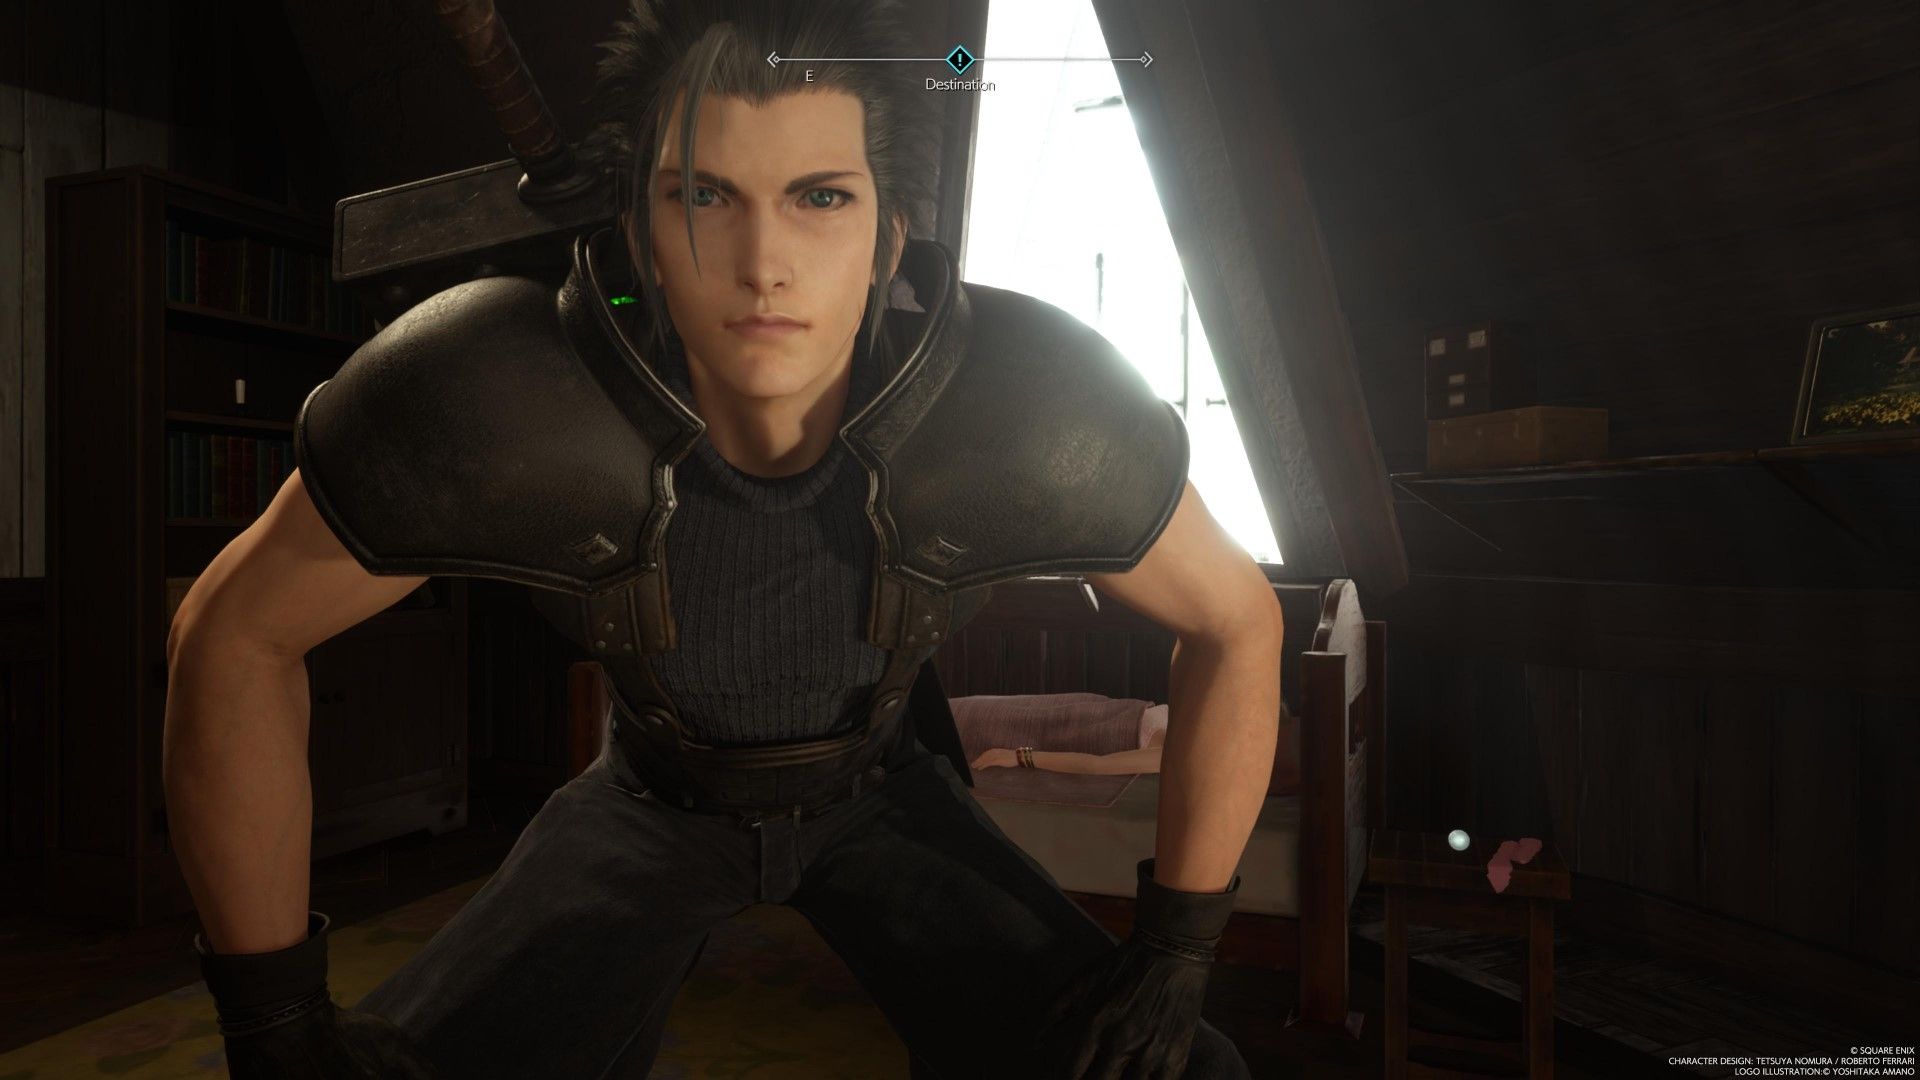
The scene shifts back to Zack from an unusual camera angle that appears to be from Cloud’s perspective. Use the left stick to move Zack toward Aerith and use the Triangle button to interact with her. Then approach the white materia on the table and interact with it. Finally, look at the bookshelf and then use the door. Out in the hallway, go downstairs to trigger a cutscene. Shortly after, you resume playing as Cloud.
Explore the Gold Saucer
Open the door to trigger a cutscene, and then use the elevator. As you leave the Haunted Hotel, you will get a tutorial about Guide Moogles and how they can help you fast travel around the Gold Saucer. To advance the story, you will have to explore every area of the Gold Saucer and participate in mini-games.
As long as you complete mini-games, you will get credit towards that objective. You don’t actually have to win, though you can get a variety of prizes.
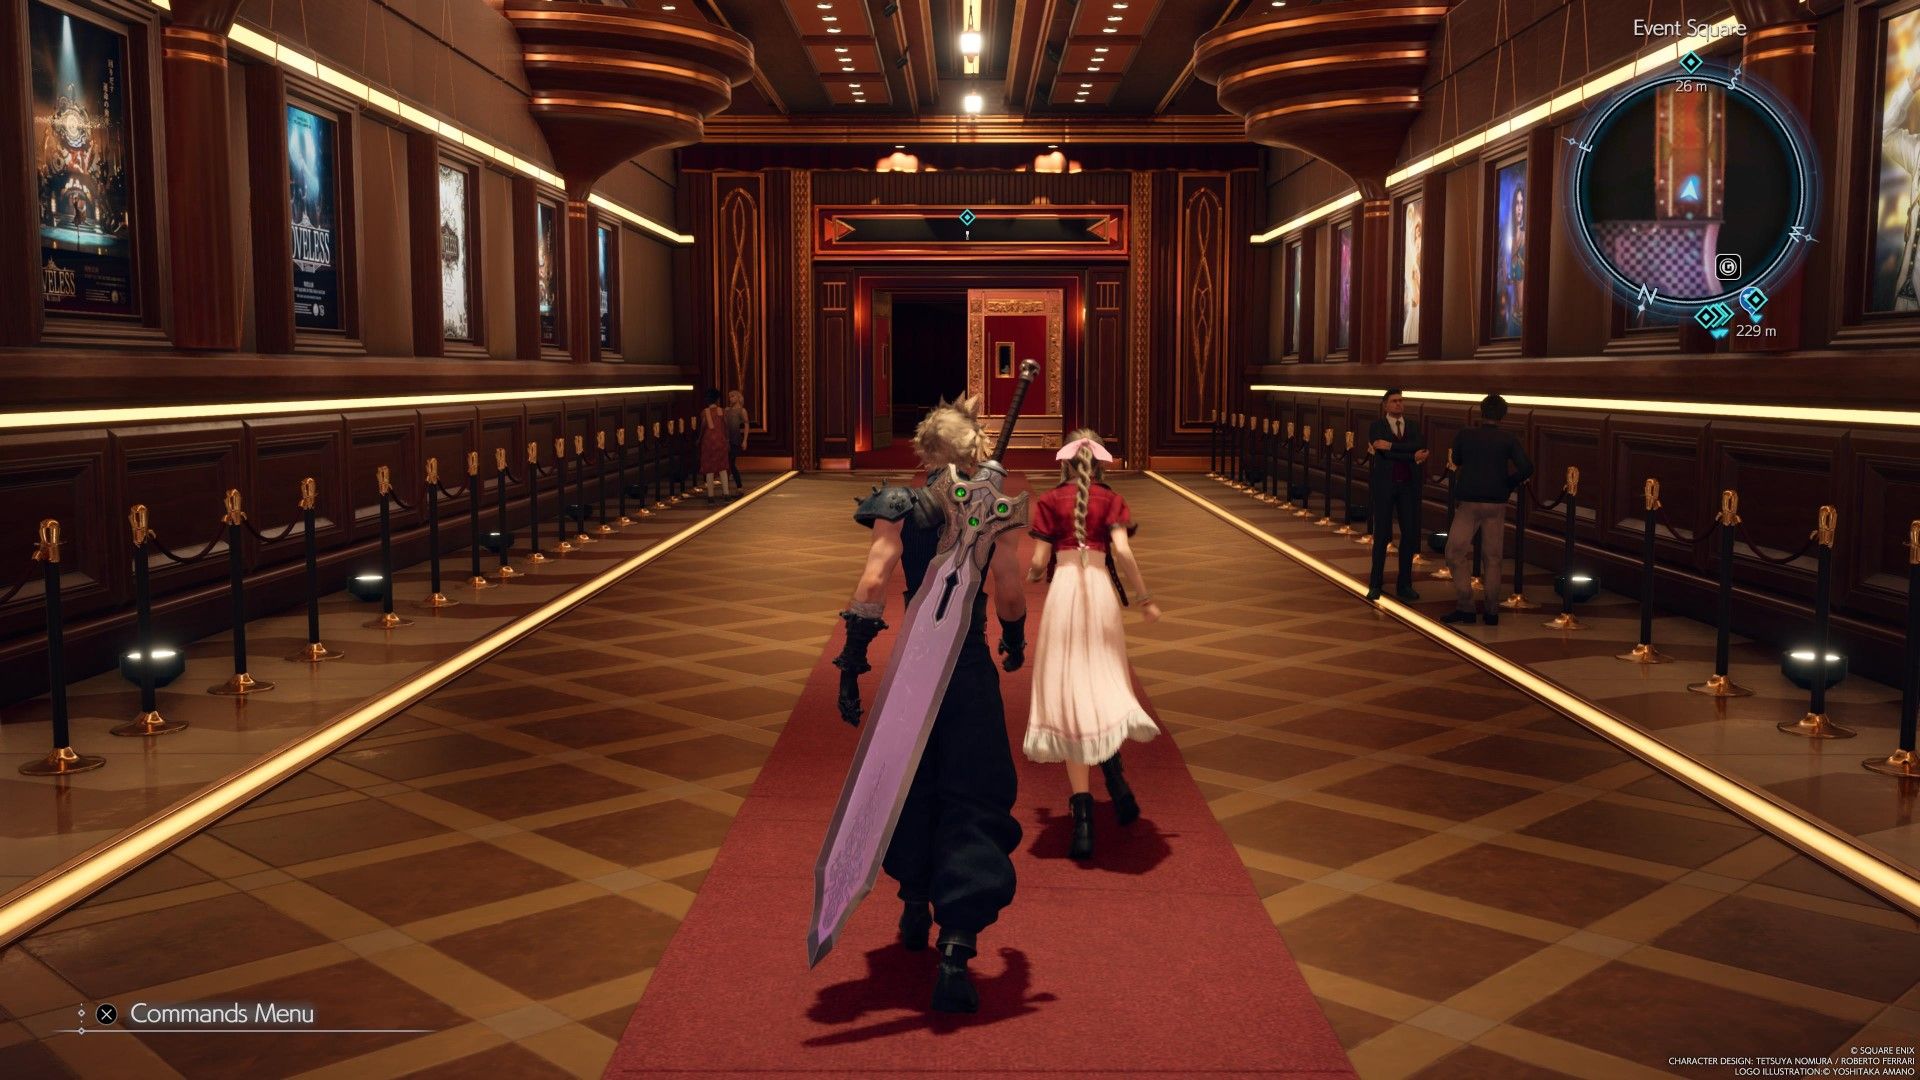
When you go to the Gold Theater, make sure you go down to where the stage is and look to the right to find a HP Up materia. Once you’ve explored everything the Gold Saucer has to offer, you will be able to go to Skywheel Square. While it was previously closed, it will (conveniently) be open now. Head to Skywheel Square to trigger a cutscene.
Find the Culprit
Fast travel to the Battle Square and head in. Go through the hallway on the right and approach the taped-off area where there are bodies. After the cutscene is over, follow Cait Sith as he leads you to the elevator.
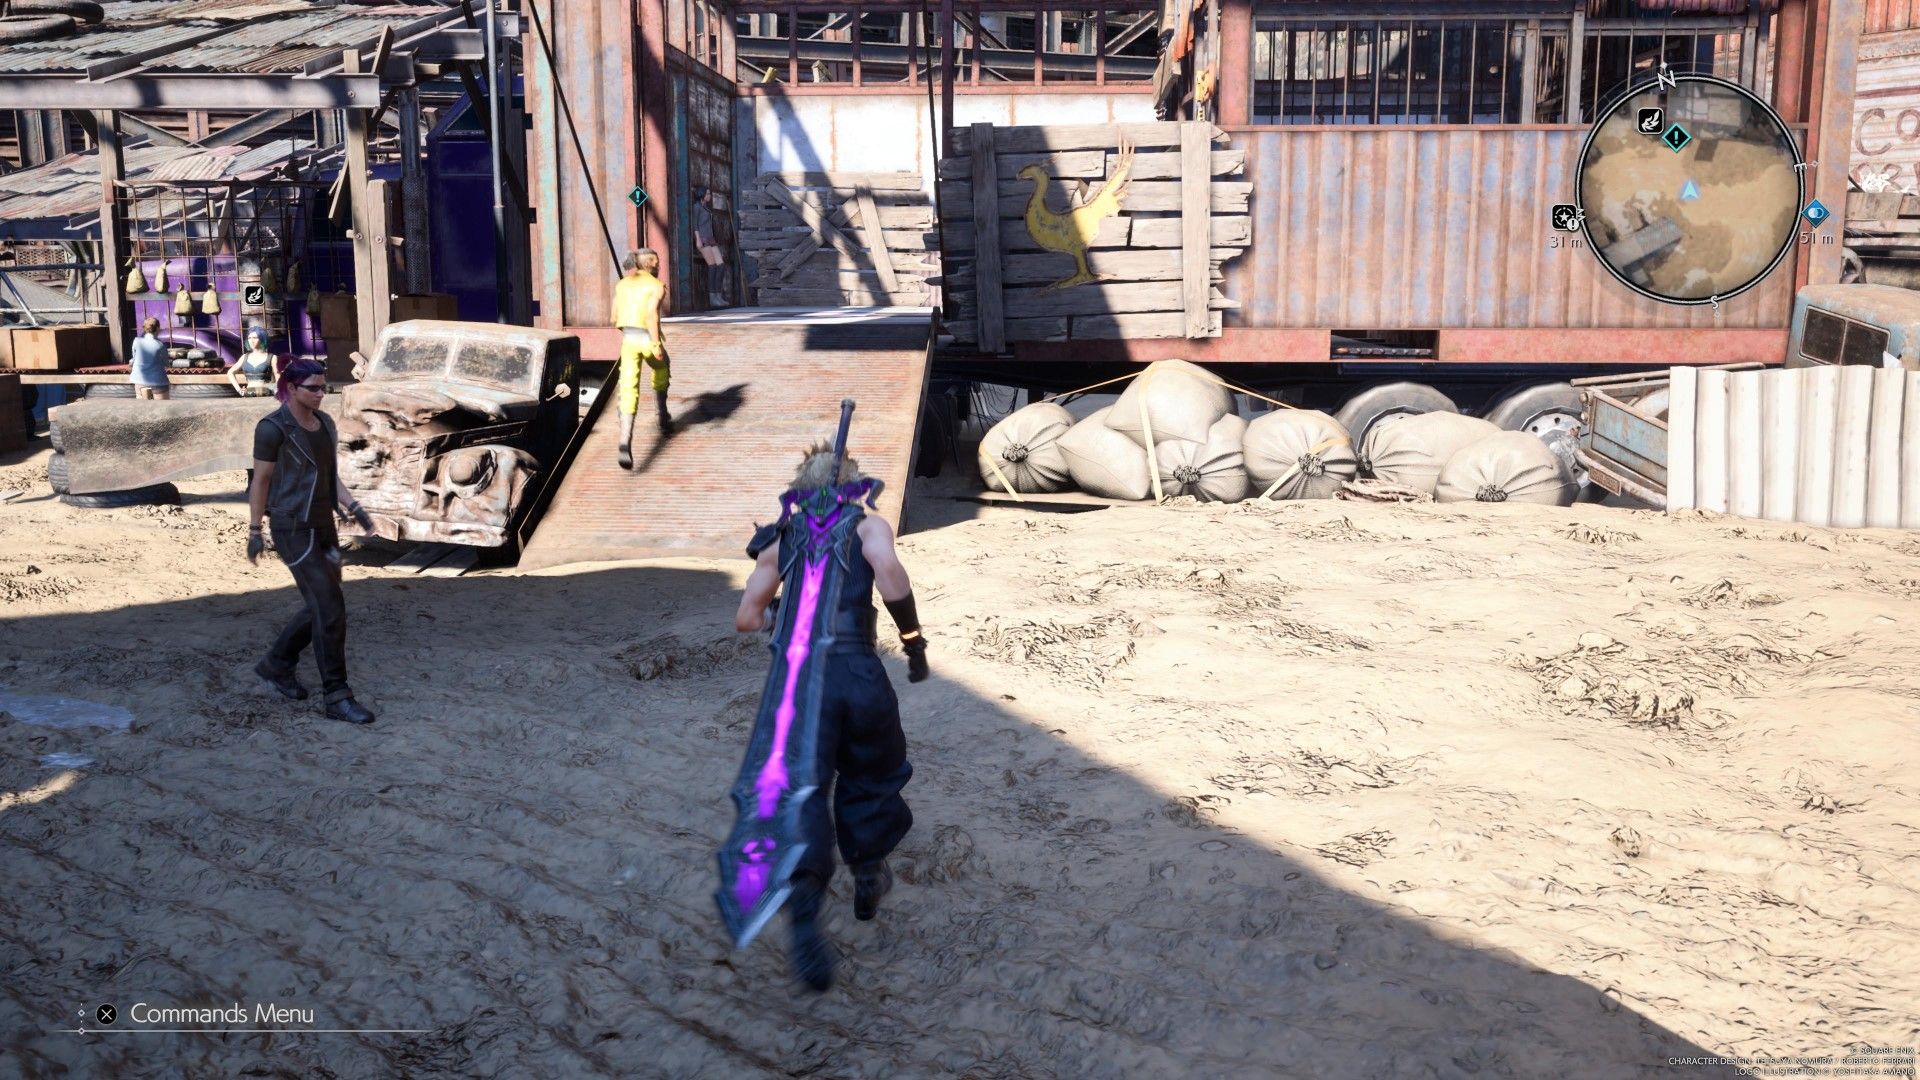
Use the elevator to go down to the Dustbowl. Walk along the empty street until you reach an open area which is clearly meant to be used for an ambush, which is exactly what happens. After a cutscene, go downstairs and loot the chest to get a new weapon for Cloud. Continue following Garth down to where the chocobo is.
Feed Piko
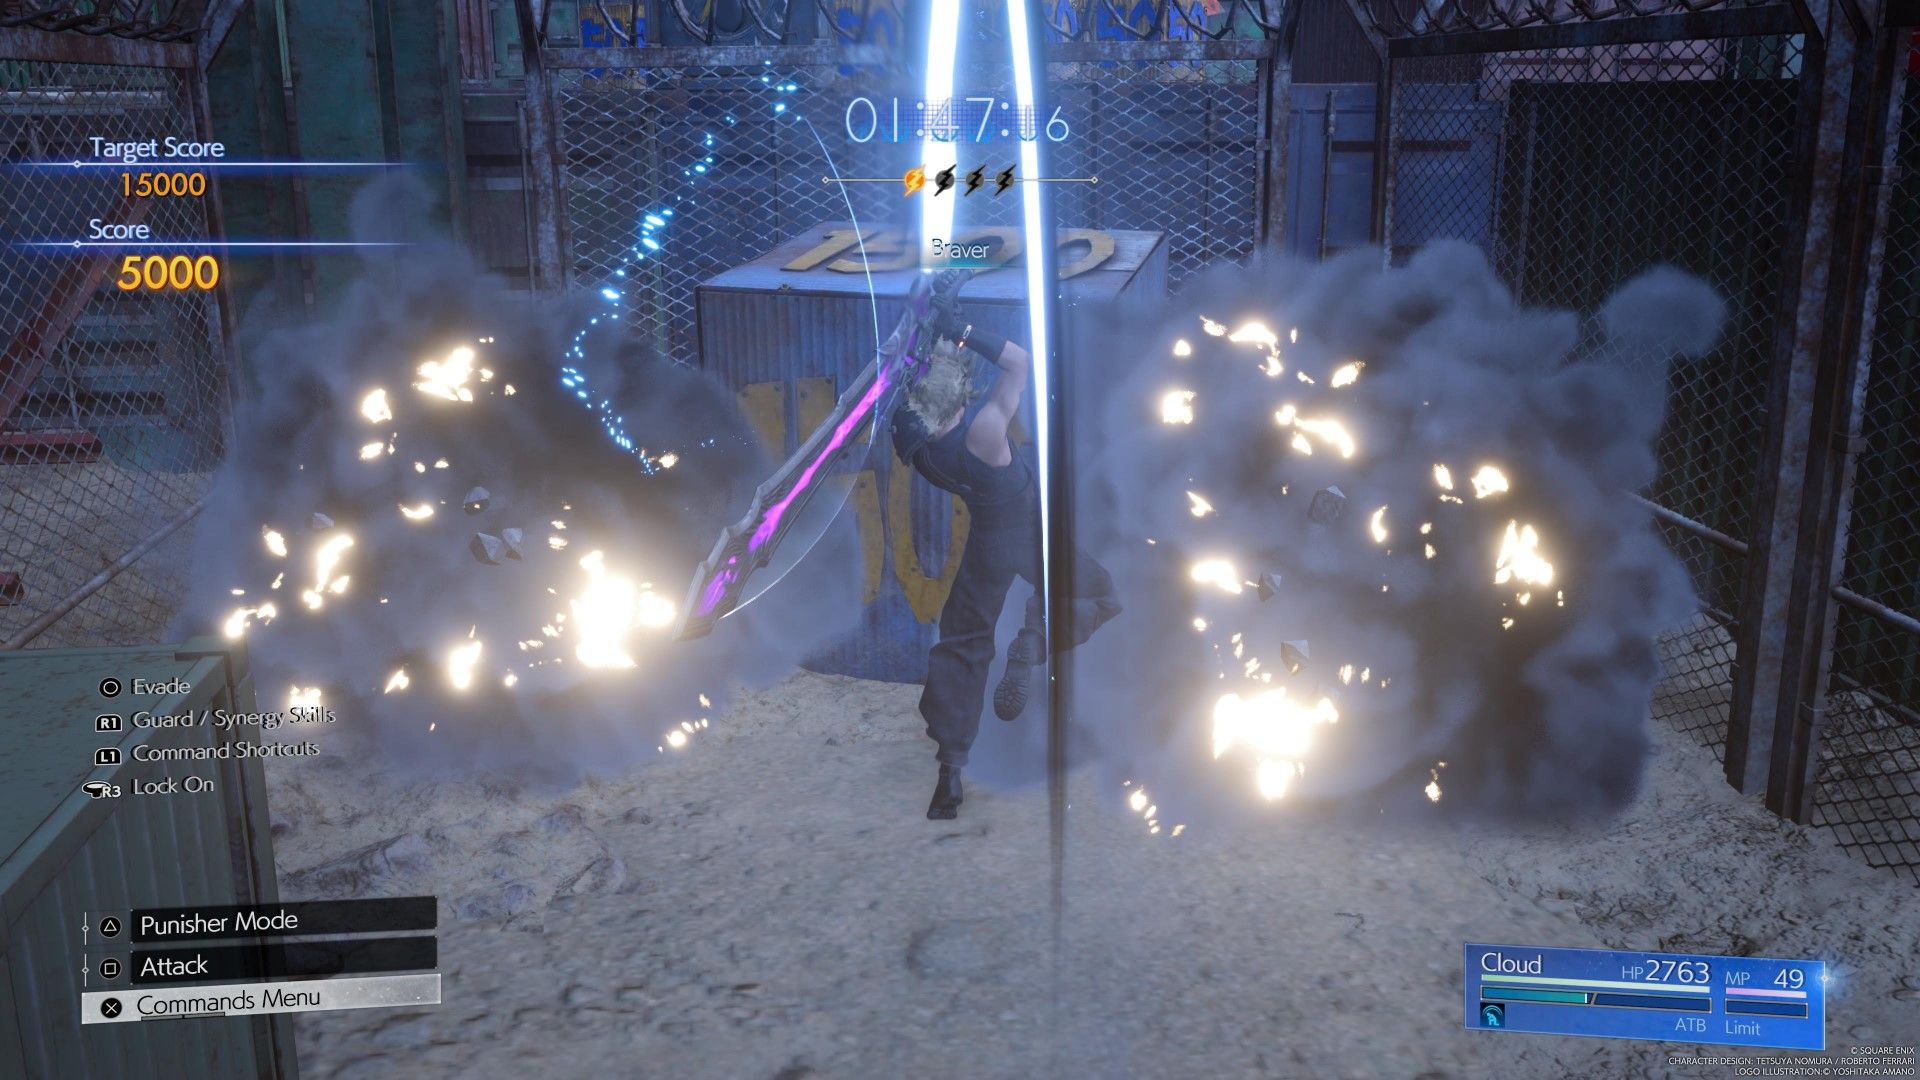
To proceed, you will need to find food for Piko. Head to Desert Rush, and get at least 15,000 points to get the Sylkis Greens, the food that you need for Piko. This mini-game is pretty straightforward. You destroy boxes while looking for boxes with the large yellow electricity symbols on them. Destroying these will allow you to destroy the gear boxes.
The amount of lightning symbols on these gear boxes indicate how many of the electric boxes you need to find and destroy. Destroy the smaller boxes with regular attacks, and use Braver on the big boxes to break them faster. You don’t need to complete the activity, you simply need to score 15,000 points before time runs out and you will get the Sylkis Greens.
You can get another Sylkis Green by going to the Bail Jumper. Get a key from the bartender and then head to the entrance to the mines which is nearby. Climb up the ladder to go further in and deal with the small group of enemies. Head up another ladder to find a Cactaur that runs off with the Sylkis Greens. Use the grappling hook to cross to the other side and then climb up the rock wall.
Out in the opening, you will have to fight a Cyclone Drake. Despite the name, it is weak to wind damage. After you defeat it, continue through the tunnel ahead. Eventually, you’ll come across a dead end. Use the grappling hook and go across the series of platforms until you reach a spot that you can drop down to a rock wall. Climb down and then go through the tunnel on your left. On the other end, you will have to fight a couple of Death Claws.
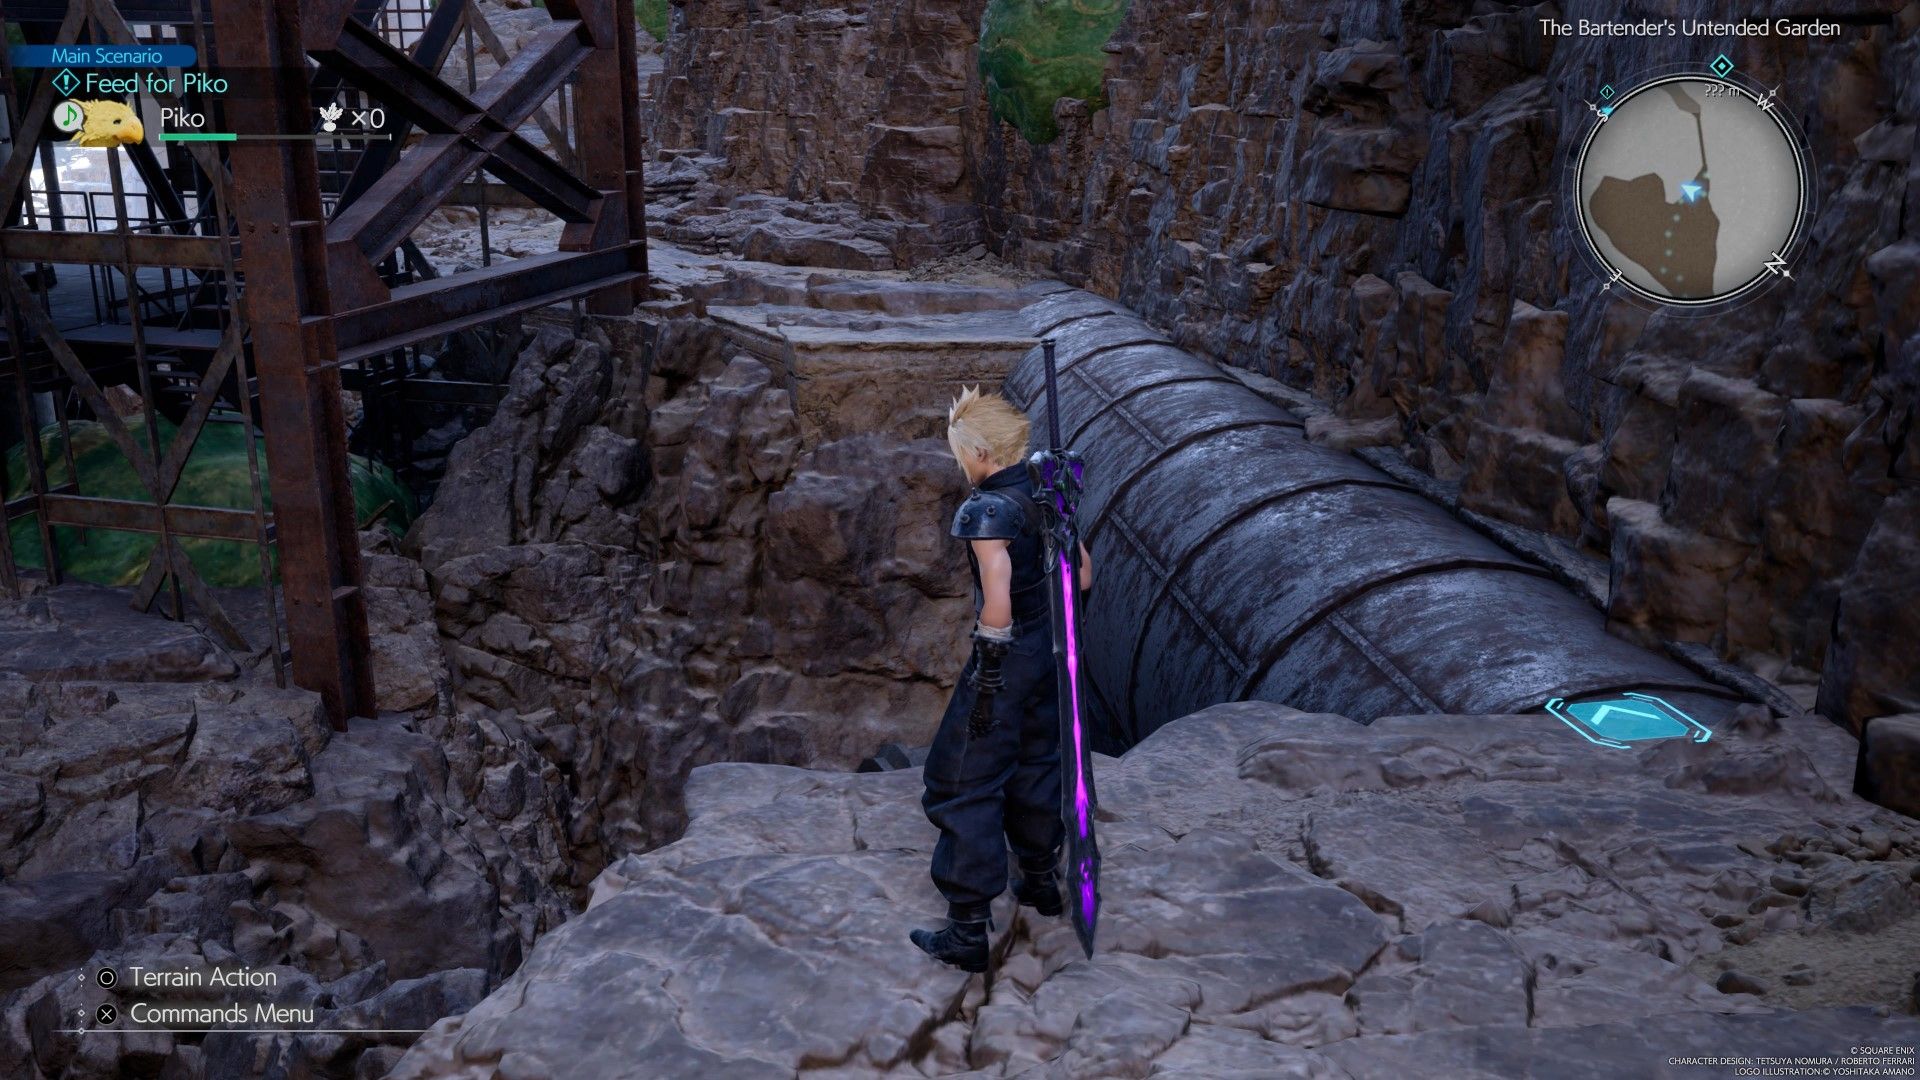
When the path splits, go left and go across the narrow pipe along the wall to pursue the Cactaur. Before going across the aforementioned pipe, drop down to the bottom to find a HP Up materia along with a chest. On the other side of the pipe, you will come across an open area with several Cactaur. Be careful when fighting them, as Cactaur are notorious for being able to do lots of damage with their Needle attacks.
Once the Cactaurs are dead, take the Sylkis Green and use the zipline to get back down. Take the Sylkis Green back to Piko. To find the third and final Sylkis Green, talk to the three guys across from the Community Noticeboard. They will begin to follow you. Head east and loot the chest in the corner to get 1500 Gil. Next, go through the narrow spot in the wall. They will attempt to “teach you a lesson”. They aren’t particularly challenging and are easy to stagger, so defeat them, and they will give you the last Sylkis Green. Give them to Piko.
Chocobo Racing
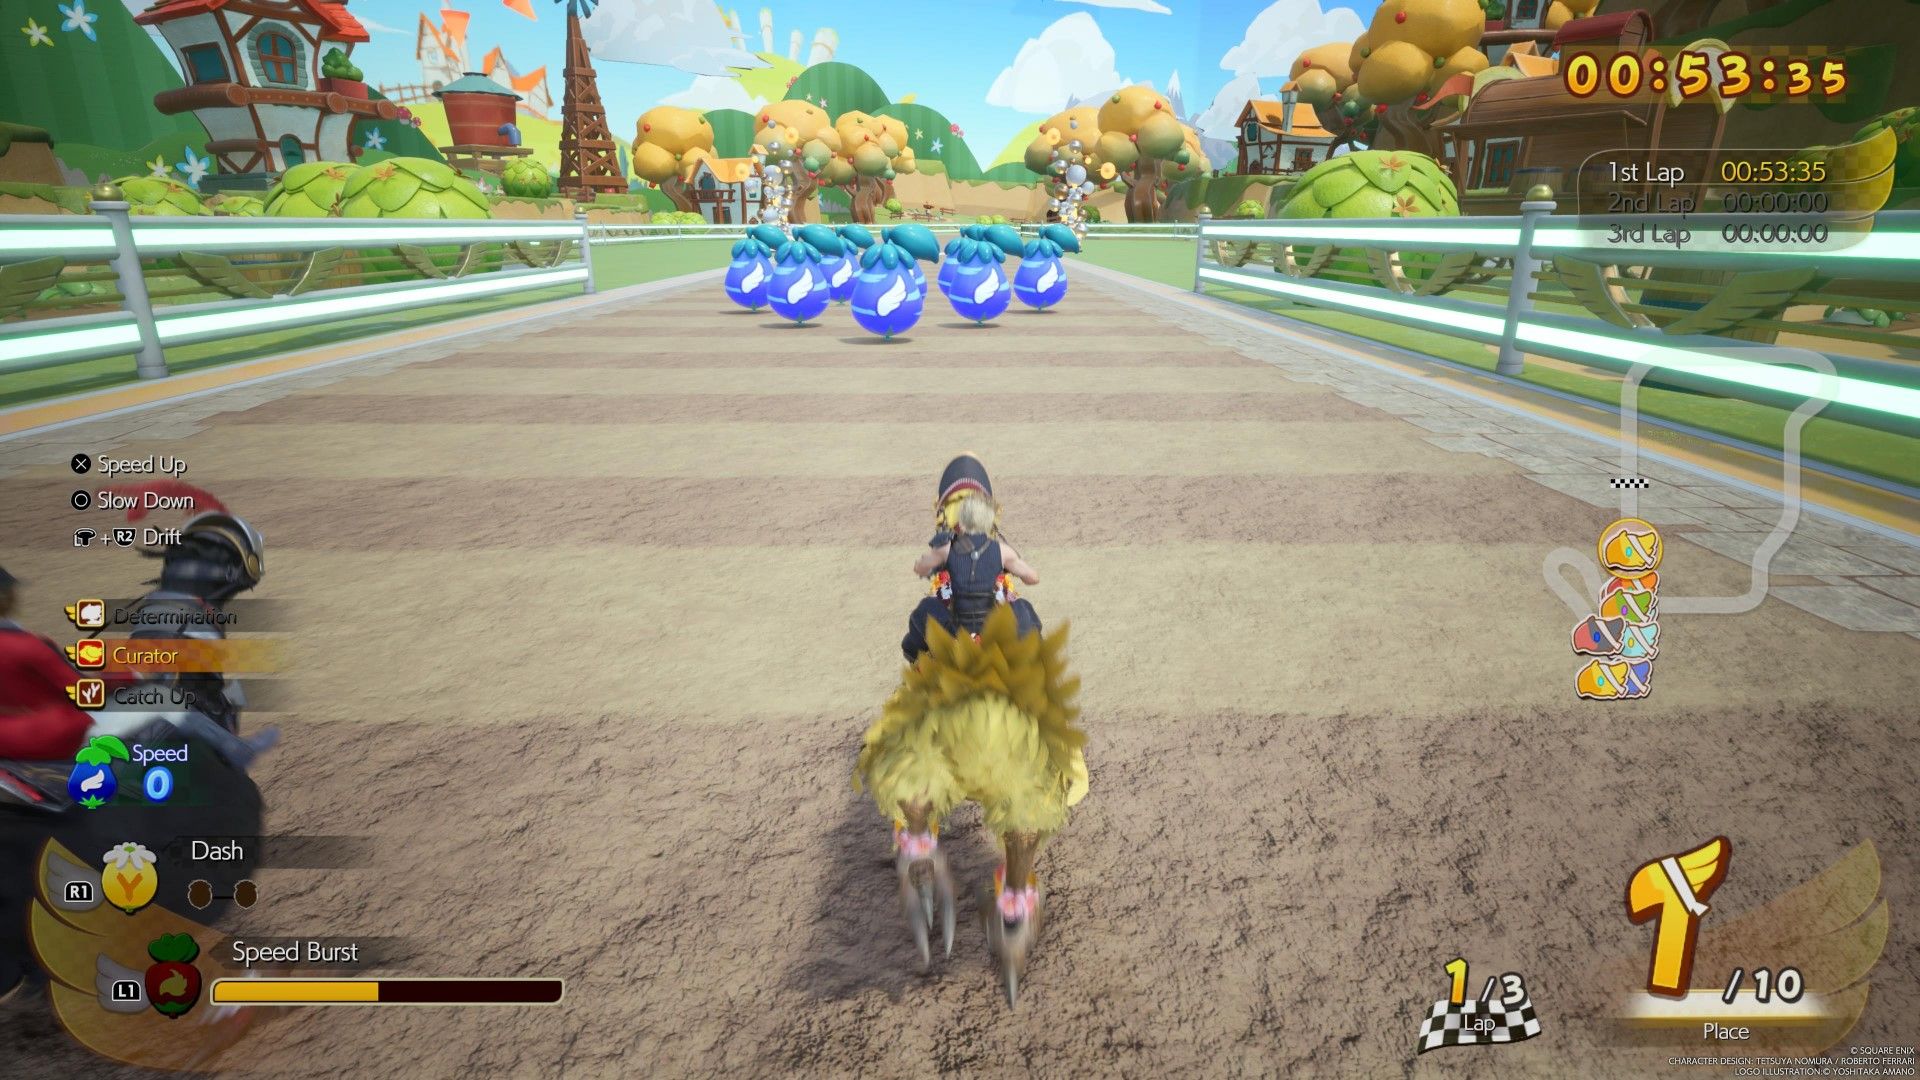
Talk to Garth to participate in the race. Follow Esther and she will take you to the elevator. Once the elevator reaches its destination, follow Esther to the waiting room. While in the waiting room, you can use the chocobo saddle to get some practice before the race. Talk to Esther and look around until an announcement informs all jockeys to proceed to the paddock. When Esther asks if you are ready, say yes.
The trick to winning the race is to wait until you get ahead and then use Speed Burst to further cement your lead. Having an outfit equipped on your chocobo will also increase your stats as well, so make sure to have something on every slot.
Back on the Trail
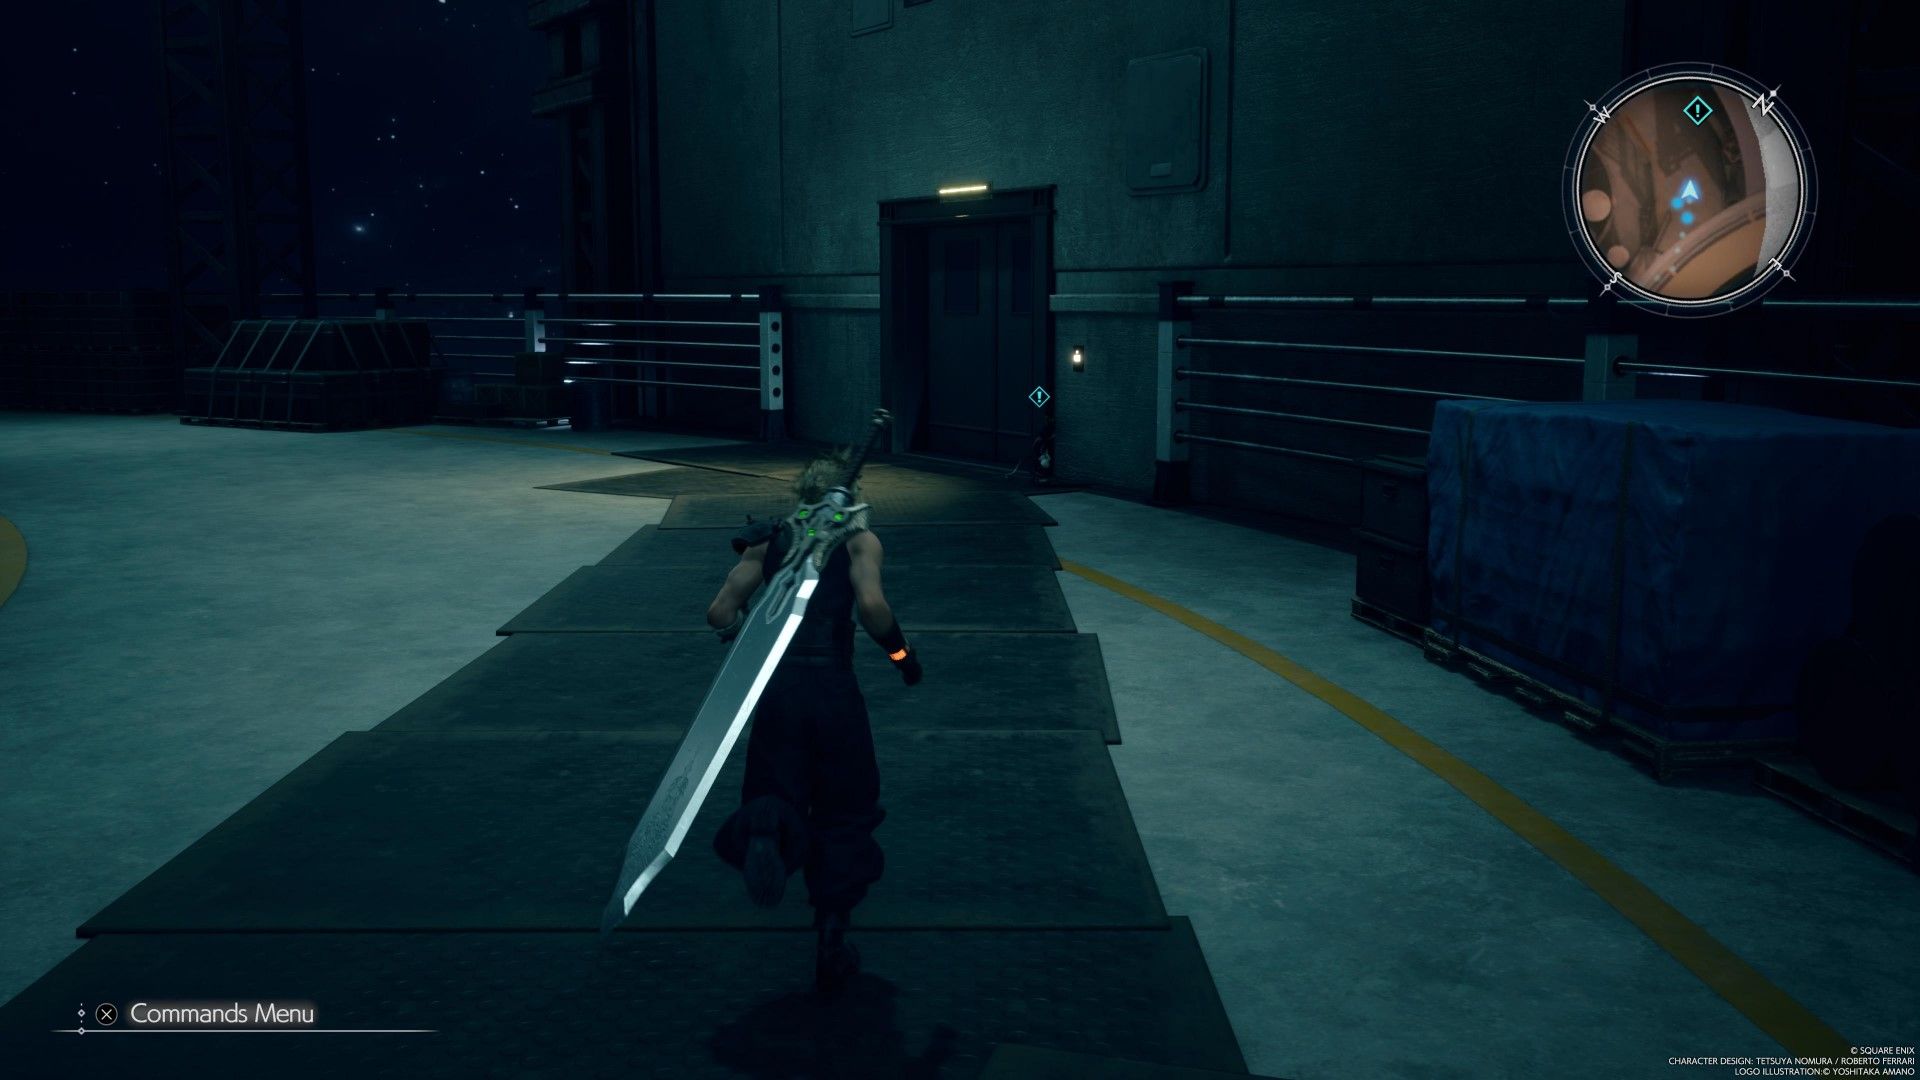
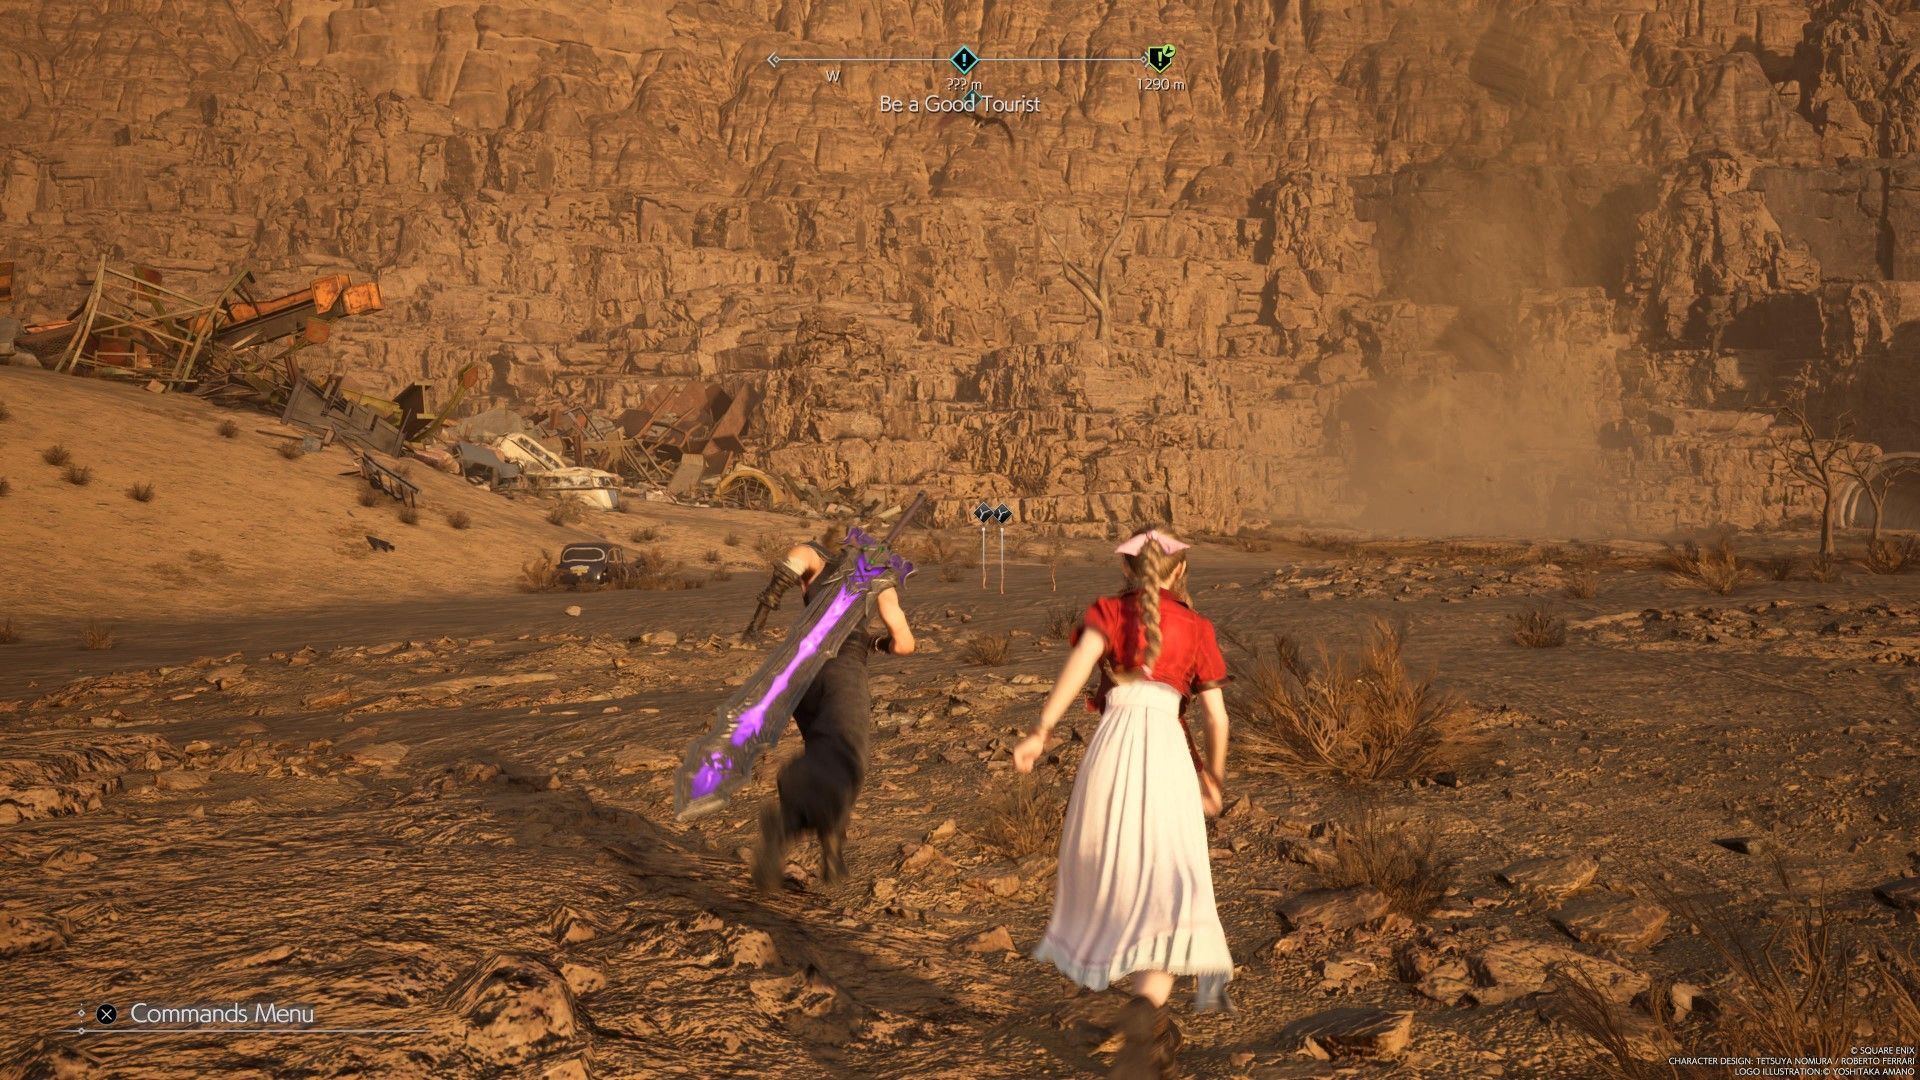
After the cutscene, go down the ladder. The tunnel below has some monsters in it, but they won’t be particularly difficult to deal with. At the end of the tunnel, you will see a large bird perched on a tree. Follow the bird, and deal with the enemies that get in your way. As you follow the bird you will eventually come across a large tornado. Approaching it triggers a cutscene.
Once you reunite with Barret, head to the spot marked on the map. Loot the chest on the right that contains a weapon for Barret. Take out the enemies in the clearing and then head towards the rest station. Rest up and stock up on anything you need, as Barret is going in alone under that hole in the fence. Approach the shack in the middle of this area and interact with the door.
How to Beat Dyne
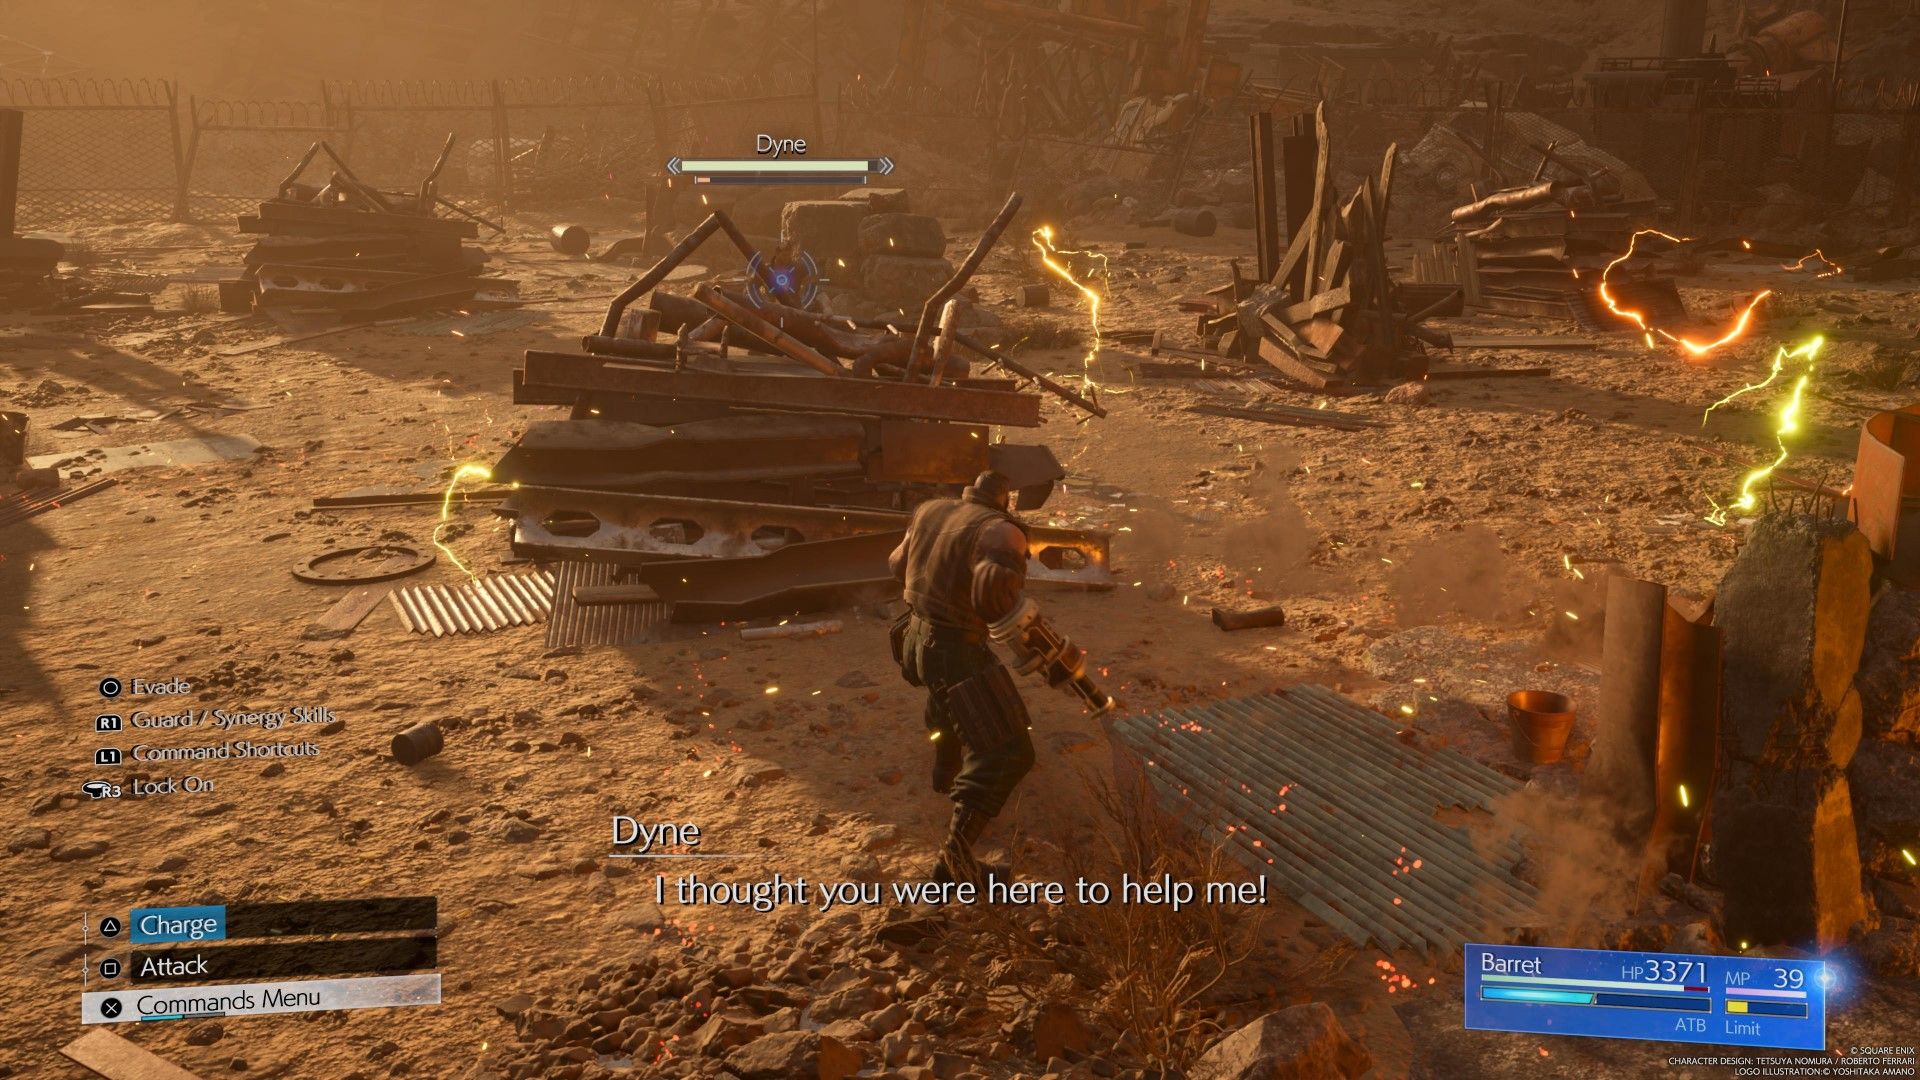
After the cutscene, Barret will have to fight Dyne one on one. When Dyne casts Paralyzing Shot, move out of the lines that appear on the ground. You can use the various piles of junk around the arena as cover, which can prevent damage from many of Dyne’s attacks. As Dyne falls below 90% health, he will drop a bunch of mines onto the ground. Do not get close to them.
Dyne will periodically cast Repentance, an unblockable attack that destroys cover. Move away to avoid taking damage from this. Dyne will periodically use Point Blank, an ability where he charges in and fires a shot right into Barret. This attack is very difficult to dodge, but it is possible.
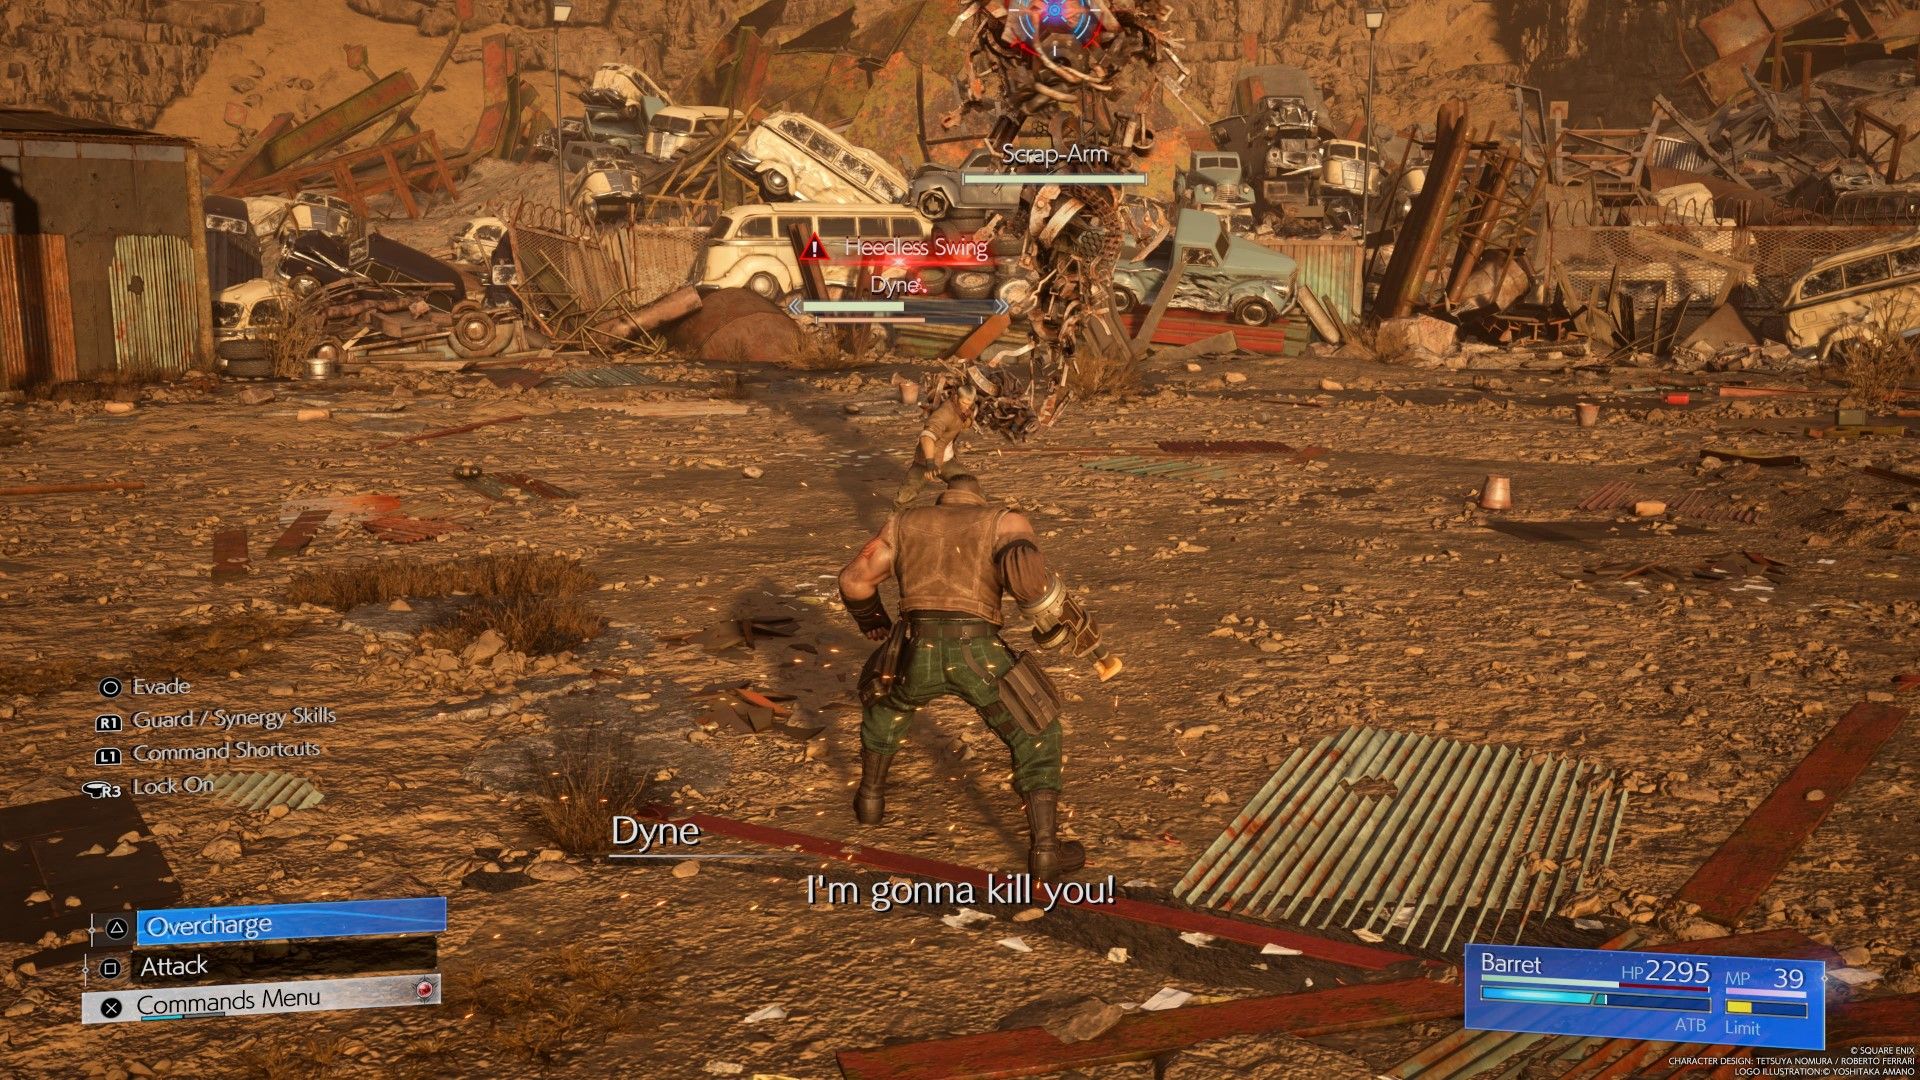
Once Dyne reaches 50% health, a bunch of scrap around the arena will converge on him and turn into a large arm. The arm will also periodically break off of Dyne and shoot up from underground or fire lasers at you. Focus on destroying these parts as quickly as possible, as it makes Dyne much easier to deal with. Paralyzing Shot becomes Paralyzing Wave and leaves a pattern on the ground where the bullets will go.
Even after you destroy the scrap arm, or the scrap-whips, they will periodically respawn. Shift your focus on them, destroy them, and continue attacking Dyne until you defeat him.
How to Beat Anuran Suppressor
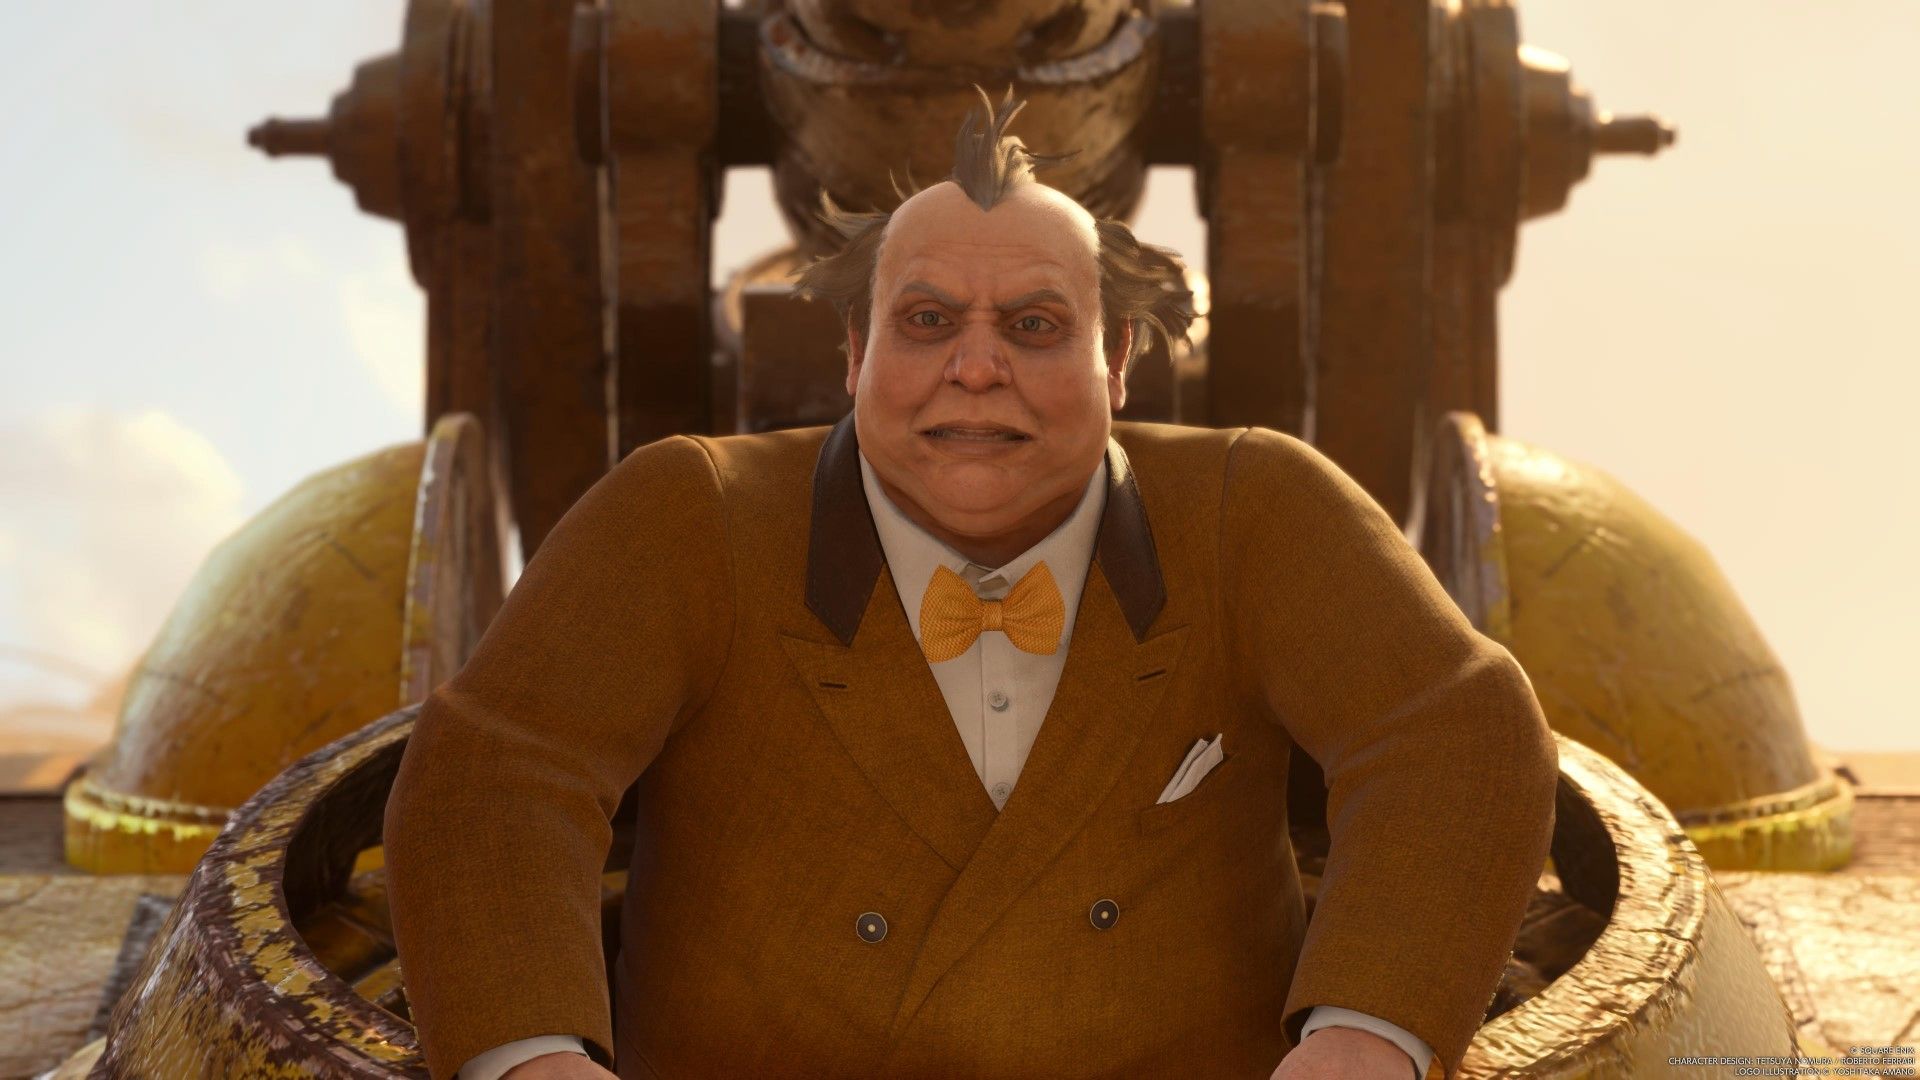
Even after defeating Dyne, you aren’t done yet. Once the cutscene is over, you will be in control of the rest of the party. Follow the path in front of you to reach a clearing. Shinra drops down a giant mech controlled by Palmer. Anuran Suppressor is weak to lightning damage, despite the fact that it uses electricity in some of its attacks.
When Palmer emerges and taunts you, target him and attack him with anything to build up additional pressure. Once the Anuran Suppressor reaches 50% health, the automated systems will take over for Palmer, and it will become significantly more dangerous. At this point you will be able to target the legs as well. Destroy them to build up a significant amount of pressure. Destroying both legs will stagger Anuran Suppressor. Use this opportunity to deal as much damage with Limit Breaks and Synergy Abilities as possible. After you defeat Anuran Suppressor, there will be a cutscene followed by a mini-game.
How to Escape From Shinra
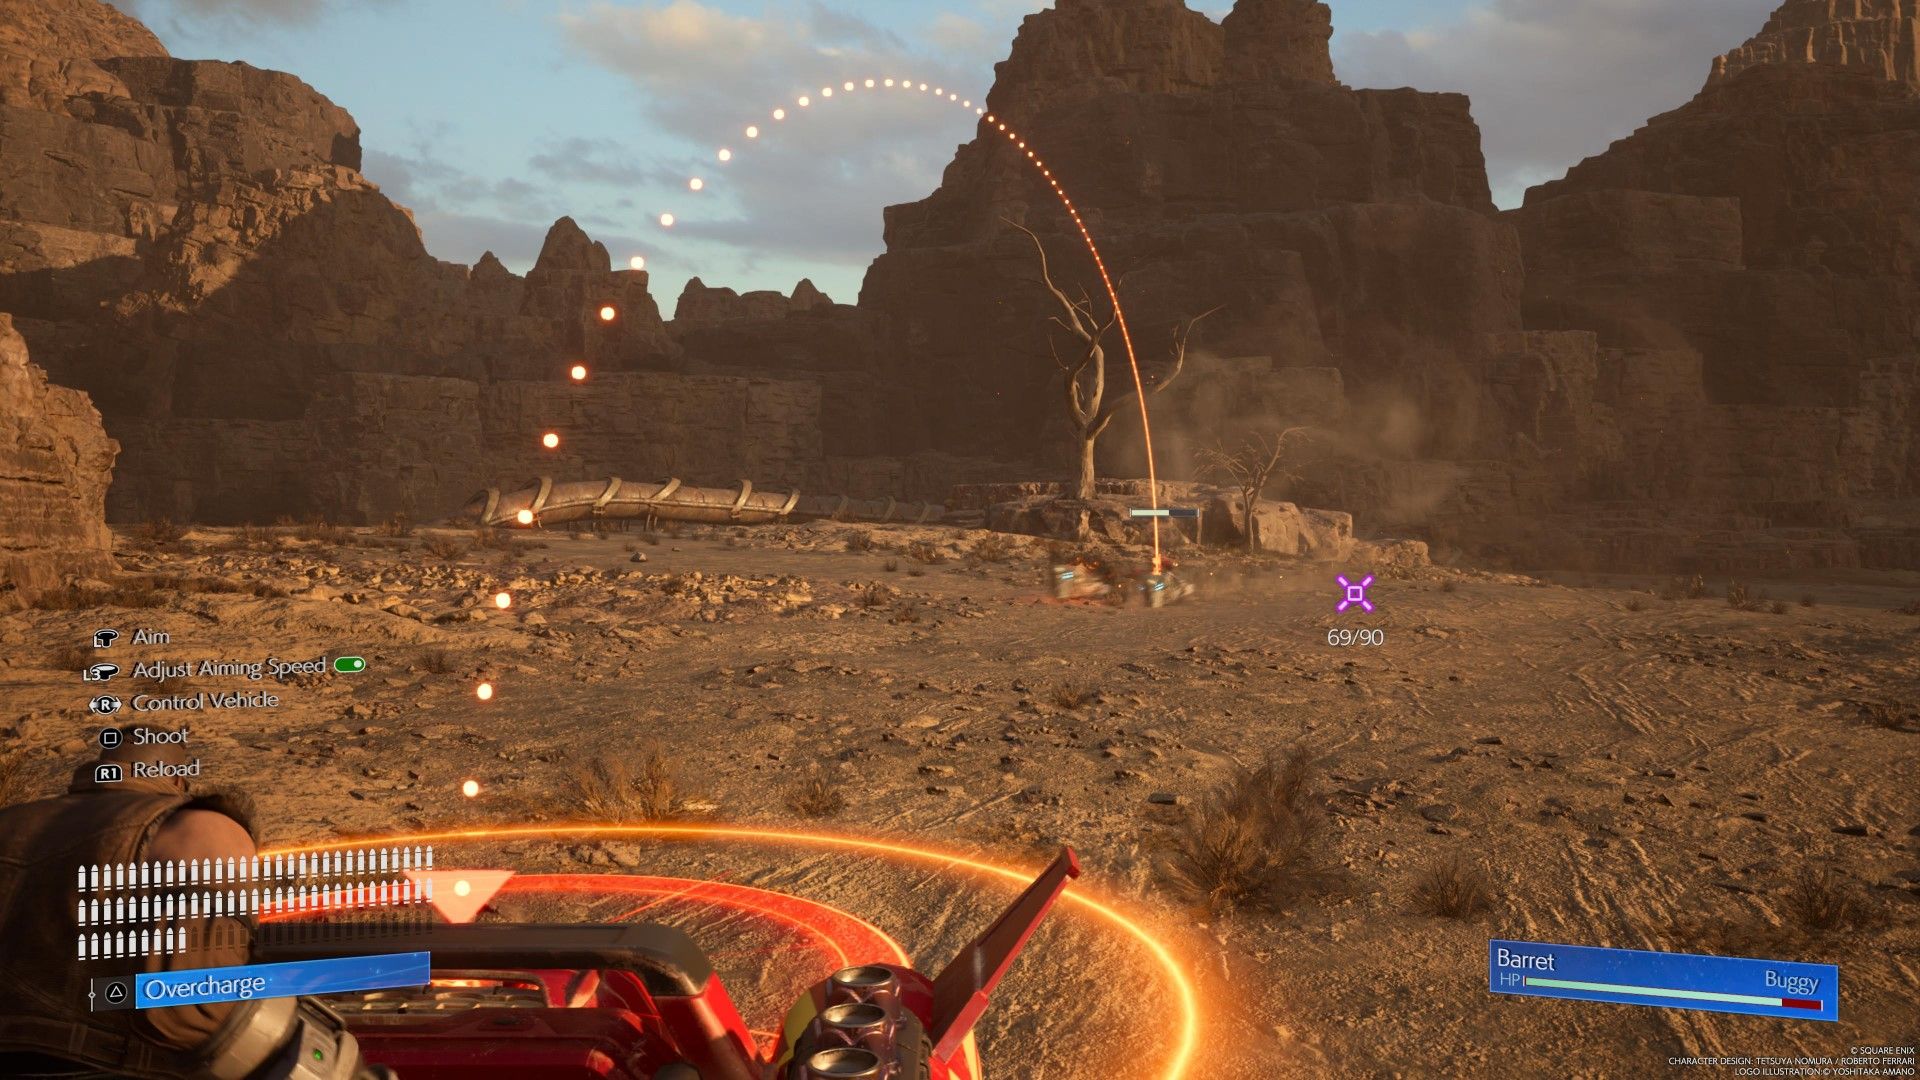
For this next part, you will play as Barret on the back of the buggy. Use Barret’s gun arm to eliminate the enemy forces that are chasing you. Once you clear out all the motorcycles, the helicopter will move in. Once it fires off its attack, use Overload to do a lot of damage to it and then finish it off with regular bullets.
During the next wave, you will have to deal with a wave of motorcycles and a helicopter. Stay out of the circles that appear. If you time it correctly, you can easily dodge them. For the wave after that, the Anuran Suppressor will chase you. Dodge the circle projected attacks and target the gun below it when it begins to glow. Once you defeat Anuran Suppressor (again), you will be in the clear.
Find Biggs
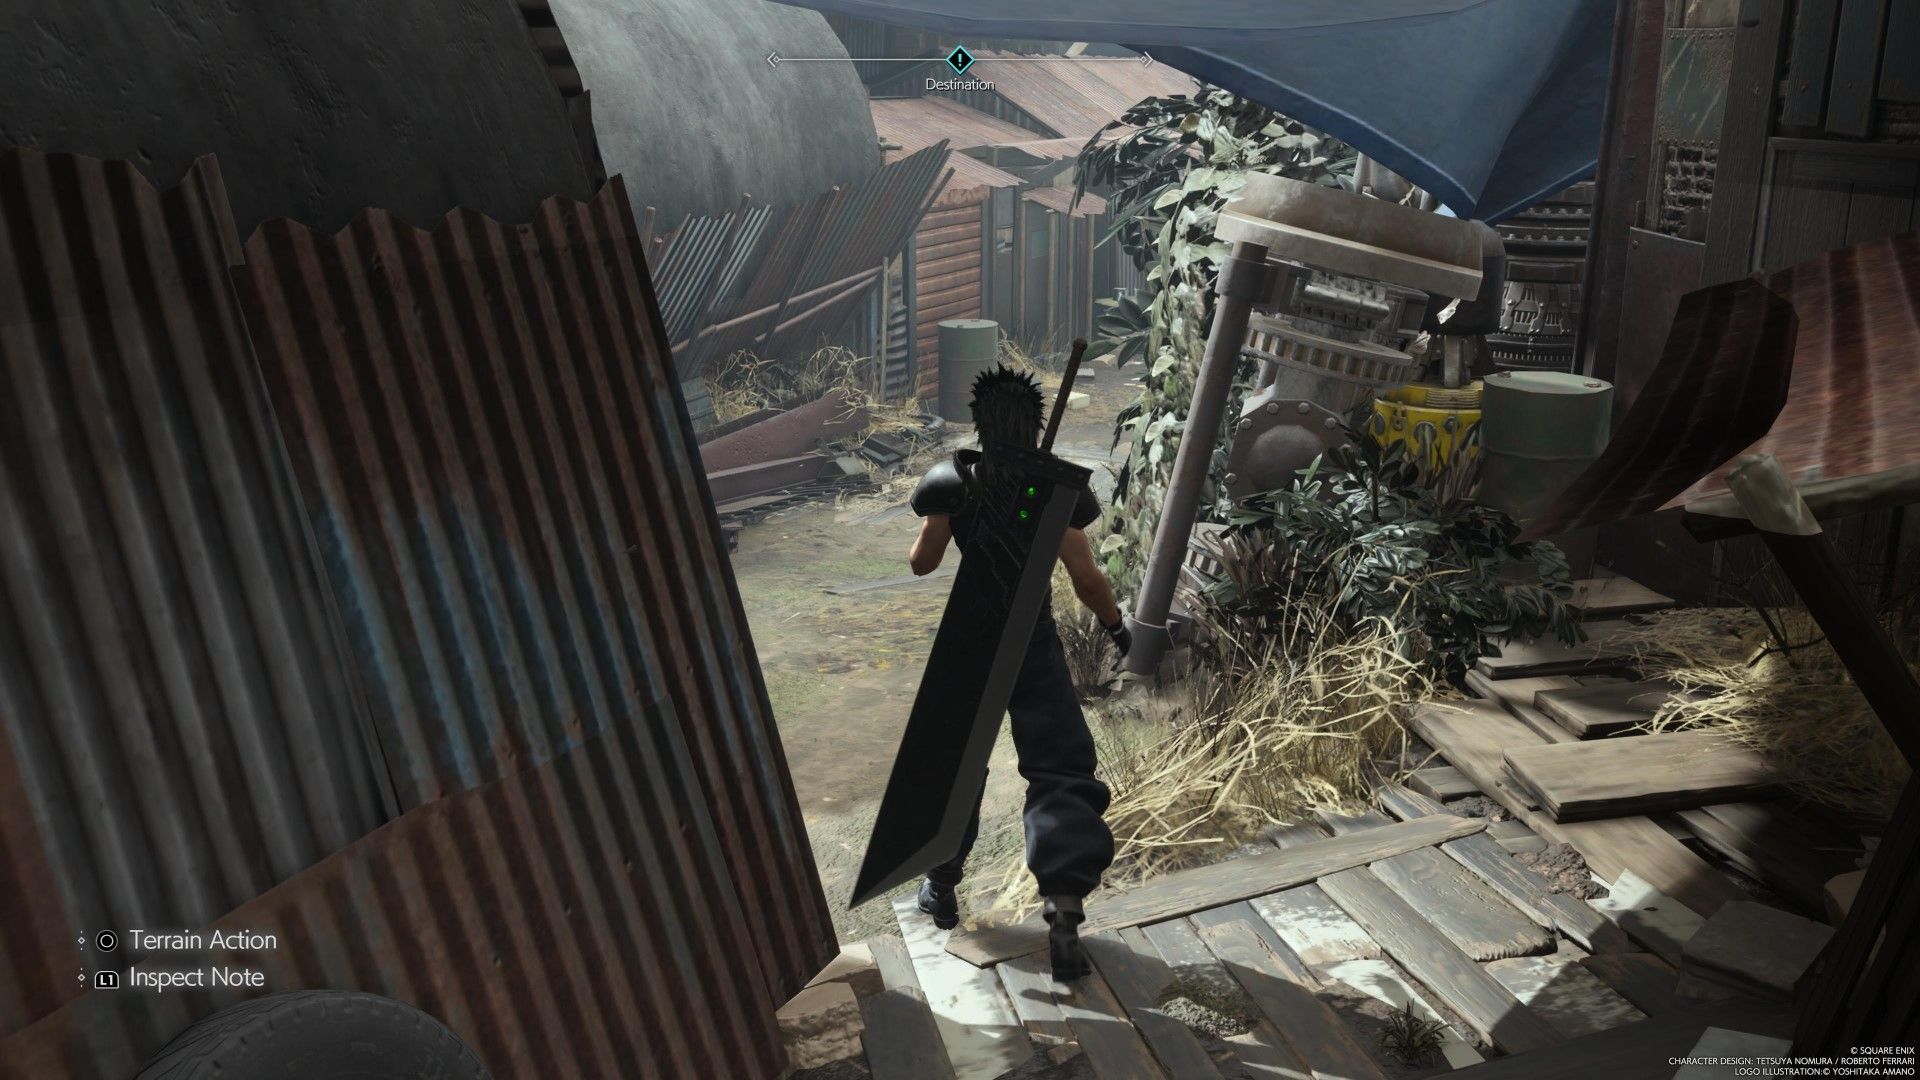
Following the cutscene, you will switch back to Zack’s perspective. Go through the narrow alleyway directly ahead of you. As you roam the streets, you will find people you can ask if they have seen Biggs. Keep searching the streets until an explosion happens. Follow the blue icon until you trigger a cutscene which brings the current chapter to a close.
Final Fantasy 7 Rebirth
- Platform(s)
- PlayStation 5
- Released
- February 29, 2024

