/cdn.vox-cdn.com/uploads/chorus_asset/file/24995998/236817_SBF_Trial_Stock_CAROLINE_ELLISON_C_CVirginia.jpg)
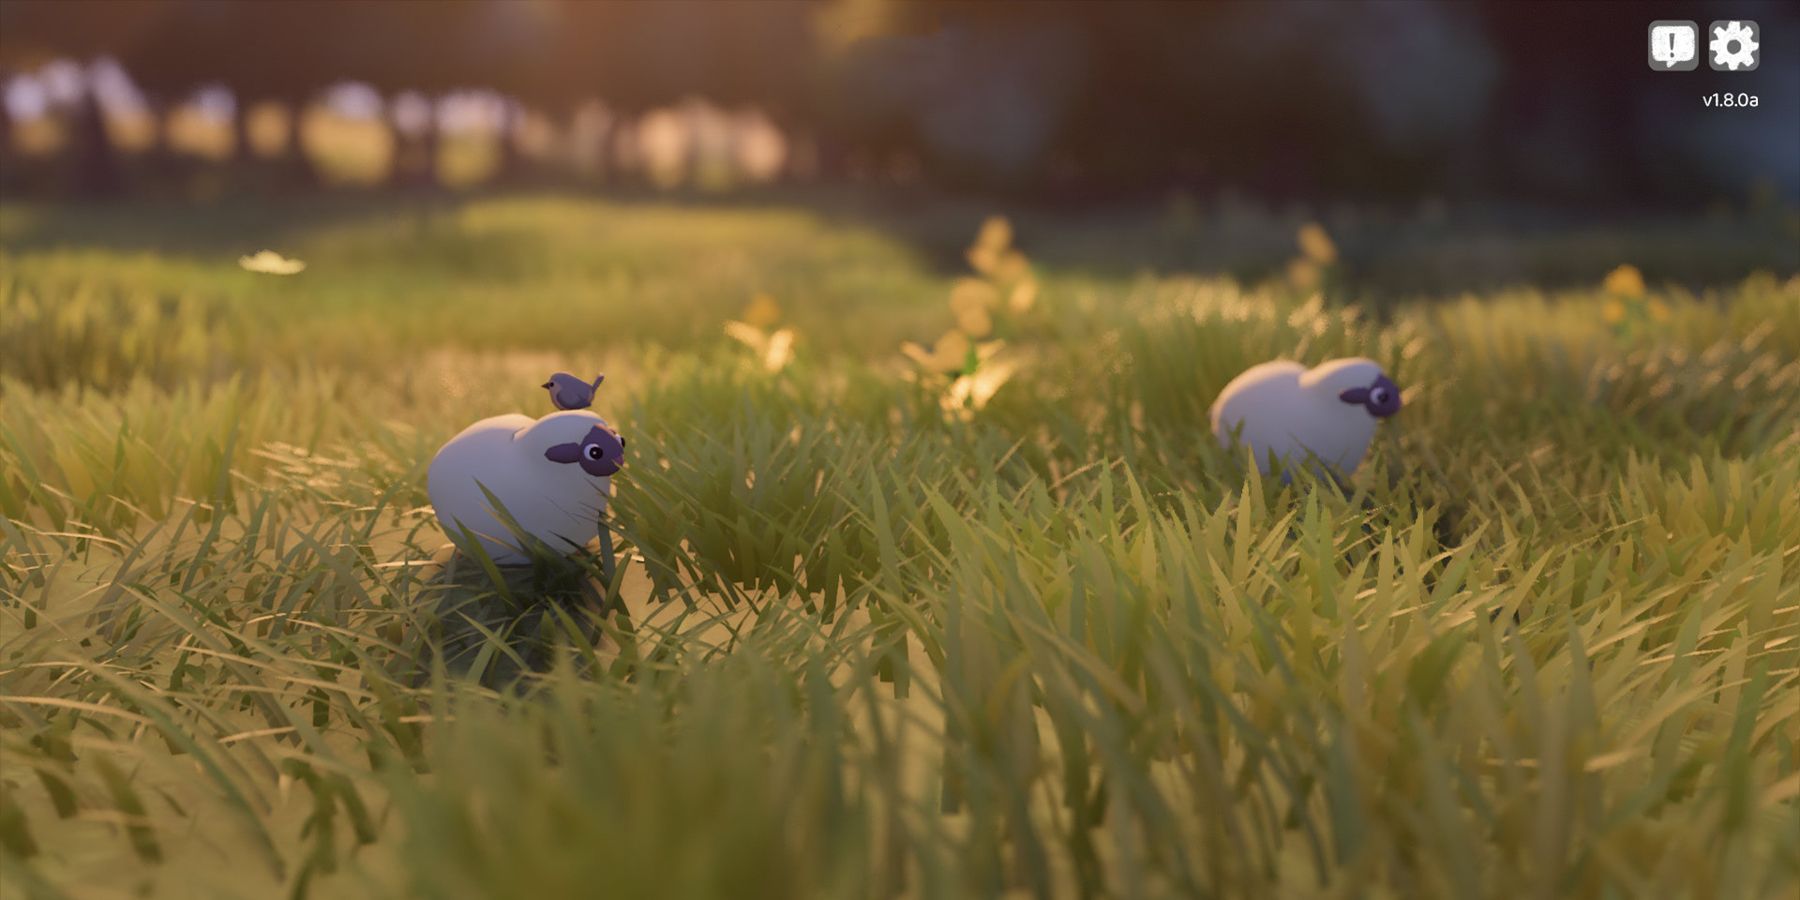
Tiny Glade is a different kind of building simulator where you can create homes, towns, and castles using the basics of diorama building. It was created to be a laid-back experience where you can get more creative, but that can become challenging if you aren’t sure where to start.
Not all the controls are immediately obvious, and having an idea of where to start can also help you plan for what kind of building or town you want to make. The game has quite a few hidden options that you can play around with to make beautiful creations, and you may not know about all of them.
Building Tips for Beginners
Building in Tiny Glade is not as straightforward as other building-type sims, and the first thing you’re going to need to do is let go of the rules of building. This game asks you to break them, and the more you embrace that, the better your builds will end up being. So, once you’ve got that down, there are a few techniques you can use to make your ideas come to life in the way you want them to.
Change Your Settings

There are a variety of settings that you can change and play around with to make sure the game runs the way you’d like. Specifically, though, you’ll want to have a look at the controls and change them to your liking.
Buildings snapping, for example, can be switched off in settings, and this can make some major changes to how your builds turn out. You’ll have more control over where buildings are placed, and they won’t automatically connect with other fences, roofs, or walls, so you can make creations exactly to your liking.
Get to Know Your Tools

Tiny Glade starts you out with some basic options like building shapes, windows, lights, and fences with specific tools. You may notice that things like stairs and doors are missing, but you can use what you already have at your disposal to create stairs, doors, and even carts and clock towers.
Doors, for example, can be added to your buildings by using the Path tool and dragging it into the building. This will automatically create a door where you’d like, and you can add more wherever you need with the Path tool. Stairs can also be added by using the Path tool; you just need to pull the pathway up a low building or up along terrain that’s higher.
Have a (Loose) Plan

Before you start, think about what you want to build and how you want to bring that to life. If you go in without a plan, you may end up scrapping your work halfway through because you decided you’d rather build a small hamlet while you were working on a big castle.
Having a theme in mind mitigates the stress of not knowing where to go next with your build. Take some time to think about where you’d like to place your buildings, how many you’ll have, and what kind of layout you’re going for. You’ll thank yourself later for it because cozy games can quickly become stressful if you feel stuck.
Build Vertically

There are a few maps and a daily theme you can build your creations on, but the space you have in Tiny Glade is still limited nonetheless. The best way to make use of the space you do have is to build up instead of across the map.
This is especially important if you’re planning on building a town. You can utilize your space effectively by layering your buildings, or if you want to keep the buildings simple, you can also create smaller areas to build up on using the terrain tool.
Create Clutter

One of the staples of building anything in games is creating clutter to make things look more natural. When you look at people’s houses or just buildings on the street, not everything is perfect, and you may see some interesting bits and bobs that make it look lived in. This is important, especially for a game like Tiny Glade, because it makes everything look more organic.
The game will automatically generate clutter when you add doors and windows, but you can also change the kind of clutter you see around your buildings by clicking on them. This includes washing lines, flowers at the edge of windows, hay stacks, and a bunch more options for what appears around the building.
Experiment with Roofing

The roofing you get when you place a building is not the be-all and end-all of what you see. You can heighten roofs or pull them down entirely to create castle-like effects on your structures. You can also make them look slightly crooked if you’re going for the homey feel of a small village, or pull them in to make a more medieval-Gothic style of build.
To change your roof, place your building and then click on the roof you want to change. Four arrows should appear, indicating the directions in which you can pull the roof to change it. From here, all you need to do is hold down your interact button and experiment with directions until you get the roof you’re looking for.
Layer Buildings

There’s no real limit to where you can place your buildings, and one thing to consider is putting them on top of each other, especially if you’re looking to build a large construction, layering buildings on top of each other gives a more natural look than just taking one building and increasing its height.
Layering buildings also give you more control over what the finished product will look like. You can create small balconies using smaller buildings on top of each other, get some interesting design effects, and overall, just give your buildings a little more depth.
Use First-Person Mode

Sometimes you need a different perspective, and using the first-person camera can help see what your little town is looking like from the ground. Knowing what it’s like to actually walk around your buildings can alert you to any changes you may want to make. It also lets you go through doors and into your buildings so you can check what they look like from the inside.
To get into first-person mode, click and enter the camera tool. Then, scroll to the icon that looks like a camera on a tripod and hover over it. You should see a little camera with feet appear when you do, and just click on that icon and you’ll be walking on the ground.
Get Creative

Now that you’ve got some simple mechanics down, get creative with it! You don’t only have to make buildings, but you can create bridges, courtyards, and pretty much whatever comes to mind by using the tools at your disposal. Tiny Glade is, after all, all about getting creative, so practicing and making new creations will only make you better and help you build beautiful creations.
If you want to make an arch, place your building and, instead of placing the path in one section to create a door, pull it all around the building and arches will appear. If you want to make a bridge, you can grab the roof and pull it all the way down until you get a flat surface. Then, pull the building out to create a bridge and make your arches underneath it. You can even place some water there as well to create a moat effect if you’re looking to build a castle.