
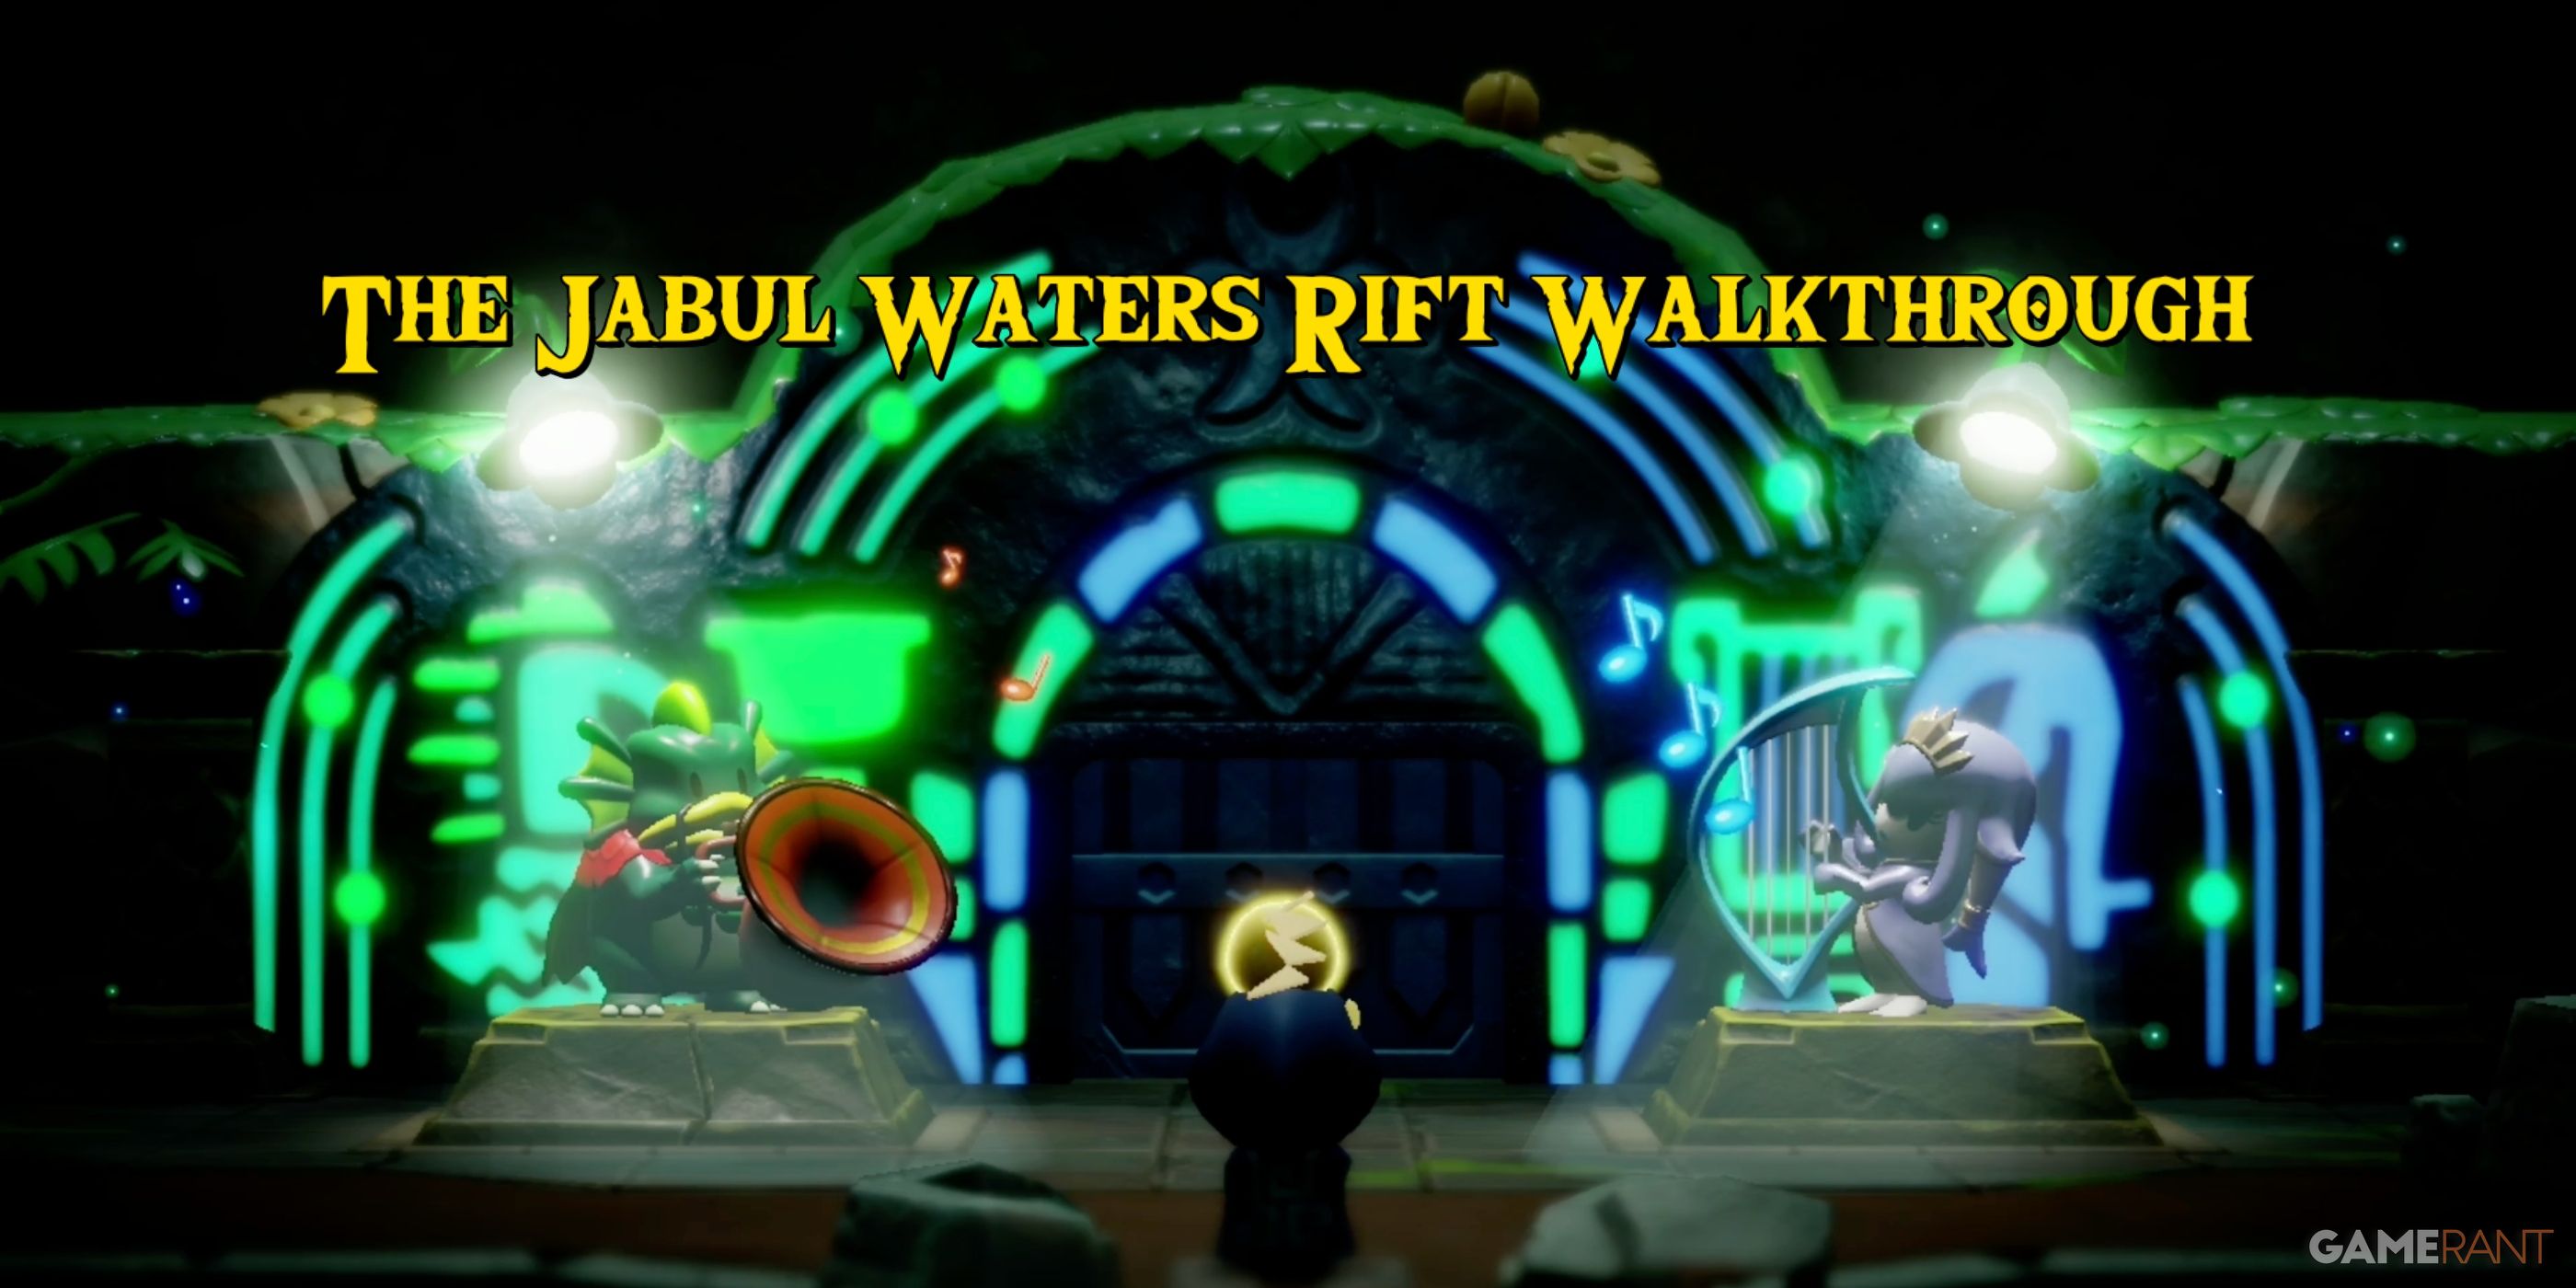
Early in The Legend of Zelda: Echoes of Wisdom, Zelda will have to decide whether to head into the desert and deal with the Gerudo Sanctum dungeon, or head east and help the Zora in Jabul Waters. Both choices are valid, as each location offers its own unique benefits. Regardless of which you choose, you will end up completing both locations before moving on. This guide will focus on Jabul Waters, providing players a complete walkthrough of “The Jabul Waters Rift” main quest.
How to Start The Jabul Waters Rift in Echoes of Wisdom
As previously mentioned, Zelda will have to choose between the Gerudo Desert or Jabul Waters after completing “The Mysterious Rift,” Echoes of Wisdom‘s first main quest.
Once this choice is presented, the “Searching for Everyone” main quest will become available. Like other Zelda games, this quest serves as more of an overview, with smaller quests progressing it incrementally. The Jabul Waters and Gerudo Desert main quests both fall under the “Searching for Everyone” umbrella.

As you approach the Seesyde Village fast-travel waypoint, which is marked on the above map, you’ll get a brief cutscene that introduces the Jabul Waters area. When that finishes, Tri and Zelda will speak briefly. Once that is complete, you’ll get a notice that “The Jabul Waters Rift” main quest has started. Speak to the two NPCs on the beach to get the basic information on what is happening in the area.
The Jabul Waters Rift Part One – Echoes of Wisdom
Visit Lord Jabu-Jabu’s Den:

The first goal in “The Jabul Waters Rift” is to visit the den of the area deity, Lord Jabu-Jabu. The NPCs you spoke to share that the deity has been rampaging through the area, and Tri thinks its den is close to the giant rift in the area.

Lord Jabu-Jabu’s den is found just north of a location called Crossflows Plaza. This is an extremely important location for “The Jabul Waters Rift.” Head east from Seesyde Village, across a small wooden bridge, to find the plaza. You’ll notice the stone steps and large pool of water. Head north through the water and you’ll encounter the den entrance, which is partially swallowed by a massive rift.
Enter the den, and you’ll notice two platforms, and a sealed door. While you are there, you’ll encounter two River Zora. They’ll tell you that the only way to open the door is to have both Zora chiefs playing music together. This is your cue to visit both Zora villages next.
The Jabul Waters Rift Part Two – Echoes of Wisdom
Visit River Zora Village:
Your next goal is to head north and meet Dradd, the chief of the River Zora Tribe. The village is directly northwest of Crossflows Plaza, and is virtually impossible to miss. Head up through the town to the large tent in the northwest corner of town. This is Dradd’s tent.

Head inside the tent and try speaking to Dradd. Although it seems like he is too busy, he will ultimately decide on his own to visit Crossflows Plaza. He will leave the tent, and your next step is to visit Sea Zora Village.
Visit Sea Zora Village:

Head back down to Zora Cove and make your way out into the ocean. You are looking for a small island with a large fishtail sticking out of the water.

This marks the entrance to Sea Zora Village, which is found underwater on the southern side of the island.
Enter Sea Zora Village and head to the back of the chamber to find the entrance to Kushara‘s chambers. Like Dradd, she will decide of her own accord to visit Crossflows Plaza and try to calm down Lord Jabu-Jabu.

Zelda will now return to Crossflows Plaza and watch the two rivals attempt to play music and sooth their deity. Needless to say, this does not go well. Jabu-Jabu is angered by the noise they make, ultimately leaving the plaza in a rage, and heading north towards River Zora Village.
The Jabul Waters Rift Part Three – Echoes of Wisdom
Chaos at Upper Zora River:

Once Lord Jabu-Jabu begins his rampage, Zelda will have to return to both Zora villages to help fix what happens. This breaks down into two main sub-missions. The first takes place at Zora River Village, and involves completing a small rift called Stilled Upper Zora River.
When you reach Zora River Village, head through the opening in the rock wall behind the destroyed tents. This will lead to the rift entrance. You will need to enter the rift and free Tri’s Friends, which will earn Tri a partial power upgrade, and Zelda two Might Crystals to upgrade Swordfighter Form. At the end of the mission, Dradd will see Kushara use her music to soothe the River Zora, setting the stage for reconciliation later.
Check out our full guide to completing “Chaos at River Zora Village” in Echoes of Wisdom.
Rampage in Zora Cove:

After completing “Chaos at Upper Zora River,” make your way back down to Zora Cove. From the village entrance, begin heading east, and you’ll be stopped briefly for a quick cutscene. This will initiate “Rampage at Zora Cove,” a much smaller sub-mission.
As you’ll see on the above map, you need to head to a small island northeast of Sea Zora Village. There you’ll find Dradd, unable to enter the cave entrance that is found above water. You will have to use the underwater entrance to the right and clear the blockage from inside.
Enter the cave, and you’ll be dropped into a 2D sequence. The underwater cave will be dark, but there are special plants that will glow as you swim through them. The only real threat here are the Lv. 2 Tanglers. However, they can be dealt with fairly quickly, even with Lv. 1 Tanglers. Make your way through the cave, and you’ll see a Treasure Chest just before you exit.
- Treasure Chest 1: Bubble Kelp x 10.
After you exit the 2D section of the cave, you’ll end up in the island’s cave interior, with Kushara and a trapped Sea Zora child. Use Bind to move the blockage and escape. Before the quest ends, Kushara watches Dradd use his music to bolster the young boy’s courage, allowing him to escape.
Dradd and Kushara now agree to return to Lord Jabu-Jabu’s Den and play music together.
How to Defeat Lord Jabu-Jabu in Echoes of Wisdom

Open Lord Jabu-Jabu’s Chamber:
Upon returning to Lord Jabu-Jabu’s Den, Zelda’s first goal will be to repair the platforms that the chiefs will play on. First, use Bind to move the boulders away from the platforms.
Next, use Bind to gather the two pieces of broken platform, and fit them back together like a puzzle. The first piece is sitting eight next to the broken platform. The second piece is in the pool of water on the southwest side of the room. You’ll need to get in the water, use Bind on the piece, then swim to the top and jump out. The piece will follow Zelda out.

Once the platforms are back together, Dradd and Kushara will perform. This will cause the door to Lord Jabu-Jabu’s chamber to finally open. Zelda must now prepare for a boss fight.
Fight Lord Jabu-Jabu:

Lord Jabu-Jabu has a fairly simple attack pattern. First, it will start by blasting out Lv. 1 Tanglers and a variety of junk from its stomach.
It will then circle the chamber – which is all water except for the junk that it spewed – and try to bite Zelda. During this, there is not much Zelda can do to attack. It’s better to focus on taking out the Tanglers, and avoiding any damage.
Once it finishes circling the arena, it will suck in a large gust of air, pulling in everything around it. As soon as you see the air being pulled in, summon a Bombfish. When Lord Jabu-Jabu swallows a Bombfish, it will blow up inside its stomach, doing damage and releasing energy bubbles. It will also enter a brief window of vulnerability. It will repeat this cycle for phase one.
Lord Jabu-Jabu Phase 2:

For the second phase, Lord Jabu-Jabu will release more dangerous enemies, like Octorok and Biri (electric jellyfish). The attack phase is also more aggressive, swinging much more wildly as it circles the arena.

The attack strategy for Zelda remains the same. Use Bombfish when it sucks in air. However, now you should use Swordfighter Form after a Bombfish explodes in its stomach. This will take out Lord Jabu-Jabu incredibly quickly. In normal mode, we only had one attack cycle before the fight ended.
The Jabul Waters Rift Part Four – Echoes of Wisdom
Stilled Jabul Waters:

The final section before the Jabul Ruins dungeon is the Stilled Jabul Waters rift. This section is fairly straightforward, with a very important Echo, the Water Block, learned about halfway through.

Make your way along the main path until you reach the area with pillars sticking horizontally out of the water. Here, you can use stacked up Old-Beds to reach the water in the above section. The second water section will take you to the top of the platform.

From the top, head east through another water tank. At the end of the tank, you’ll see the Water Block Echo waiting to be learned. Continue on and use the new Water Block to make your way up the next water wall. At the top of the wall head left, using the Water Block again to cross gaps.

Watch out for the Shadow Enemies, as there will be several. Don’t be afraid to use Swordfighter Form, as many of the Shadow Enemies will drop energy. When you reach the end of the path heading west, you’ll see a small floating island with a single square of water. If you follow that path down, you’ll find a Fairy in a Box at the bottom.
Start making your way up the next wall of water using Water Block to cross any gaps. If you head all the way east, you’ll see a small ship on its side. If you climb the ship and take the path to the top, it will lead to a single treasure chest containing ten Rivershorses.
- Treasure Chest 2: Riverhorse x10
Head back to the water wall and make your way up to the top. From the top of the wall, heading west will lead to another treasure chest.
- Treasure Chest 3: Purple Rupee (50)
Make your way back along the path to the east, and you will see the real Lord Jabu-Jabu acting as a bridge. Make your way across to enter the area’s dungeon, Jabul Ruins.
The Jabul Ruins dungeon is technically part of ”
The Jabul Waters Rift”
main quest. However, there is no doubt it deserves its own guide. Check out our
complete guide to the Jabul Ruins dungeon
for a full walkthrough.