Quick Links
-
How To Adjust Crosshair Settings In Deadlock
-
Changing Crosshair Color In Deadlock
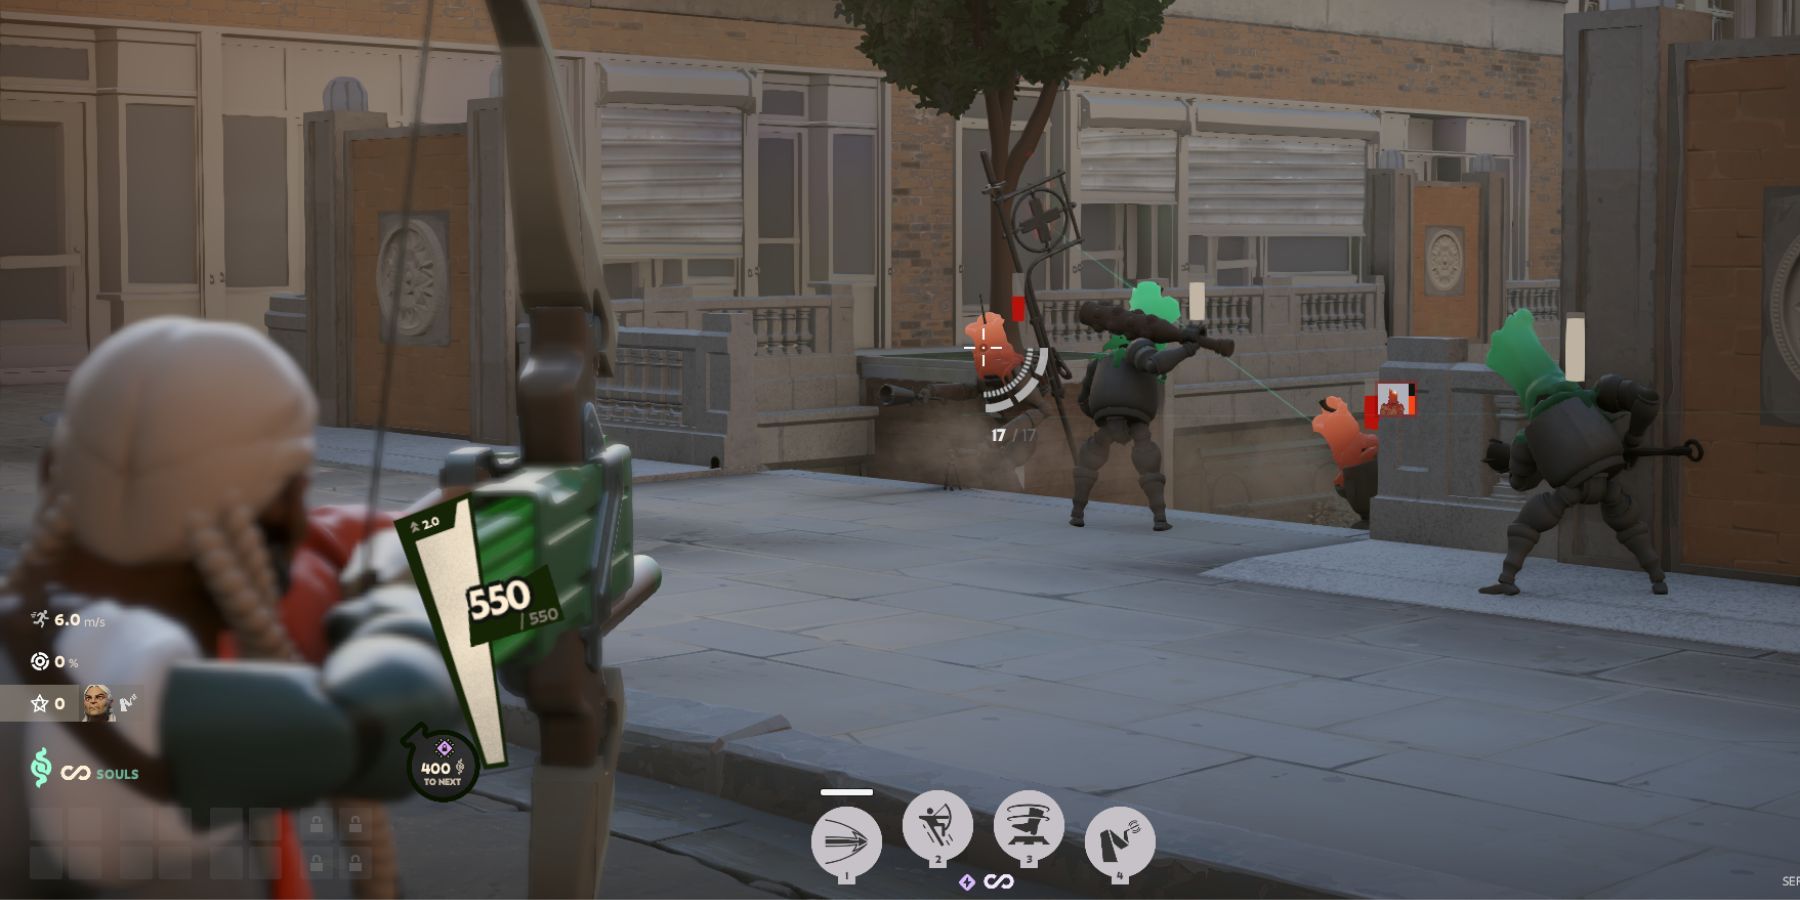
Deadlock, at its core, is a shooting game where your aim with your weapon takes priority. For shooting fans, being able to adjust one’s crosshairs has always been a major concern. Some may prefer the classic four-pip crosshair, while others might get better accuracy with a dot reticle.
Thankfully, Deadlock doesn’t hold you back when it comes to tweaking your crosshair. Players can fully adjust how their reticle looks in the game, right down to adjusting its color and size. This guide compiles some of the best crosshair settings for Deadlock to help you get off to a good start.
How To Adjust Crosshair Settings In Deadlock
Players can adjust the crosshair in Deadlock by going to the Options tab in Settings. Here are the things that you can tweak:
|
Option |
What it Does |
|---|---|
|
Gap |
Move the slider to adjust the distance between each pip |
|
Width |
Move the slider to adjust the thickness of each pip. |
|
Height |
Move the slider to adjust the length of each pip. |
|
Pip Opacity |
Move the slider to adjust the visibility of each pip. |
|
Show Pip Border |
Tick the box to add a black border to each pip. |
|
Dot Opacity |
Move the slider to adjust the visibility of the dot in the middle of the crosshair. |
|
Dot Outline Opacity |
Move the slider to make the outline around the dot more visible. |
|
Color |
Adjust the Red, Green, and Blue sliders to change the crosshair color. |
The default crosshair in Deadlock is pretty decent, but fans of Hero Shooter may have specific preferences when it comes to crosshairs. It’s always worth going into the crosshair options menu and playing around with the sliders to find a setting that you like.
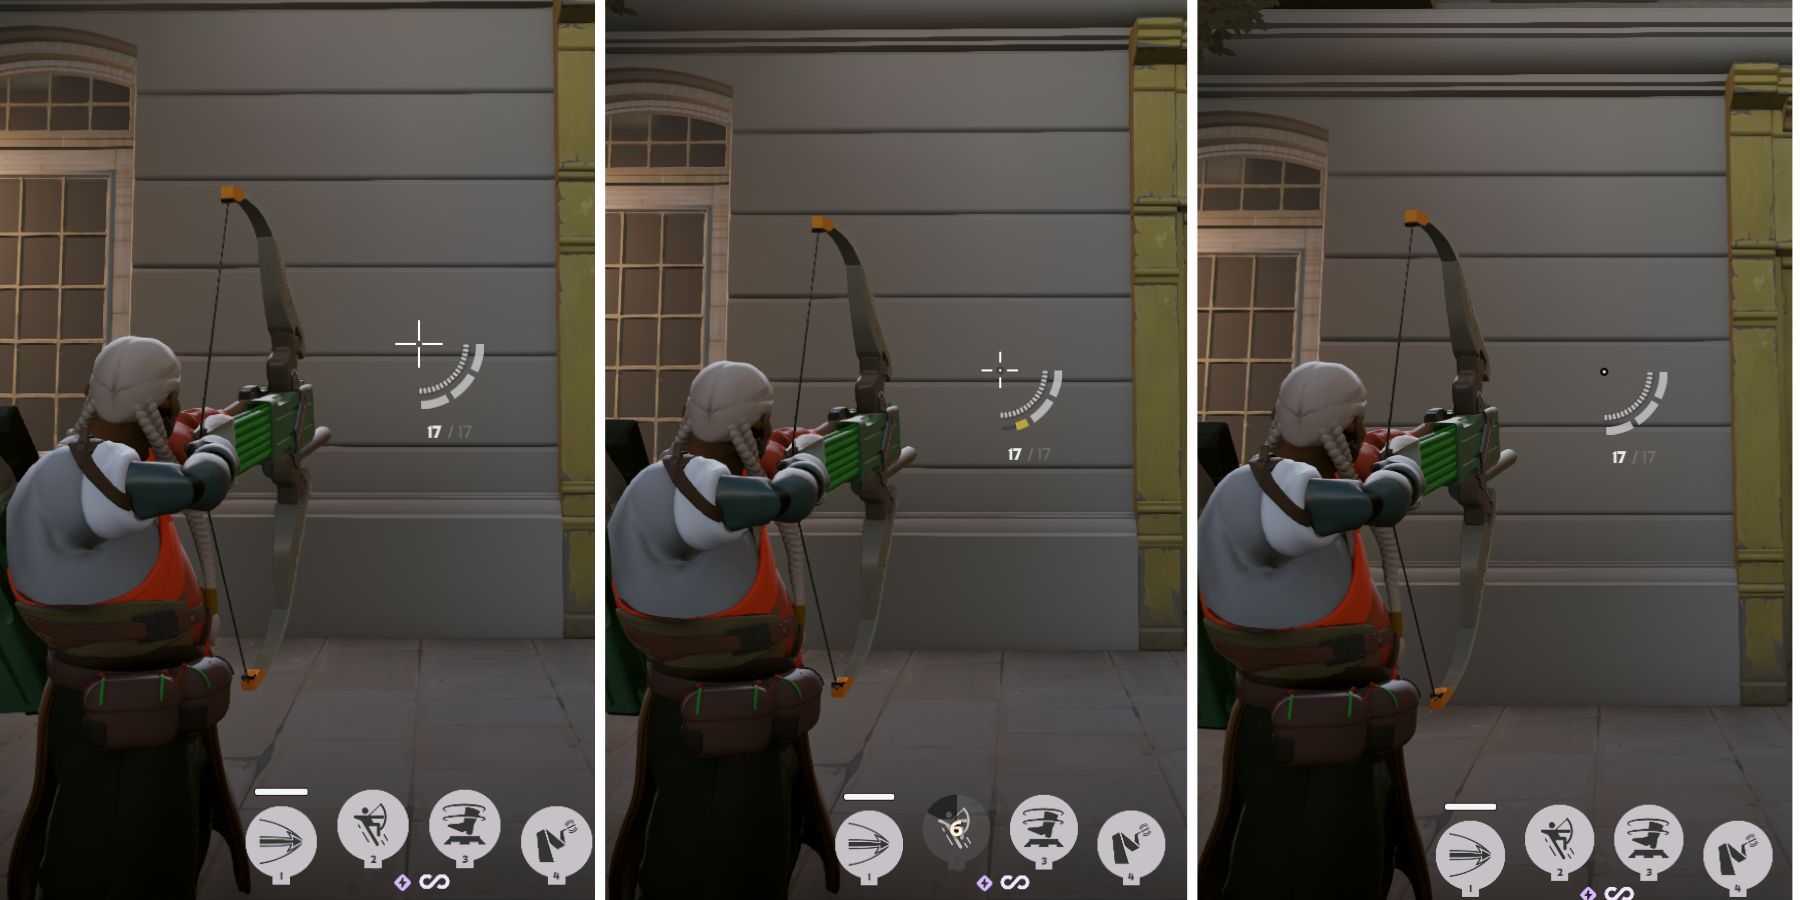
Here are three popular crosshair types that you can use in Deadlock:
Classic Crosshair
- Gap: 1
- Width: 2
- Height: 20
- Pip Opacity: 1.00
- Show Pip Border: Off
- Dot Opacity: 0.00
- Dot Outline Opacity: 0.00
This is a simple, straightforward crosshair with four pips converging on a single point. Setting the gap at 1 keeps some distance between the pips so that you can still see the target when you’re firing. You can set the gap value higher if you want more distance between the lines.
Crosshair With Dot
- Gap: 1
- Width: 2
- Height: 10
- Pip Opacity: 1.00
- Show Pip Border: Off
- Dot Opacity: 1.00
- Dot Outline Opacity: 0.50
This is a more polished version of the default Deadlock crosshair. It’s sharper and less opaque, making it a great choice if you’re new to the game.
Dot Crosshair
- Gap: 0
- Width: 2
- Height: 2
- Pip Opacity: 0.00
- Show Pip Border: Off
- Dot Opacity: 1.00
- Dot Outline Opacity: Player preference
A simple dot might be all you want from your crosshair if you’re a seasoned FPS enthusiast. By setting the pip opacity slider all the way to the right, you’ll get rid of all the lines. Set the dot opacity slider to maximum and adjust the dot outline opacity to taste.
Changing Crosshair Color In Deadlock
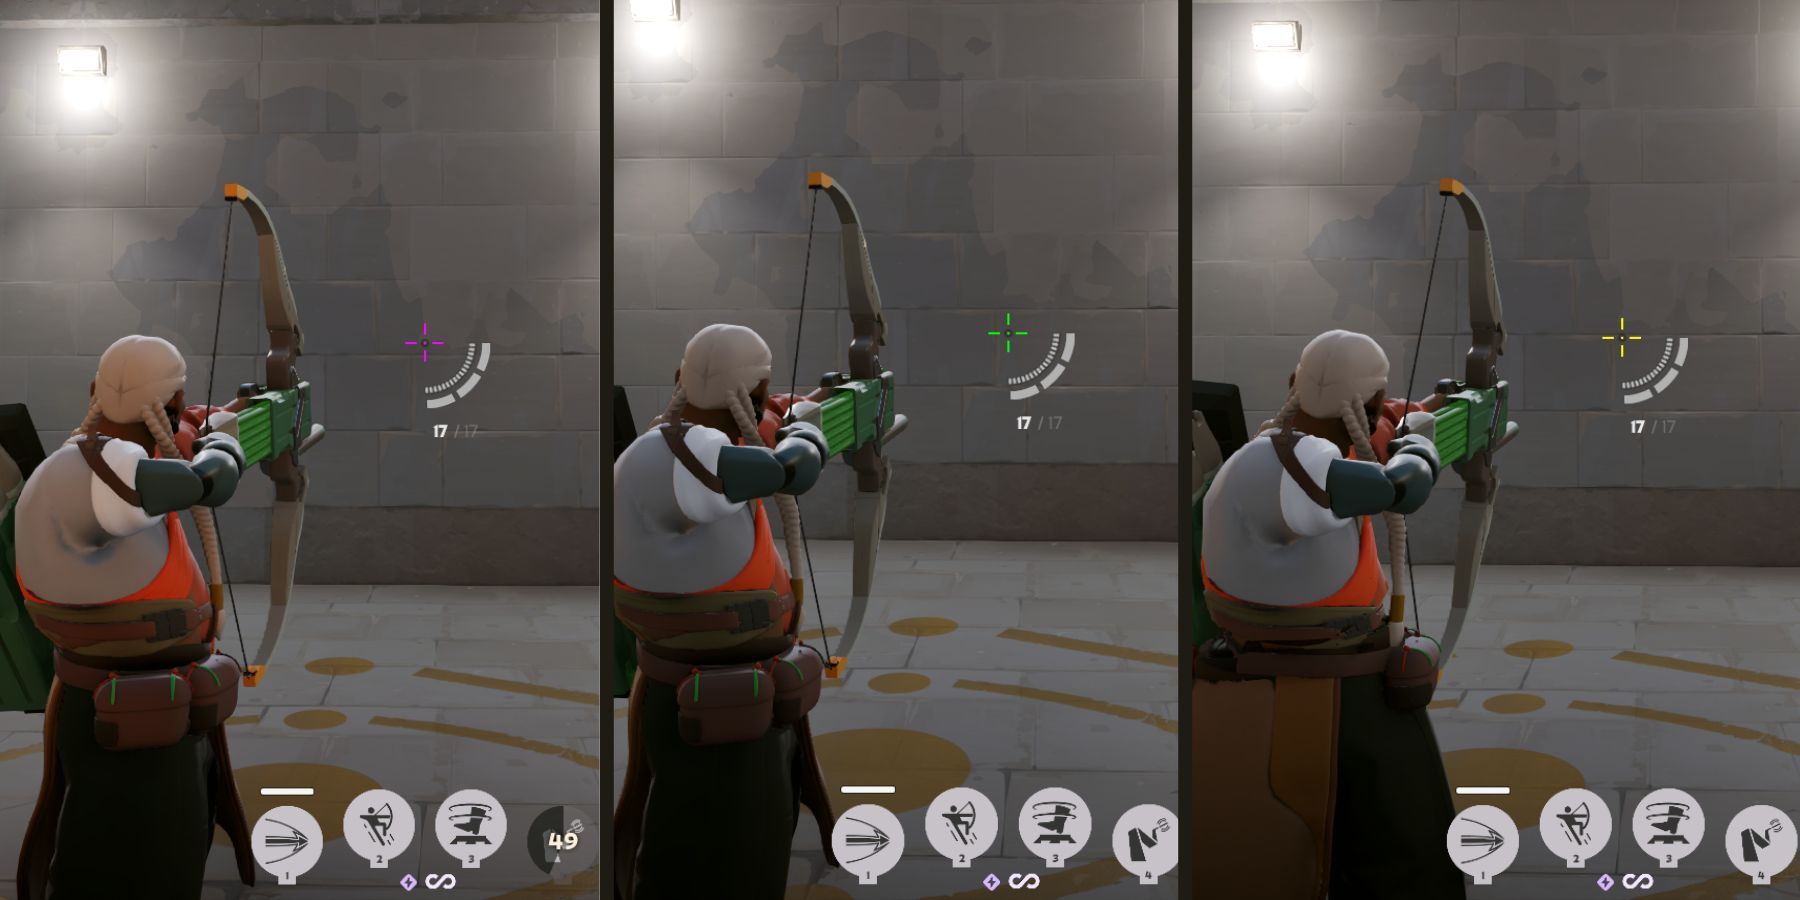
By default, the crosshair color in Deadlock is white, with all the sliders set to full. However, by fine-tuning the Red, Green, and Blue sliders, you can create custom colors that are more visible among all the effects flying around on your screen.
Here are three popular color choices for your crosshair that you might want to try out:
Purple:
- Red: 255
- Green: 0
- Blue: 255
Green:
- Red: 0
- Green: 255
- Blue: 0
Yellow:
- Red: 255
- Green: 255
- Blue: 0
Deadlock offers plenty of crosshair customization for players to tweak their aiming experience. While the crosshair settings this guide provides can serve as a general guideline, it’s important to experiment with the sliders to see what you like best.


