Have you recently acquired new AirPods or AirPods Max, and are you trying to connect them to your MacBook? You’ve come to the right place. Pairing AirPods to your laptop is as easy as connecting via Bluetooth, and since we now expect fourth-gen AirPods, AirPods Lite, and a new AirPods Max this year, you could be coming to this guide fresh. Welcome to the world of AirPods.
How to Connect AirPods to Macs or MacBooks
For starters, check to see if you’ve already connected your AirPods to your MacBook. If you have an iPhone paired with your AirPods, which also has an Apple ID, you may have already automatically connected to your Apple-brand laptop. Look to the top right of the MacBook screen, where you should see the two parallel bars icon. Click on that, and from there, click on the right arrow next to the Bluetooth icon to see a list of connected devices.
If that’s a no, then follow these steps. First, you need to go into the Bluetooth menu. Click the Apple icon button at the top of your Mac, then hit System Settings. Hit Bluetooth, and make sure that Bluetooth is toggled on.
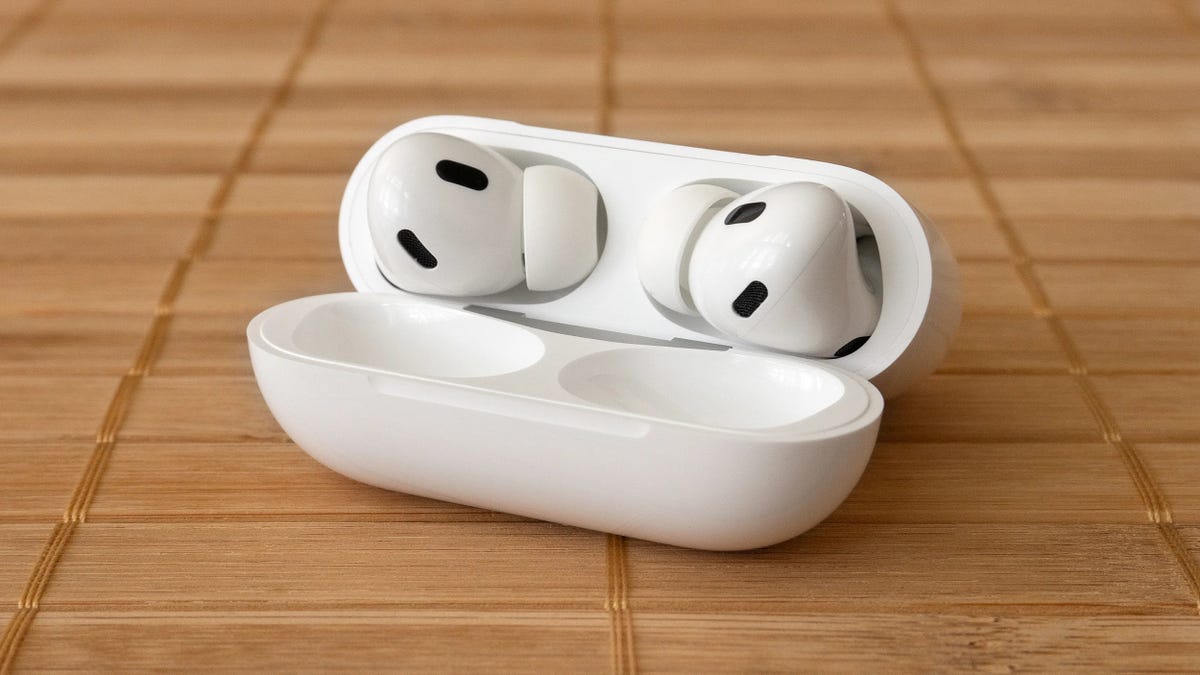
From there, get your AirPods and make sure both sticks are contained in the case. Get the case, then press and hold down on the central circle button on the back of the case. You should see the small LED light on the front of the case flash white. Then, on your Mac screen, see what devices appear under Nearby Devices. You should see an icon for the AirPods pop-up. Click Connect, and you should be ready to go after a few seconds.
For AirPods Max, you’ll need to hold the noise control button instead to put it into pairing mode. You should find this button on the top of the left speaker, on the opposite side of the digital crown.
If you’re still not hearing from your AirPods, ensure the audio output is set to go through your AirPods. In that same top bar menu, hit the arrow button that appears when you hover over Sound. This should let you quickly change your audio output. You can also do the same through System Settings. Scroll down to the Sound section, and look for your AirPods under Audio Output.
We should also note not all AirPods will connect to older-model MacBooks. The latest AirPods Pro, which is the second-generation version, requires you to be on the latest version of MacOS Sonama. The first-gen AirPods Pro can use macOS Catalina 10.15.1 or later. The latest generation of regular AirPods needs to be on macOS Monterey or later.
How to Connect your AirPods to Windows Laptops
Connecting your AirPods to any other kind of device is similarly going to use Bluetooth. If you’re on Windows 11, look into the bottom search bar and type in Bluetooth. You should see the option to click on Bluetooth and other devices settings. You can also find this same screen by clicking on the Windows start button in the bottom taskbar, hitting the Settings button with the little gear icon, then clicking on Bluetooth & devices.
From there, you should see the option to Add device. Click on that, and click on Bluetooth. As before, you’ll need to hit and hold the circular button on the back of an AirPods case to put it into pairing mode. You should now see the option for an AirPods come up on your PC. Click on it to pair it with your PC.
If you want to make sure the audio is going through your AirPods, go into Settings, then hit System and look under the Sound tap. You can then set the device to play through your earbuds under Choose where to play sound.


