

The Steam Deck is more than a gaming system. It can run Windows; let’s see how it’s done

Quick Links
- Steps To Installing Windows On The Steam Deck
- Windows On The Steam Deck From A Micro-SD
The Steam Deck is an impressive device that’s so much more than a handheld gaming device. It’s closer to a handheld PC. In addition to playing most of their Steam library on the go, players can browse the internet and run programs from its Linux-based OS.

Steam Deck: How To Install Decky Loader
Decky Loader can unlock the potential of the Steam Deck. Here’s how to install it.
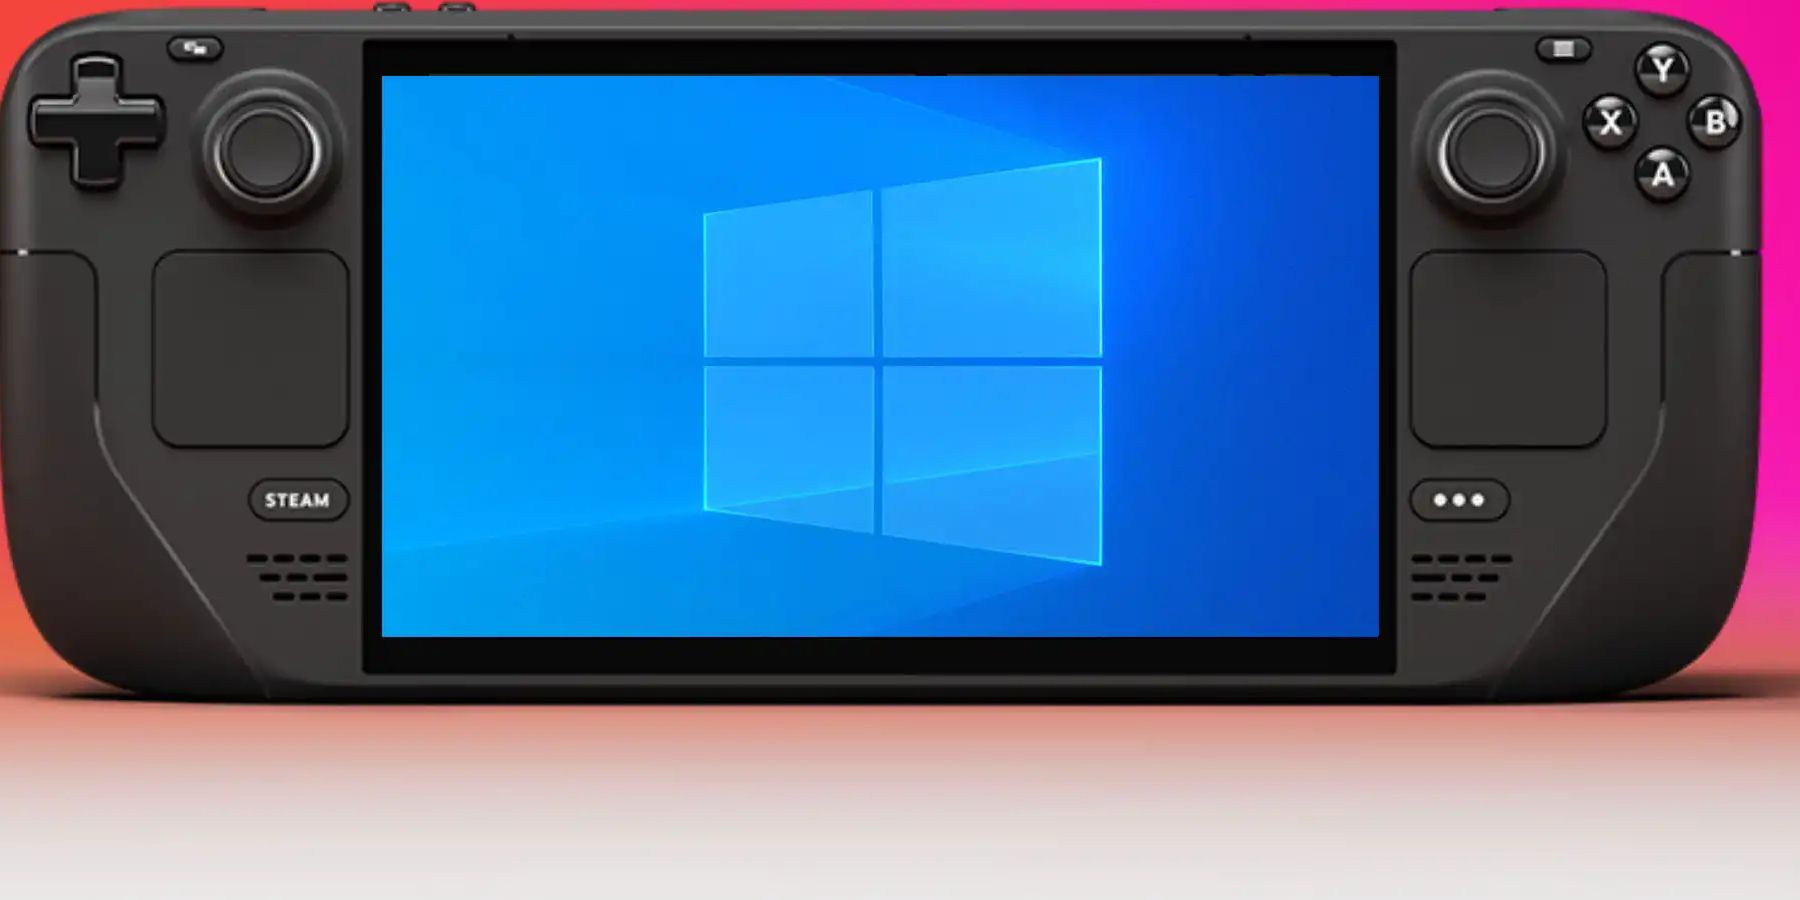
In an update released in spring 2022, the Steam Deck allows players to install and run Windows OS 10 and 11 on the device. Unfortunately, installing Windows on the Steam Deck’s SSD will mean one has to wipe their device’s SSD. Wiping the SSD is far from ideal and carries risks and headaches for the user. So until Steam releases an update to fix this, this guide focuses on running Windows 10 (or 11) on the Steam Deck with micro-SD.
Updated January 15, 2024, by Michael Llewellyn: As a portable PC, some Steam Deck users may want to access Microsoft’s Windows operating systems like Windows 10 and Windows 11. While Linux is more versatile and flexible, most users will likely be familiar with Microsoft’s OS. This guide is updated to include useful links for Steam Deck users and minor adjustments to the steps needed.
Items/Programs Needed

Download the Windows Drivers from here.
Steps To Installing Windows On The Steam Deck

- Ensure the Windows Creation tool from the Windows site above is downloaded and ready.
- Open the Windows Creation Tool.
- Select Create Installation, and locate the Windows 10 ISO file.
- Download the Windows driver files and place the files into a separate USB drive.
- Plug in the micro-SD reader and open Rufus.
- Select the Device option.
- Navigate to the Windows ISO and click on Select.
- Ensure that Windows.iso is present under Boot Selection.
- Under the Image Option dropdown, select Windows To Go.
- In the Partition Scheme, select MBR.
- In the Format Option, select the NTFS option.
- Click on the Ready button.
- Power down the Steam Deck.
- Insert the micro-SD card into the SD slot on the bottom of the Steam Deck.
- Press and hold the Power and the Volume Down buttons to enter the Steam Deck’s boot menu.

Steam Deck: How To Take And Transfer Screenshots
Learn how to take screenshots and transfer them using the Steam Deck.
Windows On The Steam Deck From A Micro-SD

- Select the Windows option in the boot menu.
- Windows will launch in portrait mode.
- Players can connect a keyboard and mouse or use the Steam Deck’s touchpad.
- Go to Settings>System>Display>Display Orientation.
- Select Landscape and flip the screen to the correct position.
- Plug the USB-C card reader into the Steam Deck and connect the USB with the Windows Drivers files.
- Install the drivers.
- This will run Windows 10 or 11 on the Steam Deck without installing it on the SSD.
- Steam Deck users can access Windows 11 through the new Boot Manager screen when turning the machine on.
The Steam Deck is available to order from the official Steam website.

$459 $499 Save $40
- Screen
- 7″ diagonal 1280 x 800px (16:10 aspect ratio) 60Hz
- CPU
- AMD APU Zen 2 4c/8t, 2.4-3.5GHz
- Battery
- 40Whr battery. 2 – 8 hours of gameplay
- Connectivity
- Bluetooth 5.0 and Dual-band Wi-Fi radio, 2.4GHz and 5GHz
- Ports
- 1x USB-C with DisplayPort 1.4 Alt-mode support; up to 8K @60Hz or 4K @120Hz, 1x USB 3.2 ,1x Micro SD slot, 1x 3.5 audio jack
- Dimensions
- 298mm x 117mm x 49mm
- Weight
- Approx. 669 grams
- Audio
- Stereo with embedded DSP for an immersive listening experience and Dual Microphone Array