The Steam Deck is a capable piece of hardware that can play the already vast array of games on the Steam Store. It’s the ideal way to play games on the go, and it is a powerful device with a ton of versatility out of the box.
Gamers who want to expand their gaming library beyond what is available on the Steam Library can add the Amazon Game Launcher to extend their gaming further. For those looking to do so, the following steps can be used to access and play Amazon Games on the Steam Deck.
Related
Steam Deck: How To Play Xbox 360 Games
For those unsure of what the process entails, here’s how to run Xbox 360 games on the Steam Deck with the EmuDeck and Emulation Station.
Updated November 29, 2024 by Michael Llewellyn: Running the Amazon Games launcher on the Steam Deck requires the NonSteamLauncher plugin on Decky Loader. Unfortunately, the recent update has removed the program from the Steam Deck’s Quick Access Menu. This guide has been updated to demonstrate how to reinstate it, as well as your plugins and settings.
Enable Developer Mode On The Steam Deck
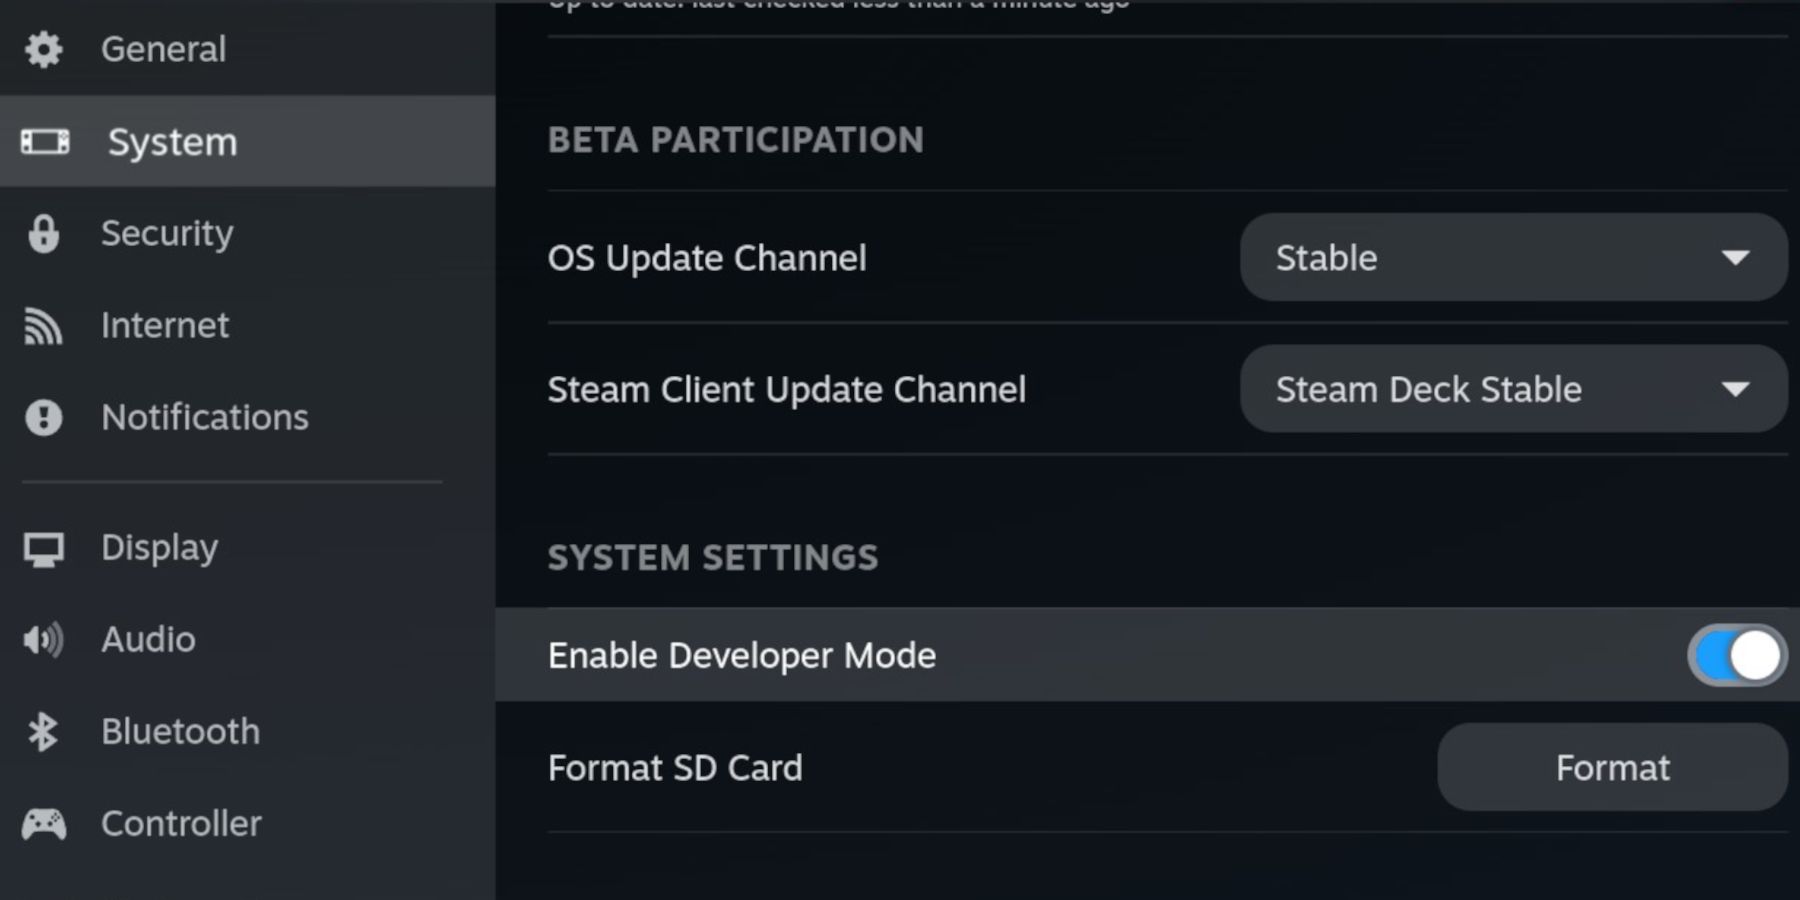
Before downloading third-party apps like Decky Loader for the Steam Deck, you should enable Developer Mode and switch on specific settings to maintain compatibility with the Steam Deck’s frequent updates. Use the following steps to enable Developer Mode, Switch on CEF Remote Debugging, and ensure your Steam Deck operates with the best Wi-Fi signal to run streaming services like the Amazon launcher.
- Press the Steam button.
- In the Steam Menu, select System.
- Ensure the System Update Channel is set to Stable.
- Enable Developer Mode under System Settings.
- In the Steam Menu, select the new Developer menu.
- Under WIFI, disable Wi-Fi Power Management. Keeping this turned off will make the Steam Deck use 5GHz networks, which is better for streaming services and non-Steam launchers.
- Under Miscellaneous, enable CEF Remote Debugging.
It’s recommended to keep the Steam Deck’s updates in Stable Mode. Frequent updates in Beta and Beta Candidate modes can lead to compatibility issues with Decky Loader. However, major updates in Stable mode can also disable the Developer settings mentioned above. If the Decky Loader program is disabled from the Quick Access Menu, double-check your settings and restart the Steam Deck.
Running Amazon Games With Decky Loader
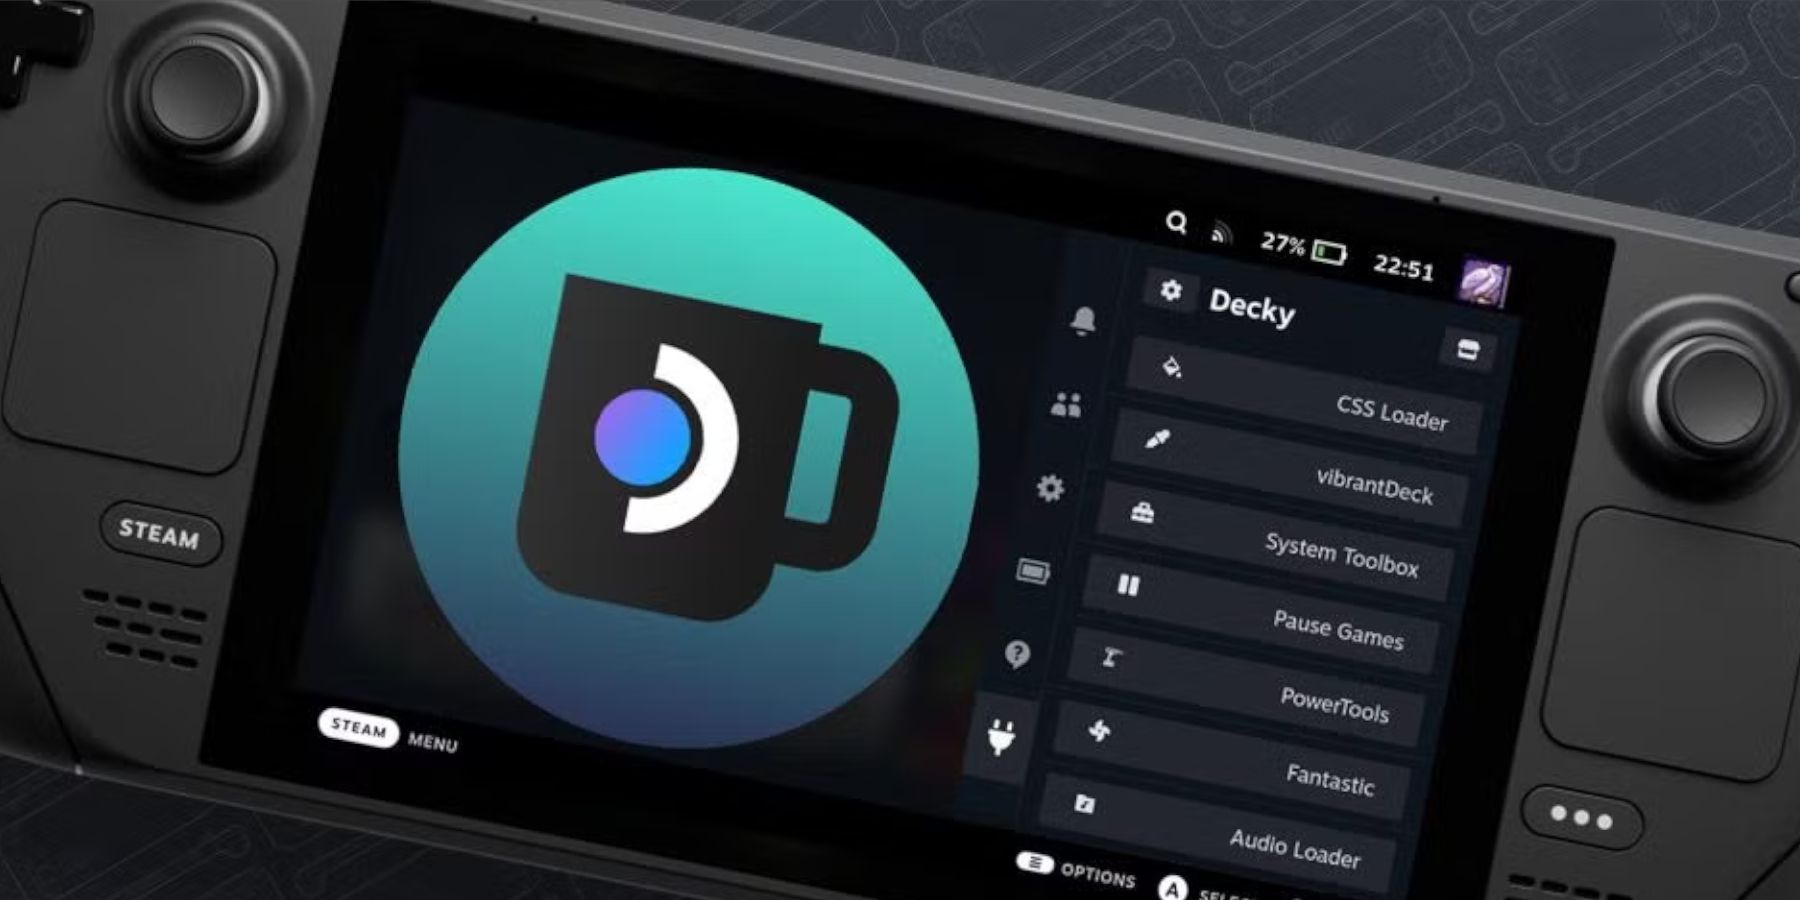
The most dependable way to run Amazon Games on the Steam Deck is through the NonSteamLauncher using the Decky Loader program. Although NonSteamLauncher is still undergoing testing, the Amazon Games app functions excellently. The following steps can be used to install Decky Loader and the NonSteamLauncher programs:
Installing Decky Loader
- Press the Steam button.
- Scroll down to the Power option and select Switch Desktop Mode.
- This is optional, but connecting a keyboard and mouse can simplify the process of downloading and copying files.
- Open a browser, but ensure you have downloaded the Google Chrome browser.
The NonSteamLauncher utilizes Google Chrome to run the launchers on Steam Deck.
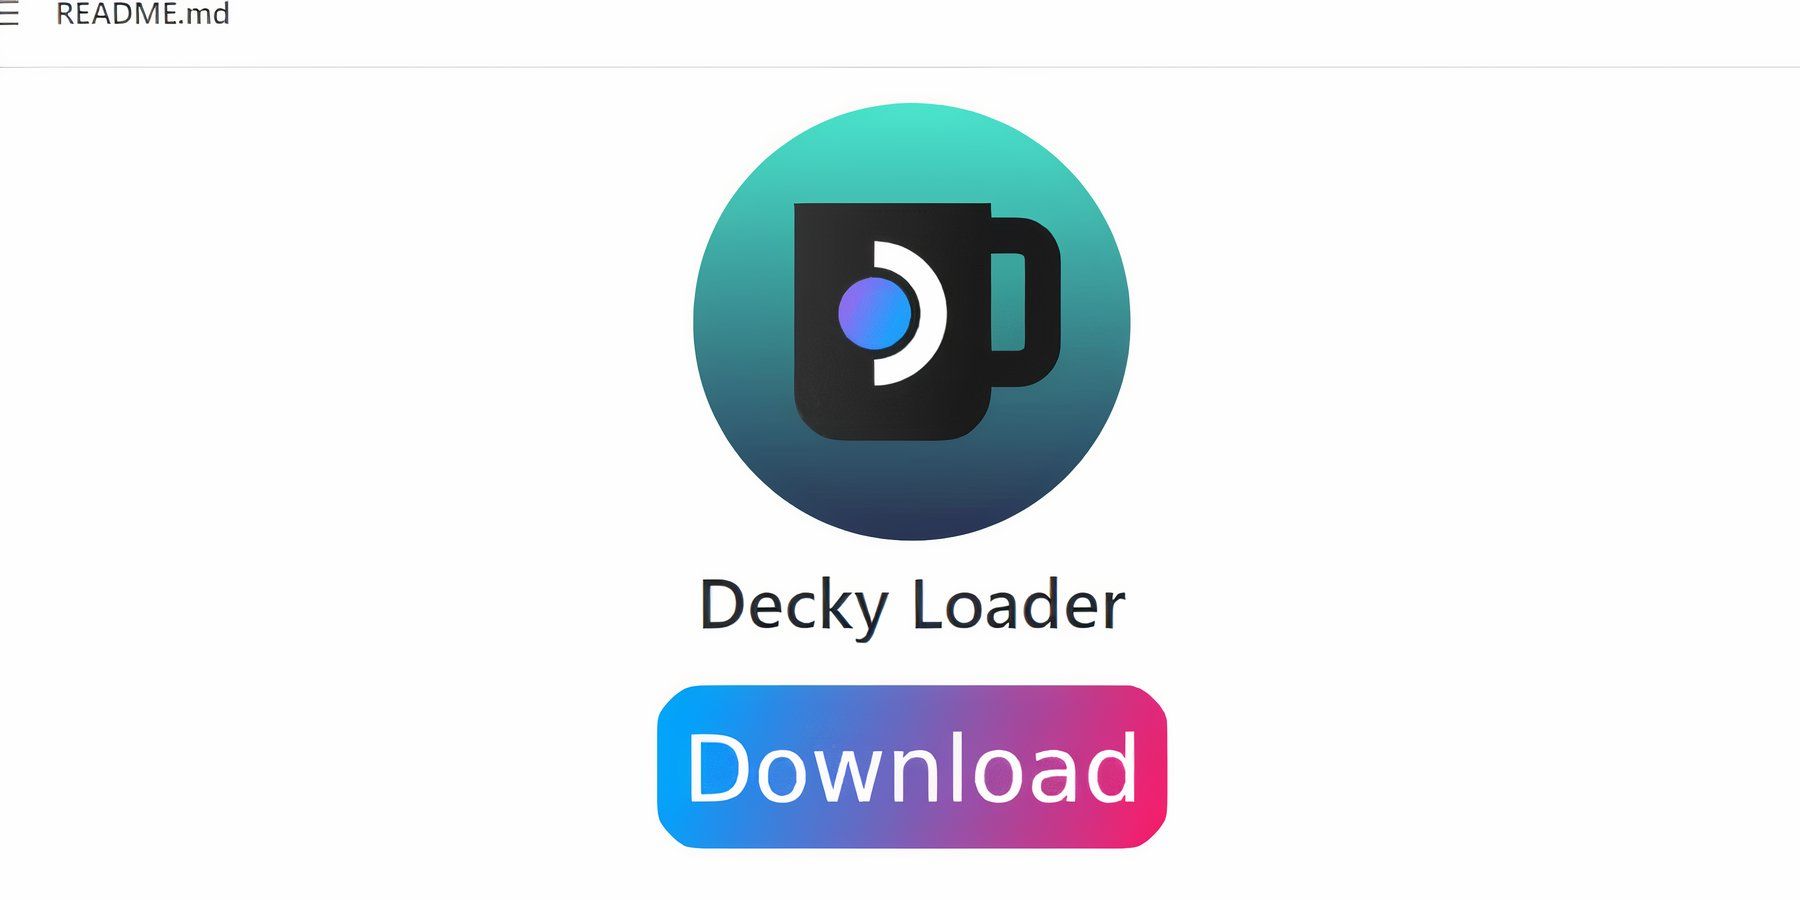
- Head to the Decky Loader download page on GitHub.
- Scroll down the page and click the Download button beneath the Decky Loader logo.
- Select the Recommended Settings for the installation.
- After the installation, close all the windows and select Return to Gaming Mode on the Desktop screen.
Installing The NonSteamLauncher On The Steam Deck
With Decky Loader attached to the Quick Access Menu, it’s time to search its store and install the NonSteamLauncher to run Amazon Games. Follow the steps below to locate and install the app.
- Press the QAM button underneath the right trackpad.
- Click on the new plugin icon at the bottom of the menu.
- Click on the Settings cogwheel.
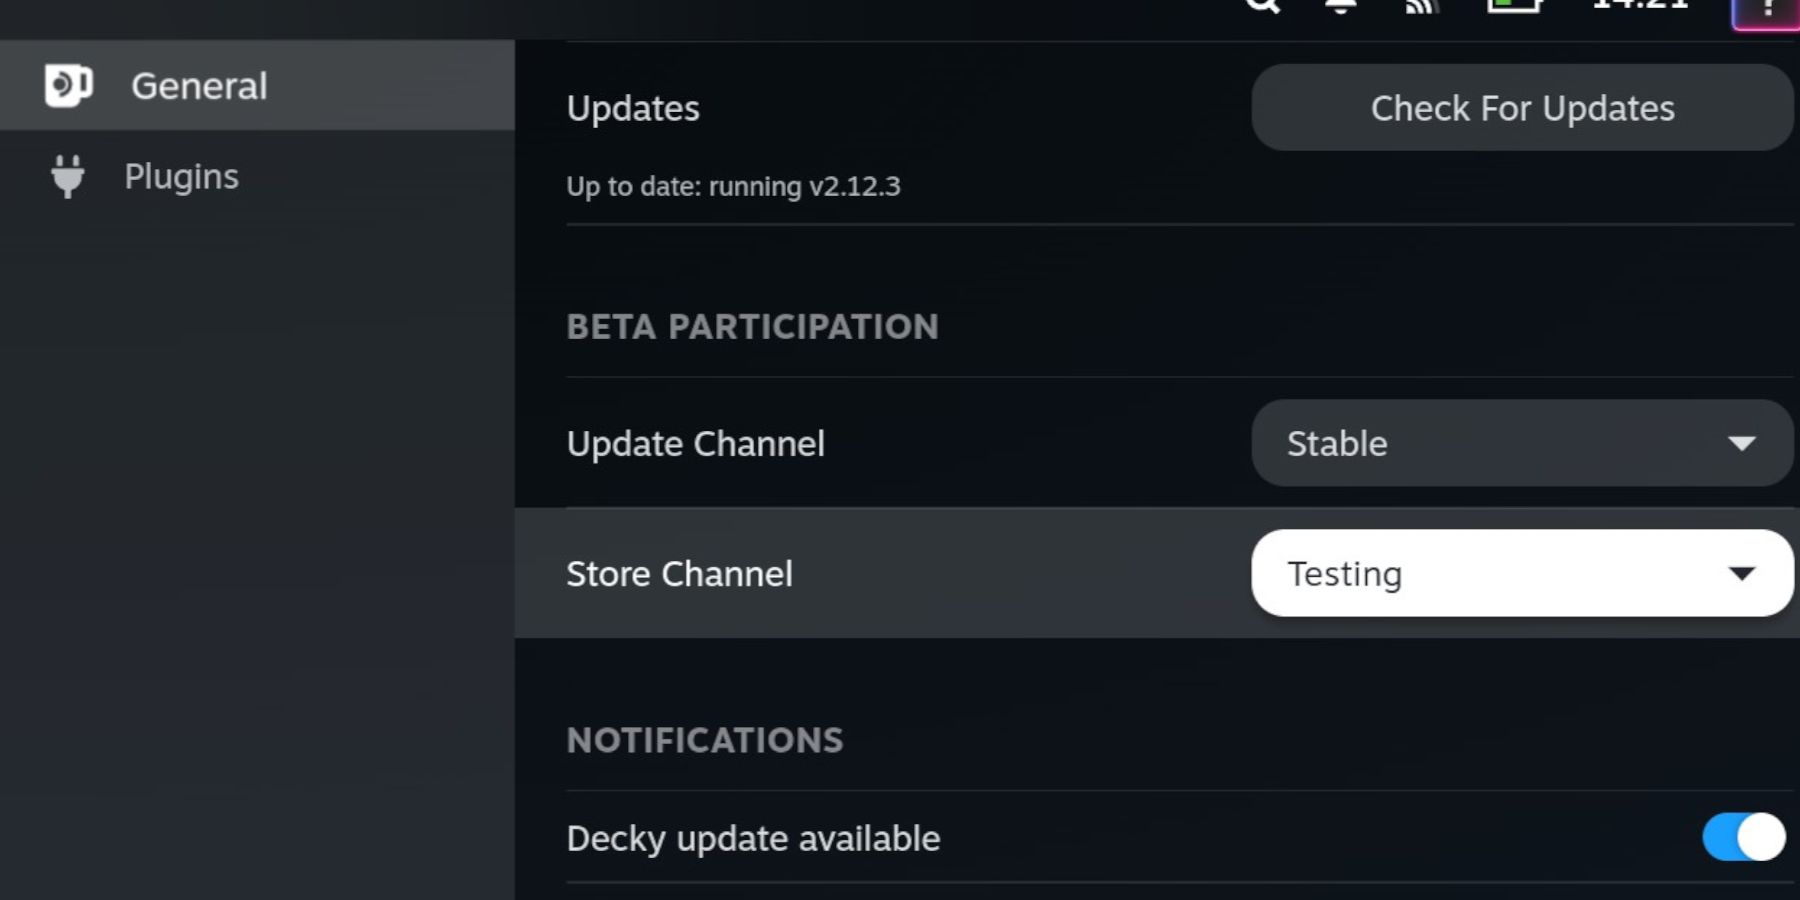
- In the General menu, press the Store Channel dropdown menu and select Testing.
The Testing Store allows you to try new apps in their testing phase.
Related
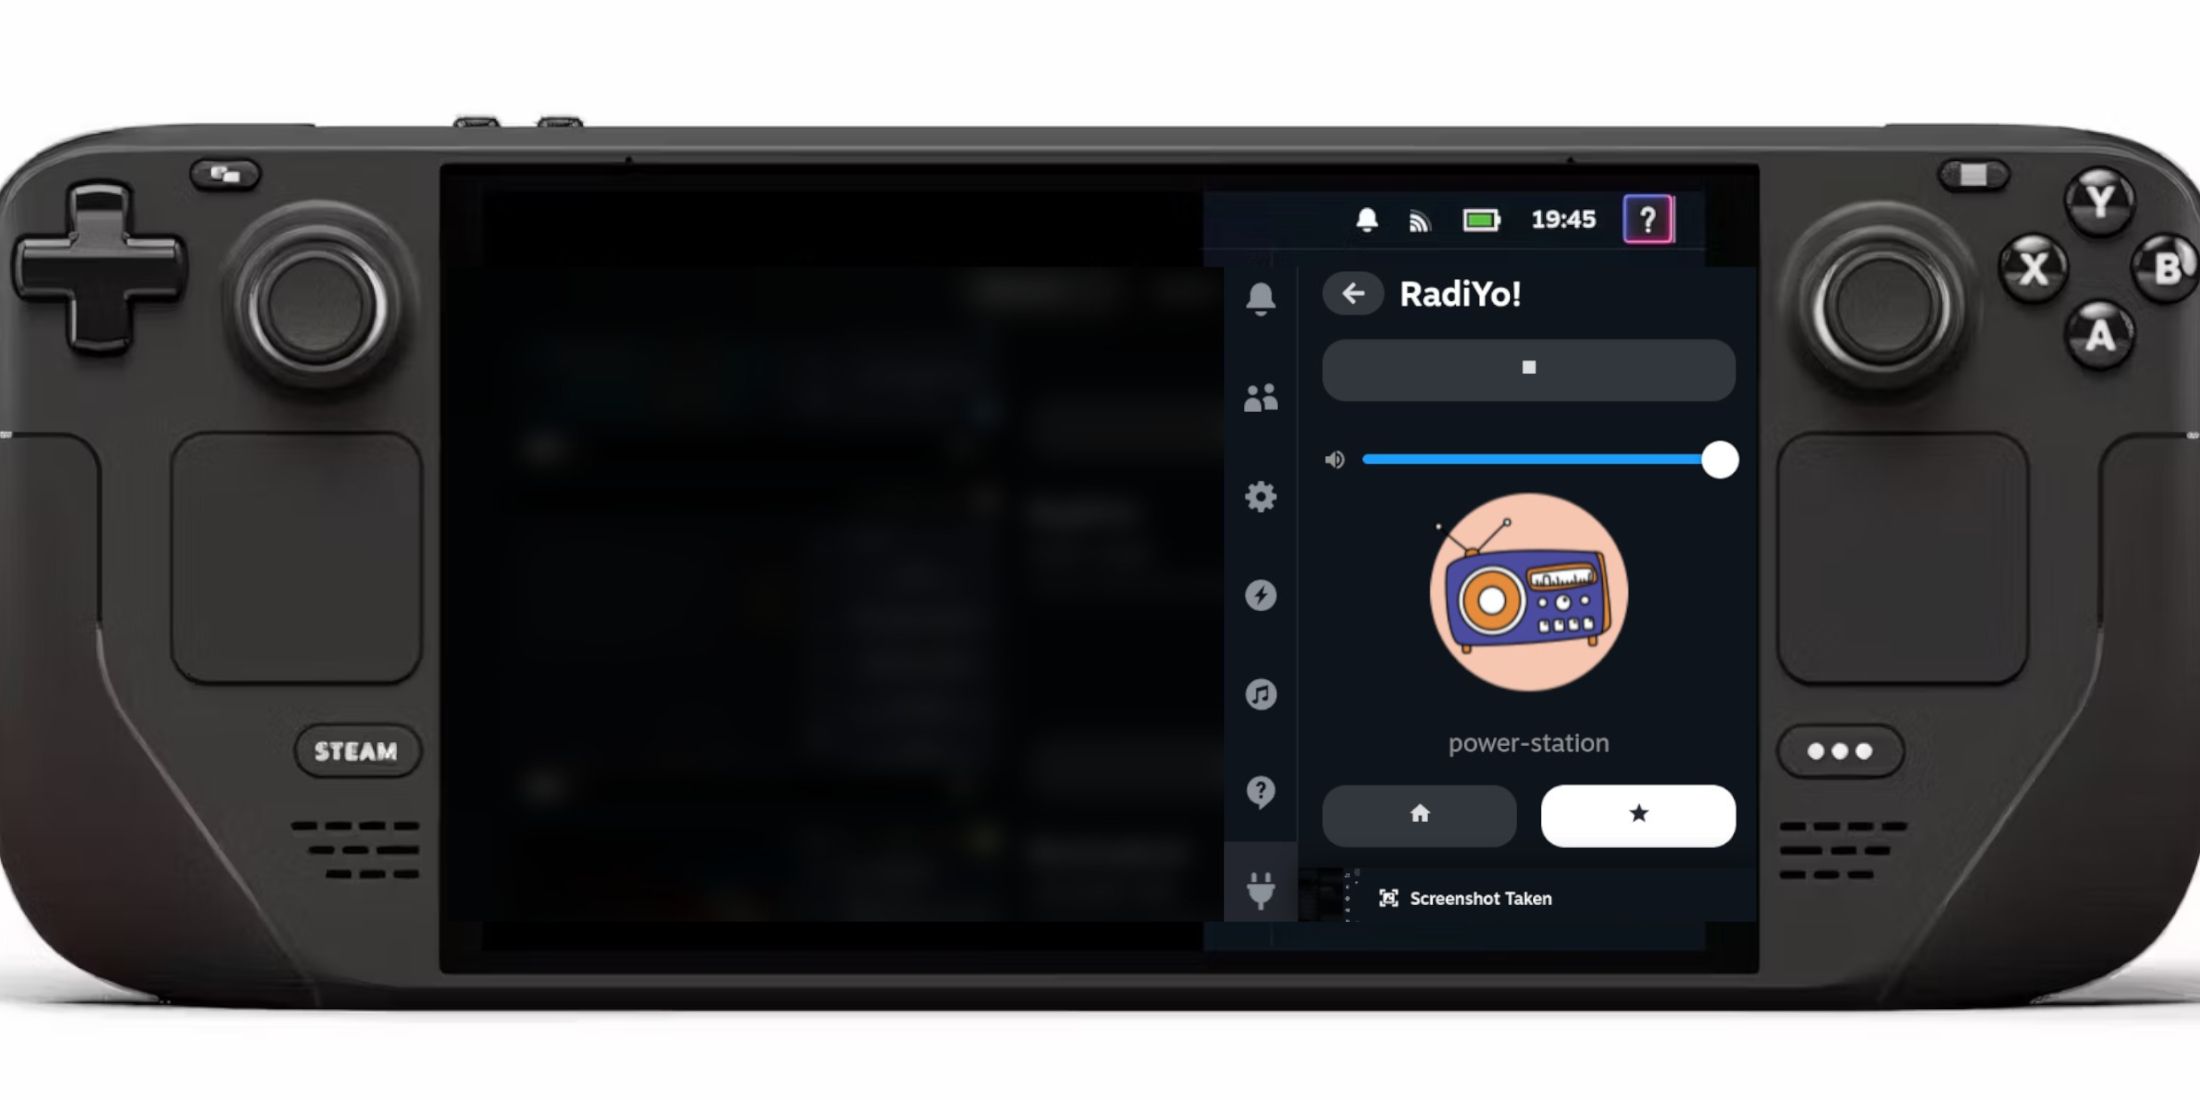
Steam Deck – How To Play Internet Radio Stations While Gaming
Here’s how to play radio stations while gaming on the Steam Deck.
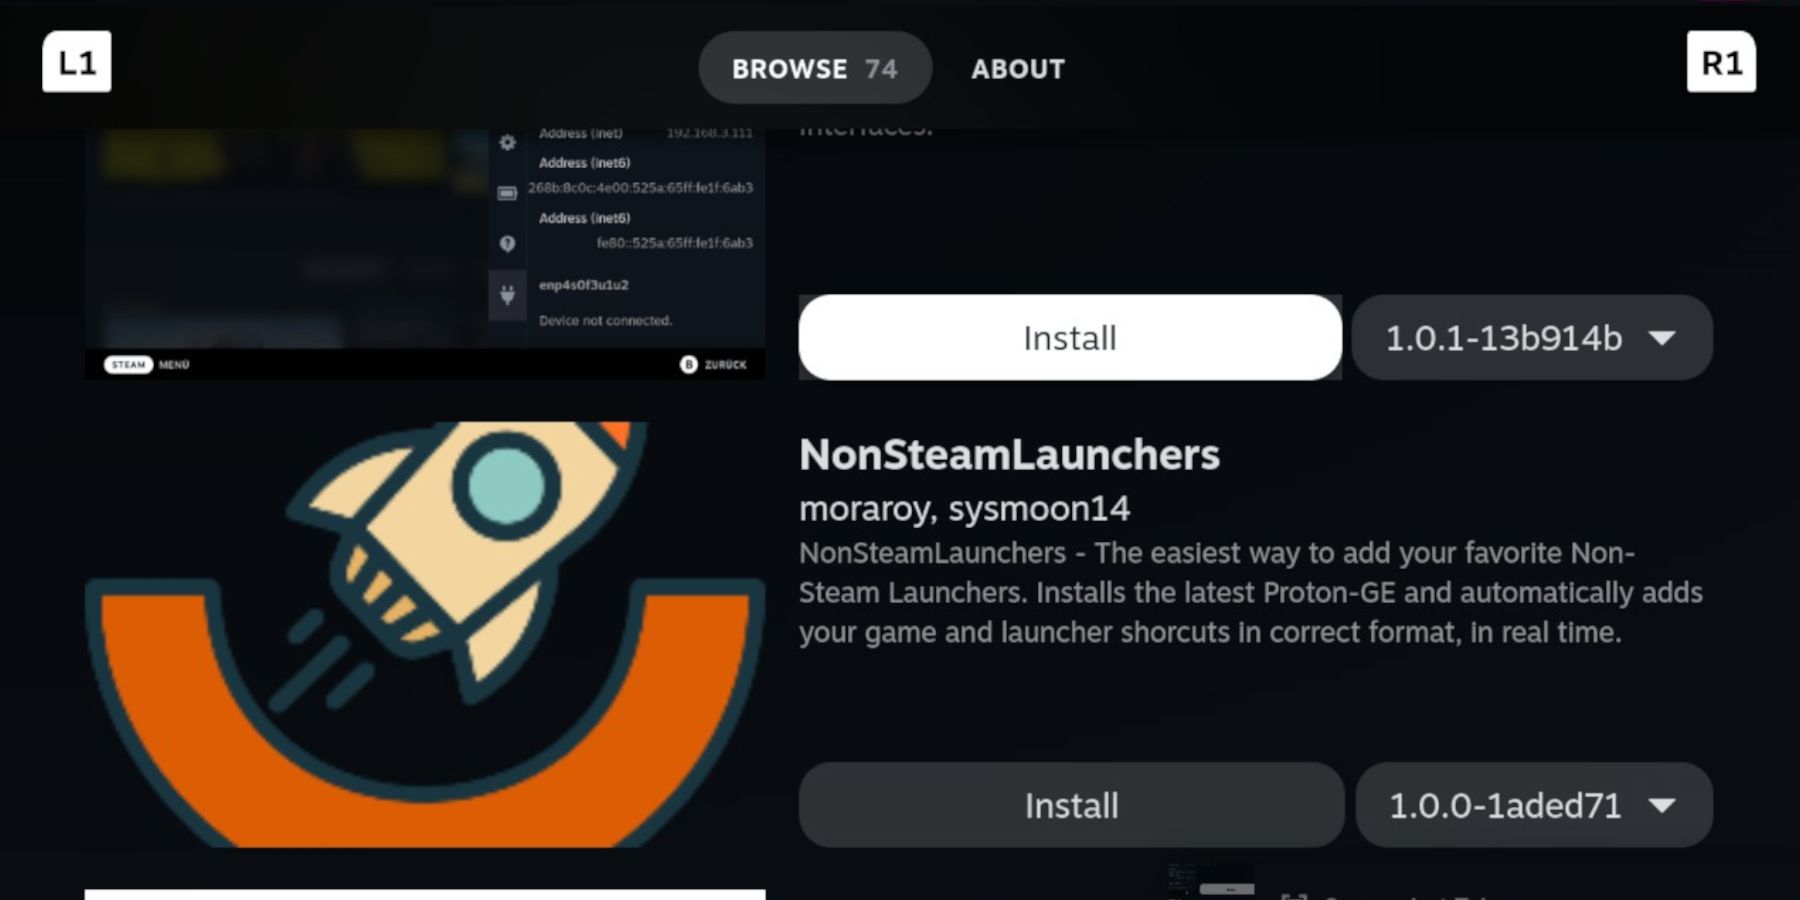
- Open the Decky Loader store by pressing the Store icon next to the settings cog.
- Decky Loader will open the new Testing Store.
- Scroll down the menu to locate and install NonSteamLaunchers.
Installing Amazon Games On The Steam Deck
With the NonSteamLaunchers installed via Decky Loader, it’s time to download the Amazon Games Launcher:
- Press the QAM button and open the Decky Loader app.
- Locate and open the NonSteamLauncher.
- Switch on Auto Scan Games underneath Game Scanner.
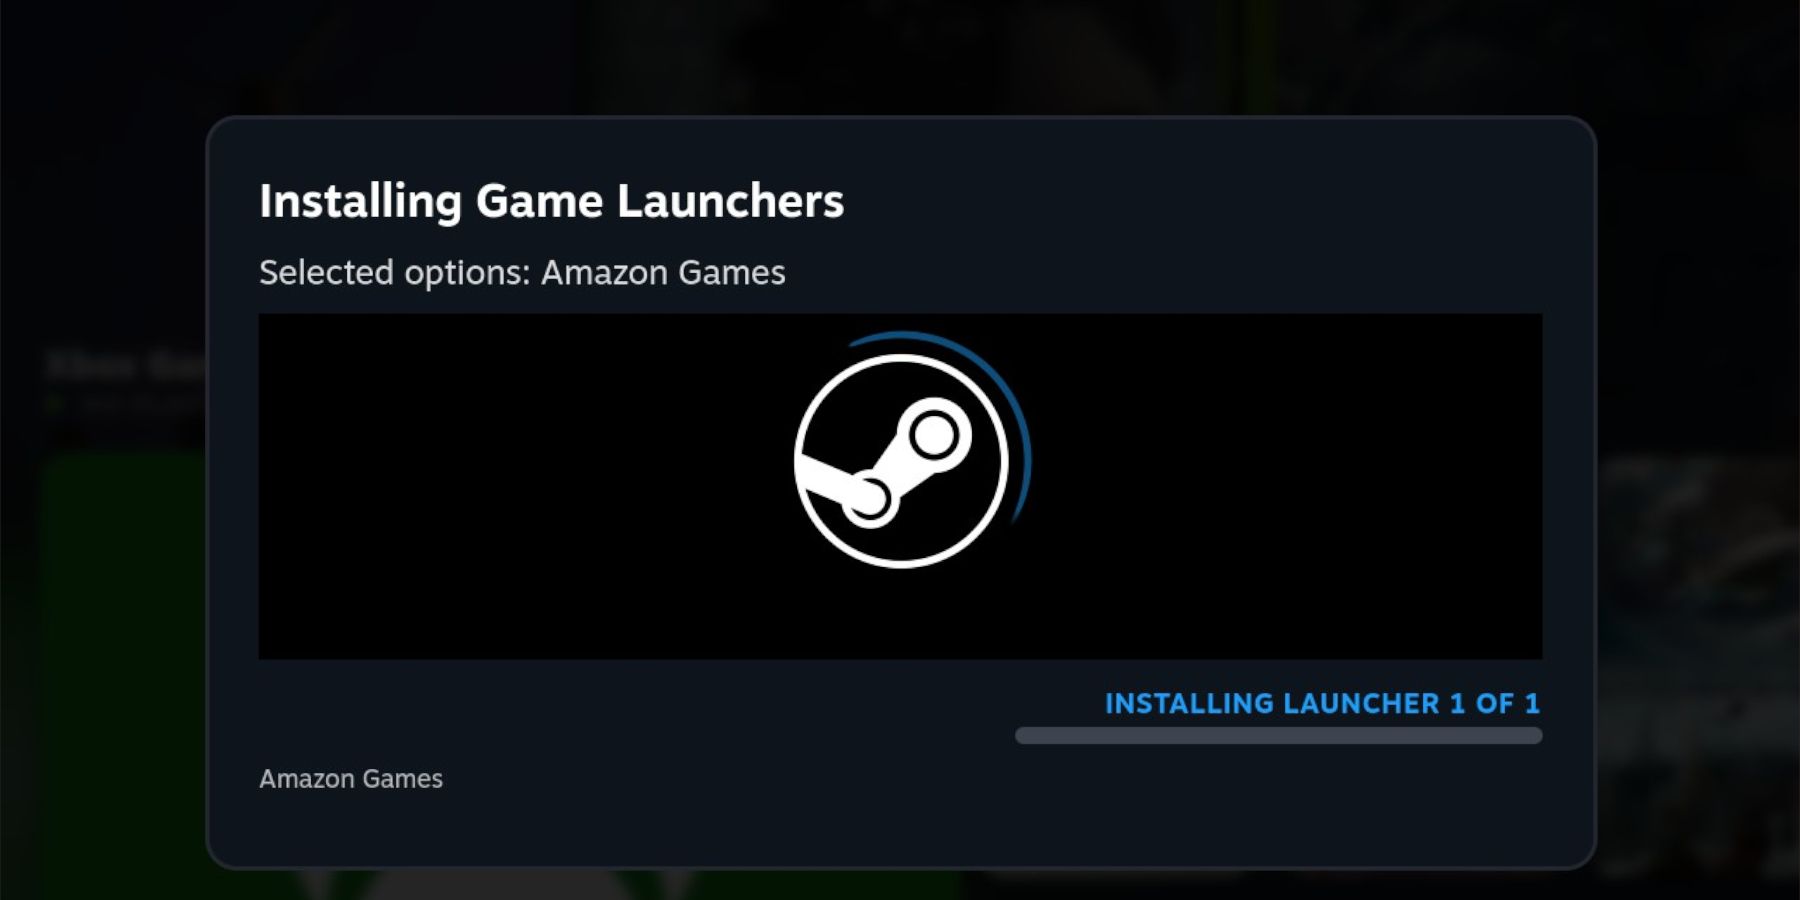
- Open Game Launchers.
- Switch on Amazon Games.
- Switch Separate Launcher Folders on.
Using Amazon Games On The Steam Deck
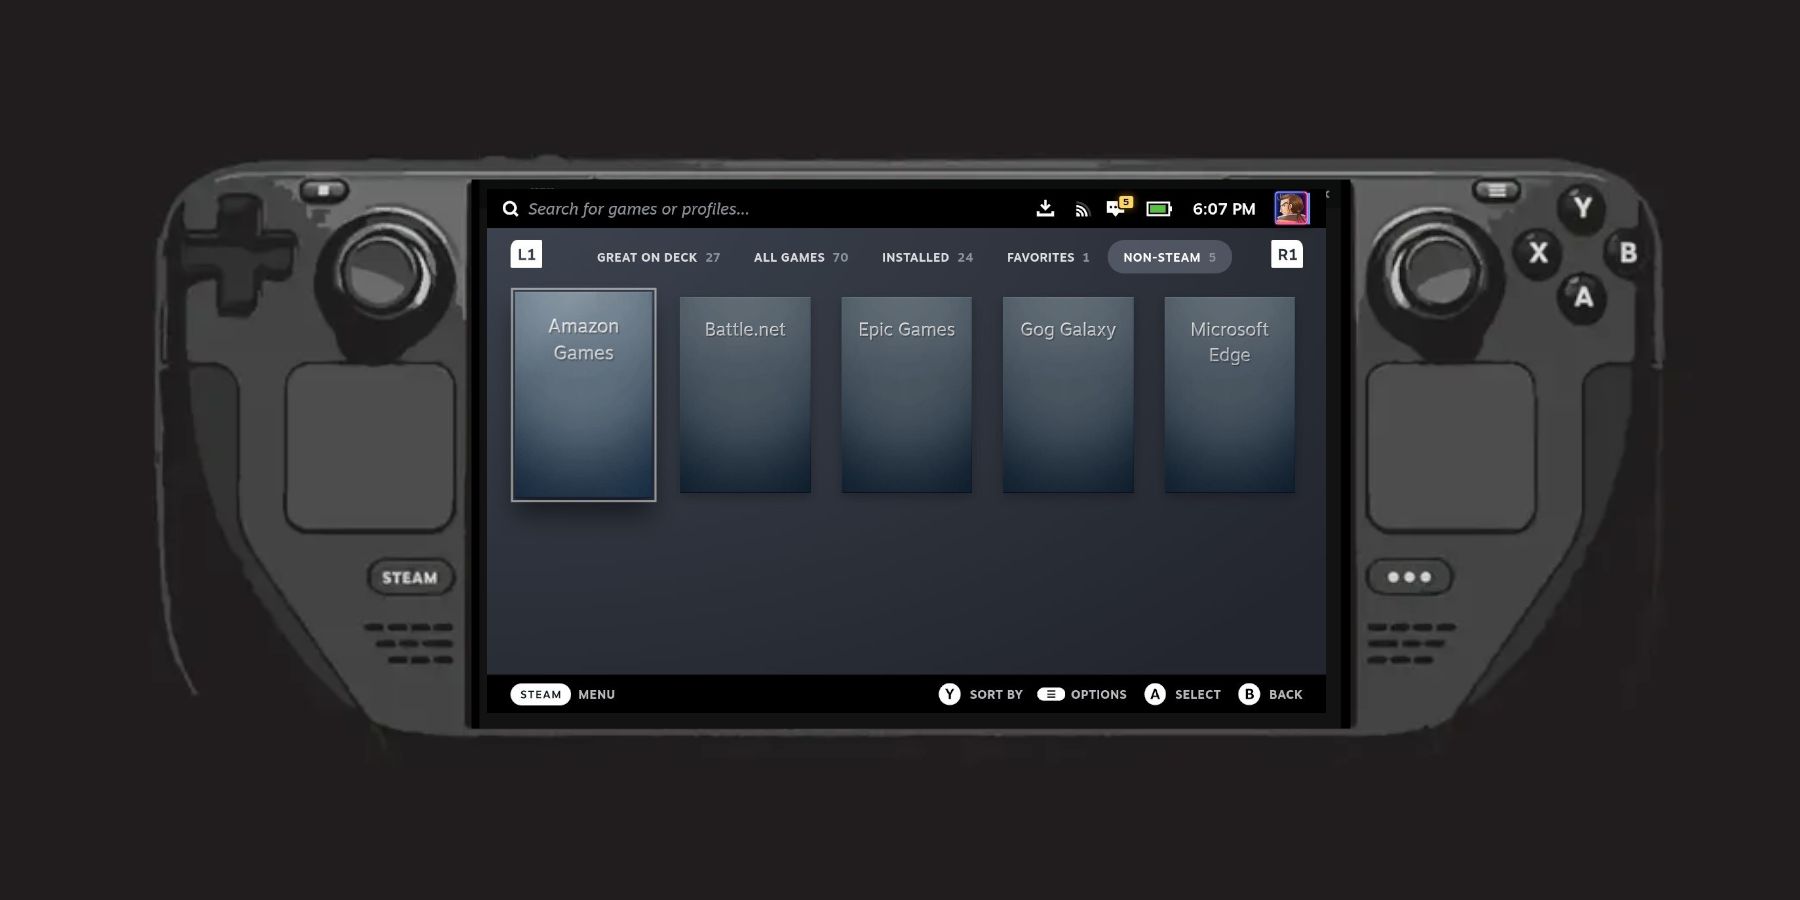
- After the installation, Amazon Games will be added to the Non-Steam Library.
- Press the Steam button.
- Click on Library and open the Non-Steam Library.
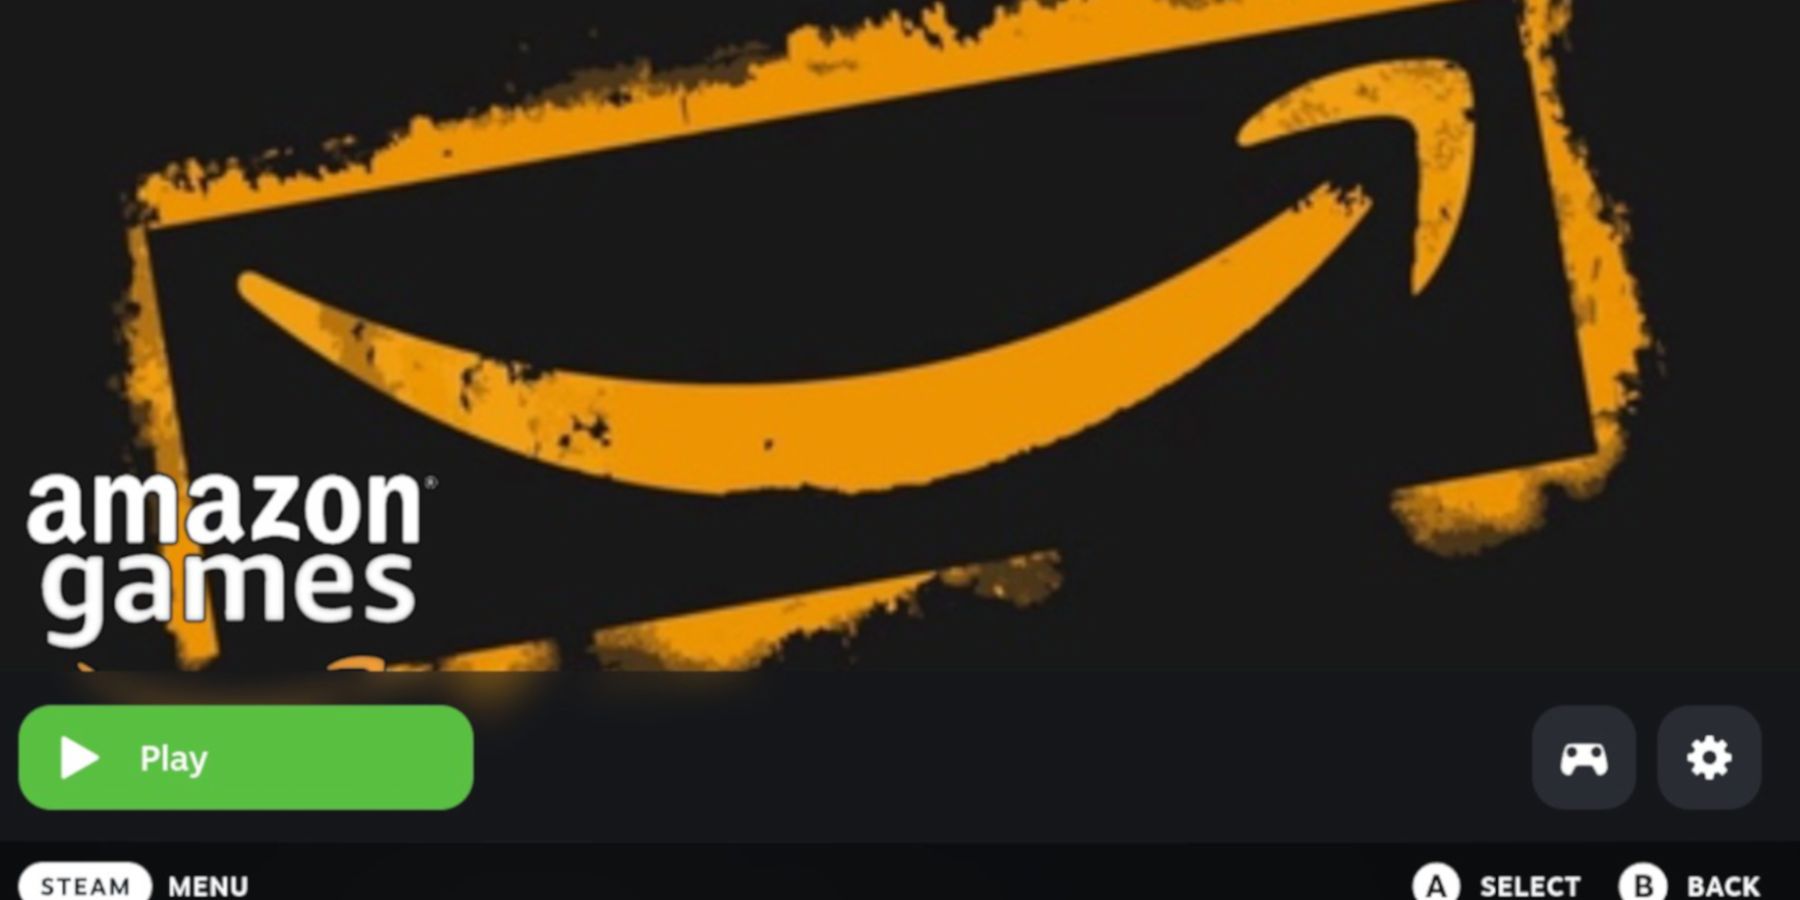
- Locate the Amazon Games Launcher and open it.
You can add the Amazon Games Launcher to your favorites. To do so, highlight Amazon Games, press the options button, and then select “Add to Favorites.”
Related
Steam Deck: How To Use Xbox Cloud Gaming
The Steam Deck can run Xbox Cloud but it takes some effort to make it work; here’s how to set it up.
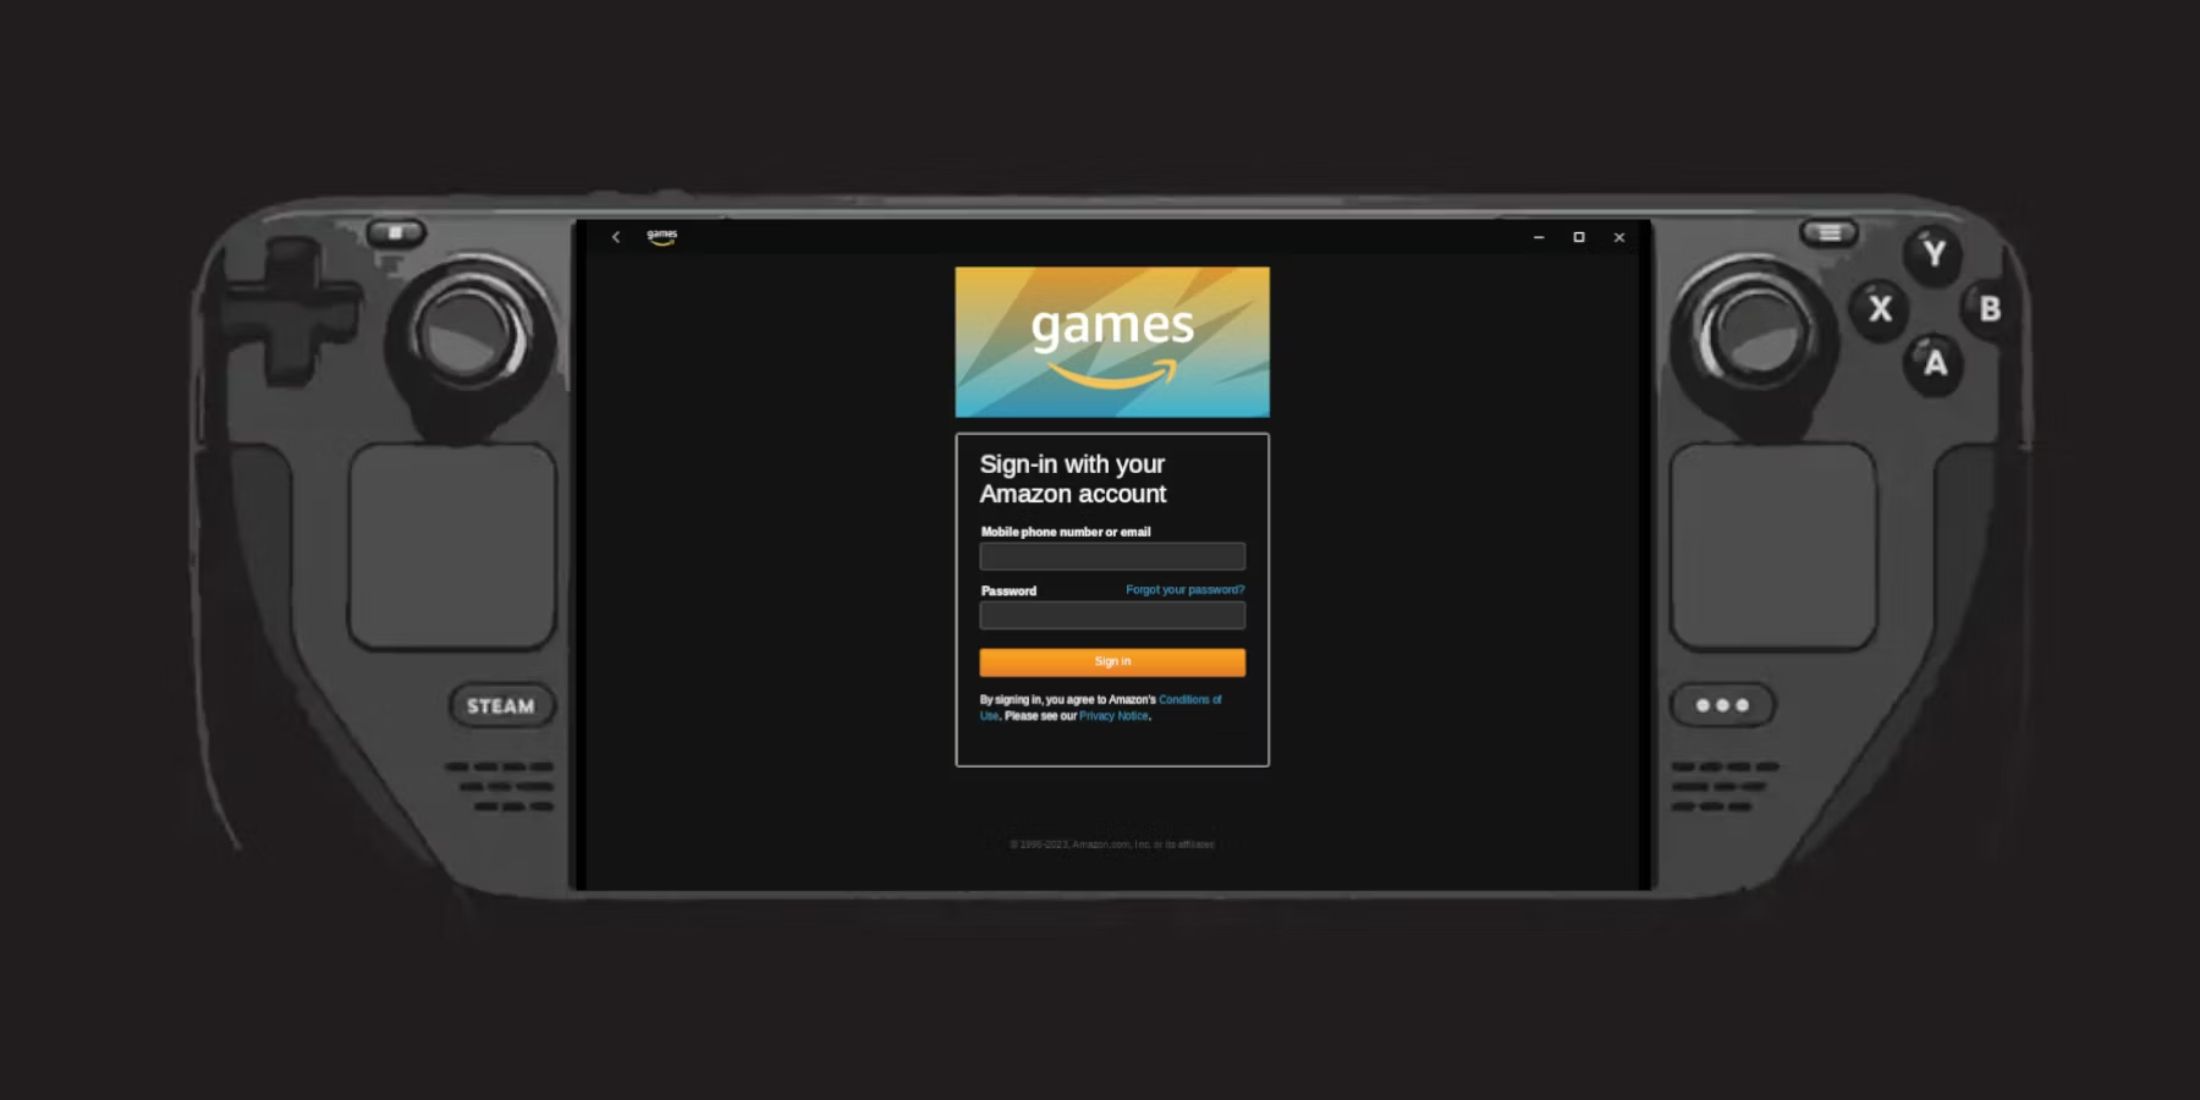
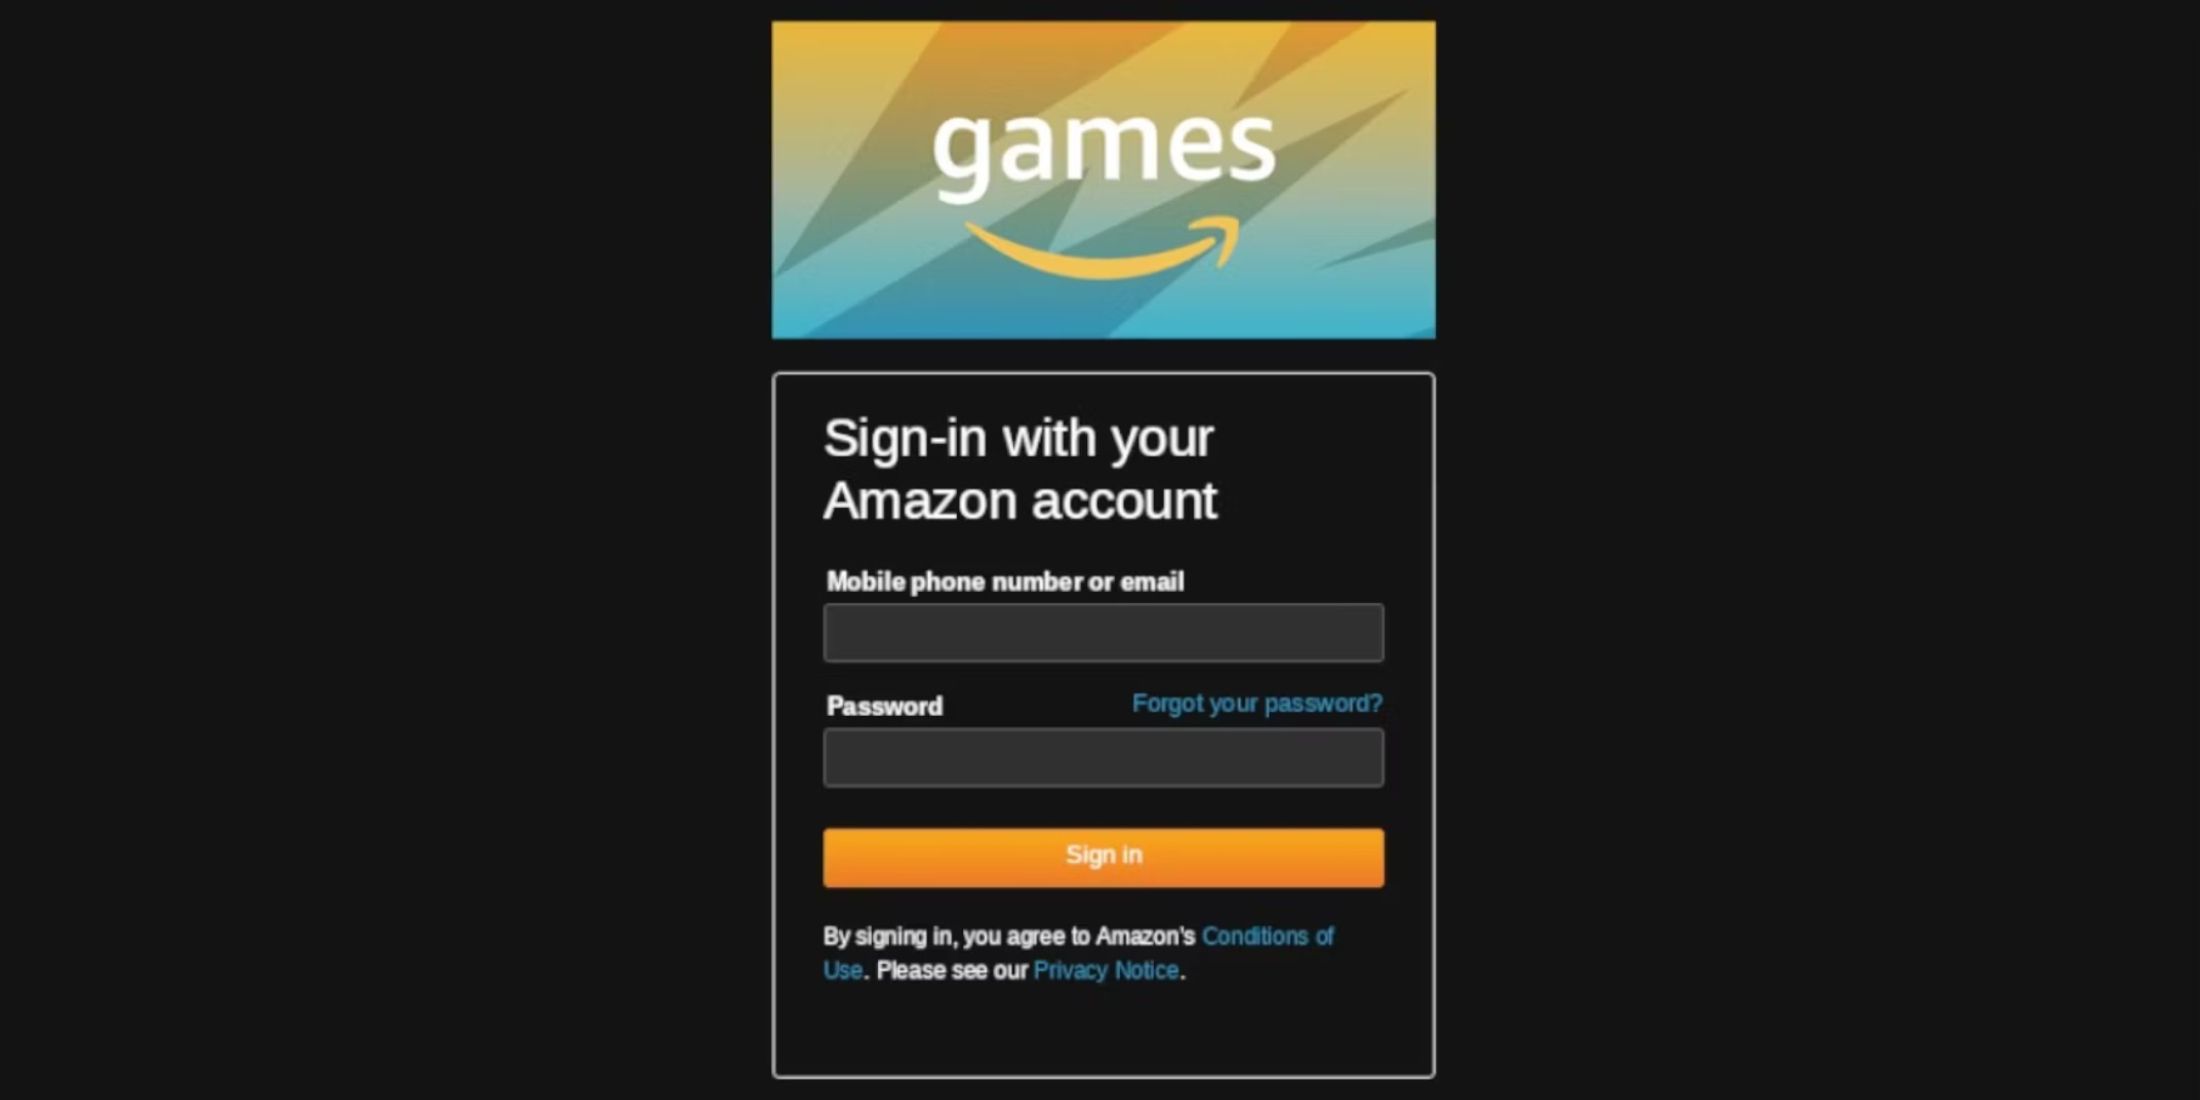
- Press Play to open the Amazon Games Launcher and sign in with your details.
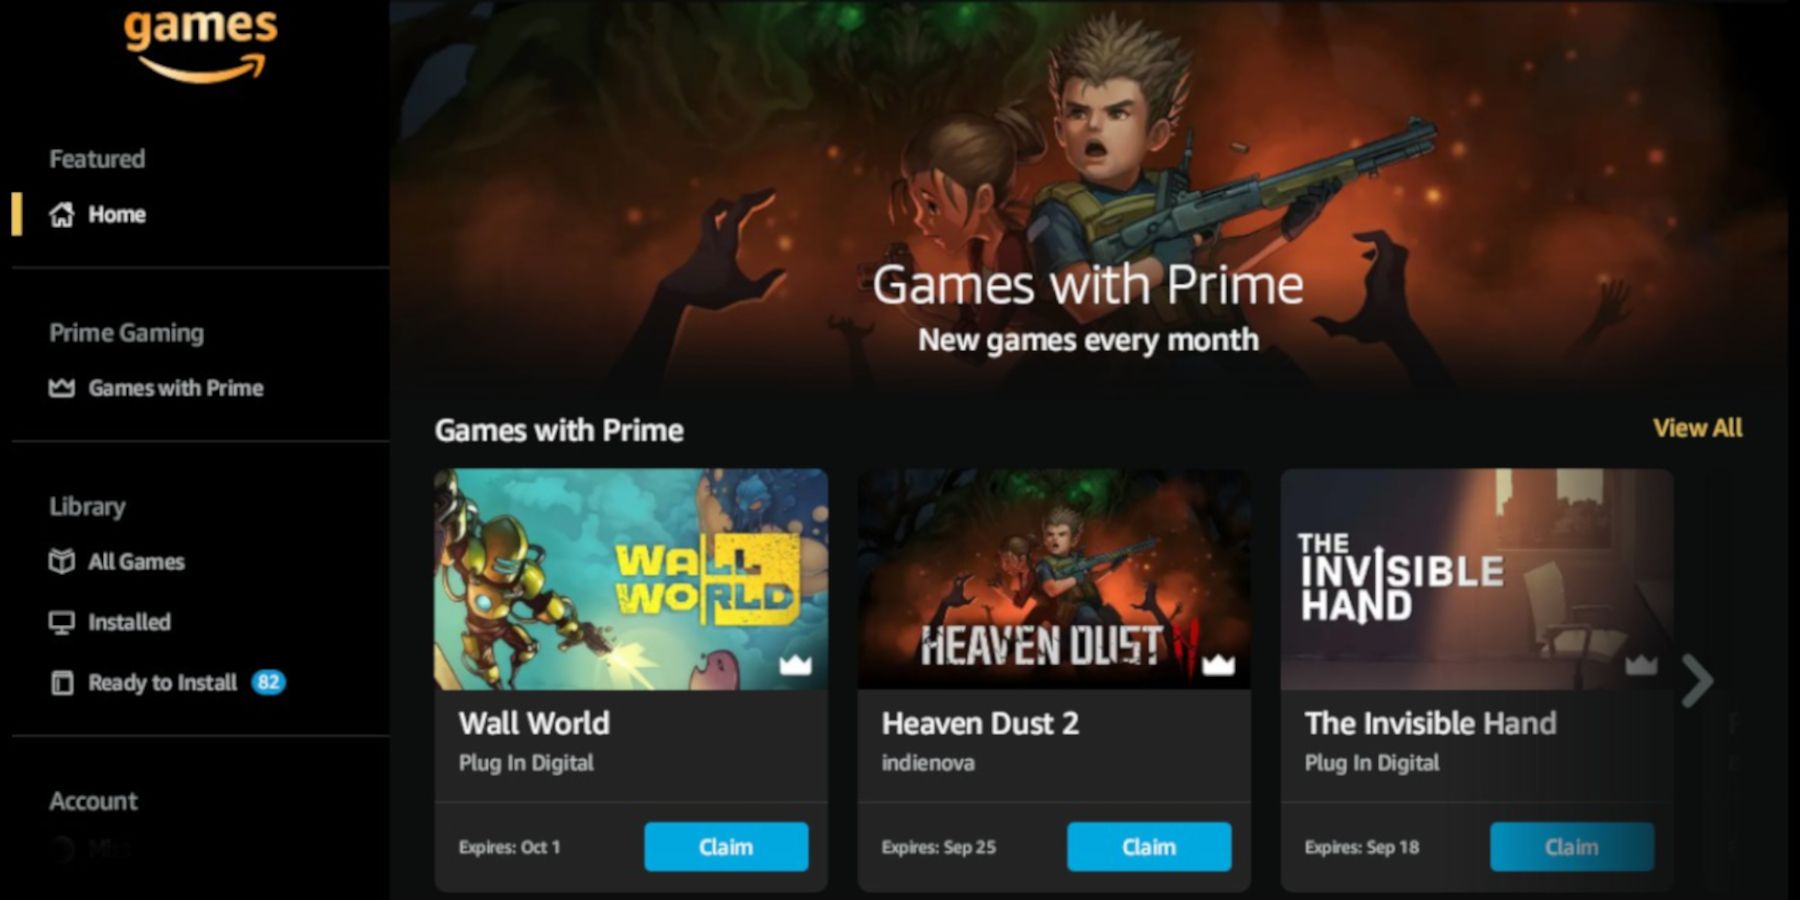
- You can claim and install your games within the Amazon Games app.
- The installed games will get added to your Non-Steam Library, but clicking will redirect you to the Amazon Games Launcher.
How To Restore Decky Loader After The Steam Deck Update
The latest update for the Steam Deck removed the Decky Loader from the Quick Access Menu (QAM), which may prevent users from installing and using new launchers on the handheld device. Fortunately, we can restore the Decky Loader to its original state by following these steps.
- Press the Steam button.
- Select Power and switch to Desktop Mode.
- When the Steam Deck restarts in Desktop Mode, reopen a browser.
- Reopen the Decky Loader GitHub page and click Download.
- After double-clicking on the installer, you must select Execute in the next step and not Open.
- After executing the Installer the next prompt will ask for your sudo password.
- Enter your sudo password or create a new one. Ensure it’s a memorable password as you can only change it again after a factory reset.
- After the installation Power off the Steam Deck.
- Restart in Gaming Mode and press the QAM button to access the Decky Loader program.
Installing Easy Launcher For The Steam Deck
Another way to run the Amazon Game Launcher on the Steam Deck is by using an app called Easy Launcher. The installer, created by Guthub user Morary, enables users to run programs that would otherwise be incompatible with the Steam Deck. This is effectively the same program as the NonSteamLauncher, but it requires a bit of tinkering to get it working. Like NSL, Easy Launcher allows users to run other apps and programs on the Steam Deck that aren’t part of the Steam Deck’s official library.
- Ensure the Steam Deck has enough battery life before installing new programs.
- It is not required, but the process will be much easier if a keyboard and mouse are connected to the Steam Deck.
- Press the Steam button underneath the left trackpad.
- Highlight Power.
- Switch to Desktop Mode.
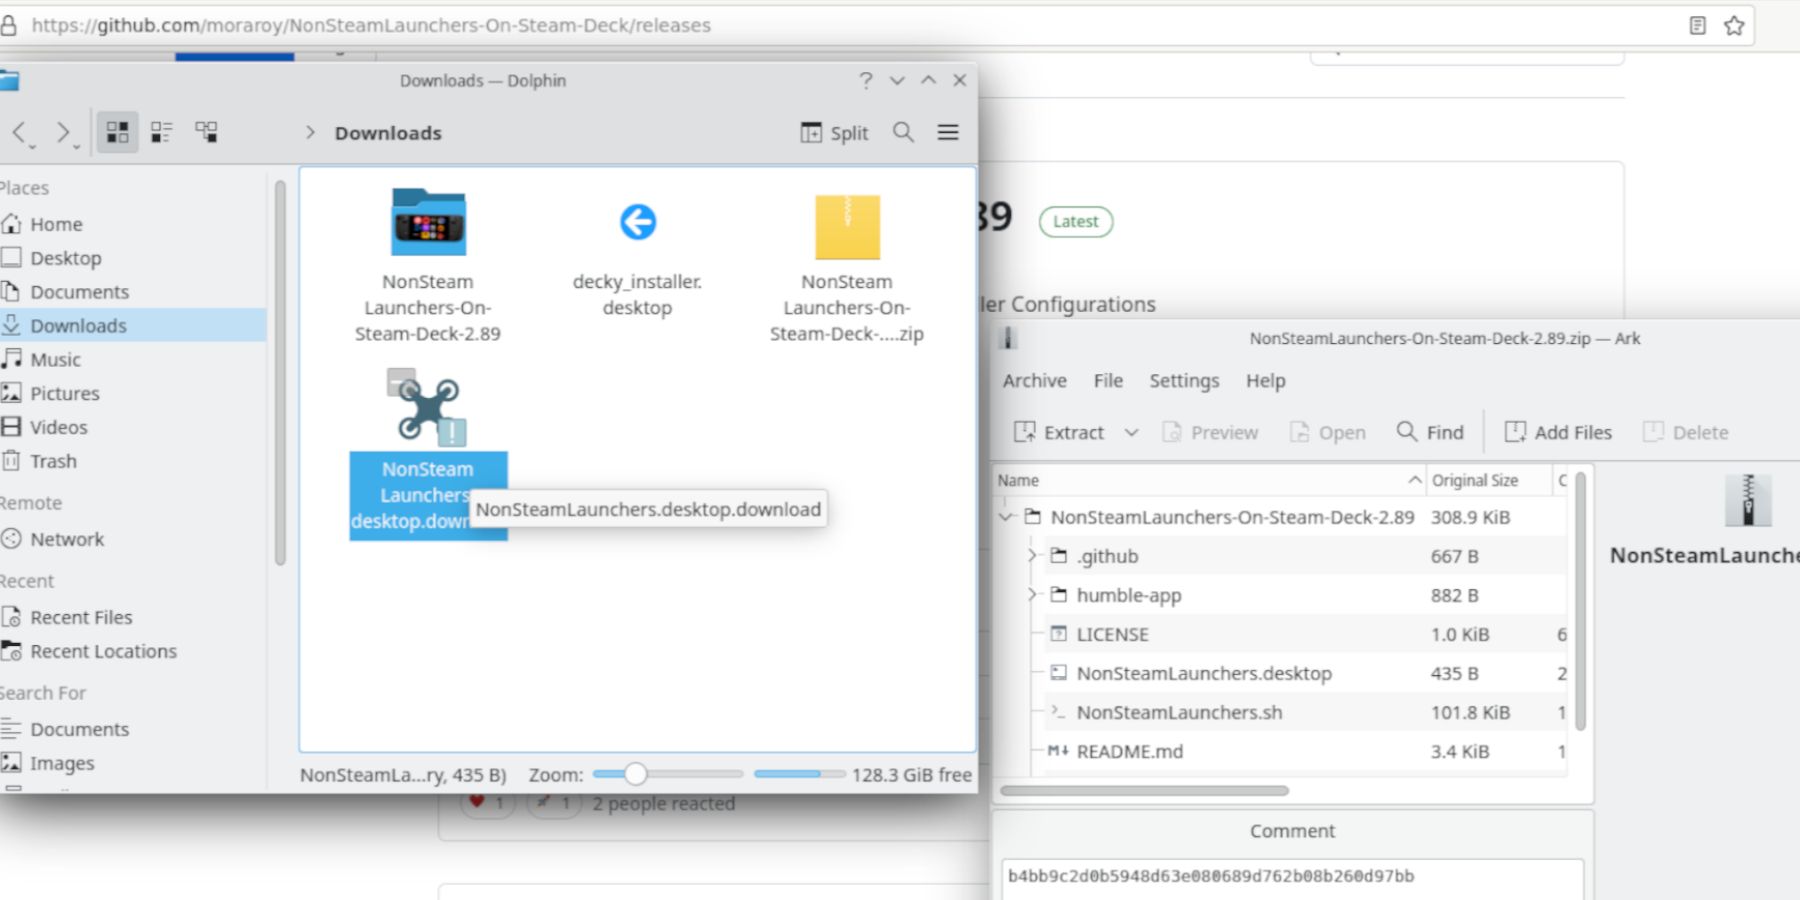
- Using a browser, head over to GitHub to download Easy Installer.
- Look for the Source Code (zip) under Assets. Then, download the installer.
- Agree to the prompts and extract Easy Installer into a folder.
- After the file has been extracted, double-click on the NonSteam Launchers folder.
- Click the NonSteamLaunchers.desktop icon.
- Execute and continue.
- The launcher will provide the user with a list of apps to install. Before selecting them, ensure a checkmark is next to Separate App IDs.
Checking Separate App IDs will ensure Amazon and other programs save to the Non-Steam Library.
- Put a checkmark next to the Amazon Launcher.
- Select OK, and Easy Launcher will install the Amazon app and any other program with a checkmark next to them.
- After the installation, the Steam App will restart in Big Picture Mode.
- After the restart, switch the Steam Deck back into Gaming Mode.
Accessing The Amazon App On The Steam Deck
With the Amazon app now installed via the Easy Launcher, it’s time to locate the Amazon app and log into it.
- Easy Launcher will automatically install the Amazon app in the non-Steam category.
- In the Steam Deck’s Gaming mode, press the Steam button.
- Highlight and select the Library.
- The non-Steam apps and games are on the right of the screen.
- Before logging into the Amazon app, select the Settings cogwheel.
- Select Properties and highlight Compatibility.
- Put a checkmark next to Force the use of specific Steam Play compatibility and select the latest version of Proton to ensure that the Steam Deck controls are working at their best with the Amazon app.
- Back out to the main screen and select the Controller icon.
- Select the current button layout.
- Then select Gamepad + TrackpadMouse. This is compatible with most games on the Amazon app as they utilize a mouse and keyboard. However, Steam Deck users can switch to another controller option for specific games.
- Now, click Play and log into the Amazon app to play the games.
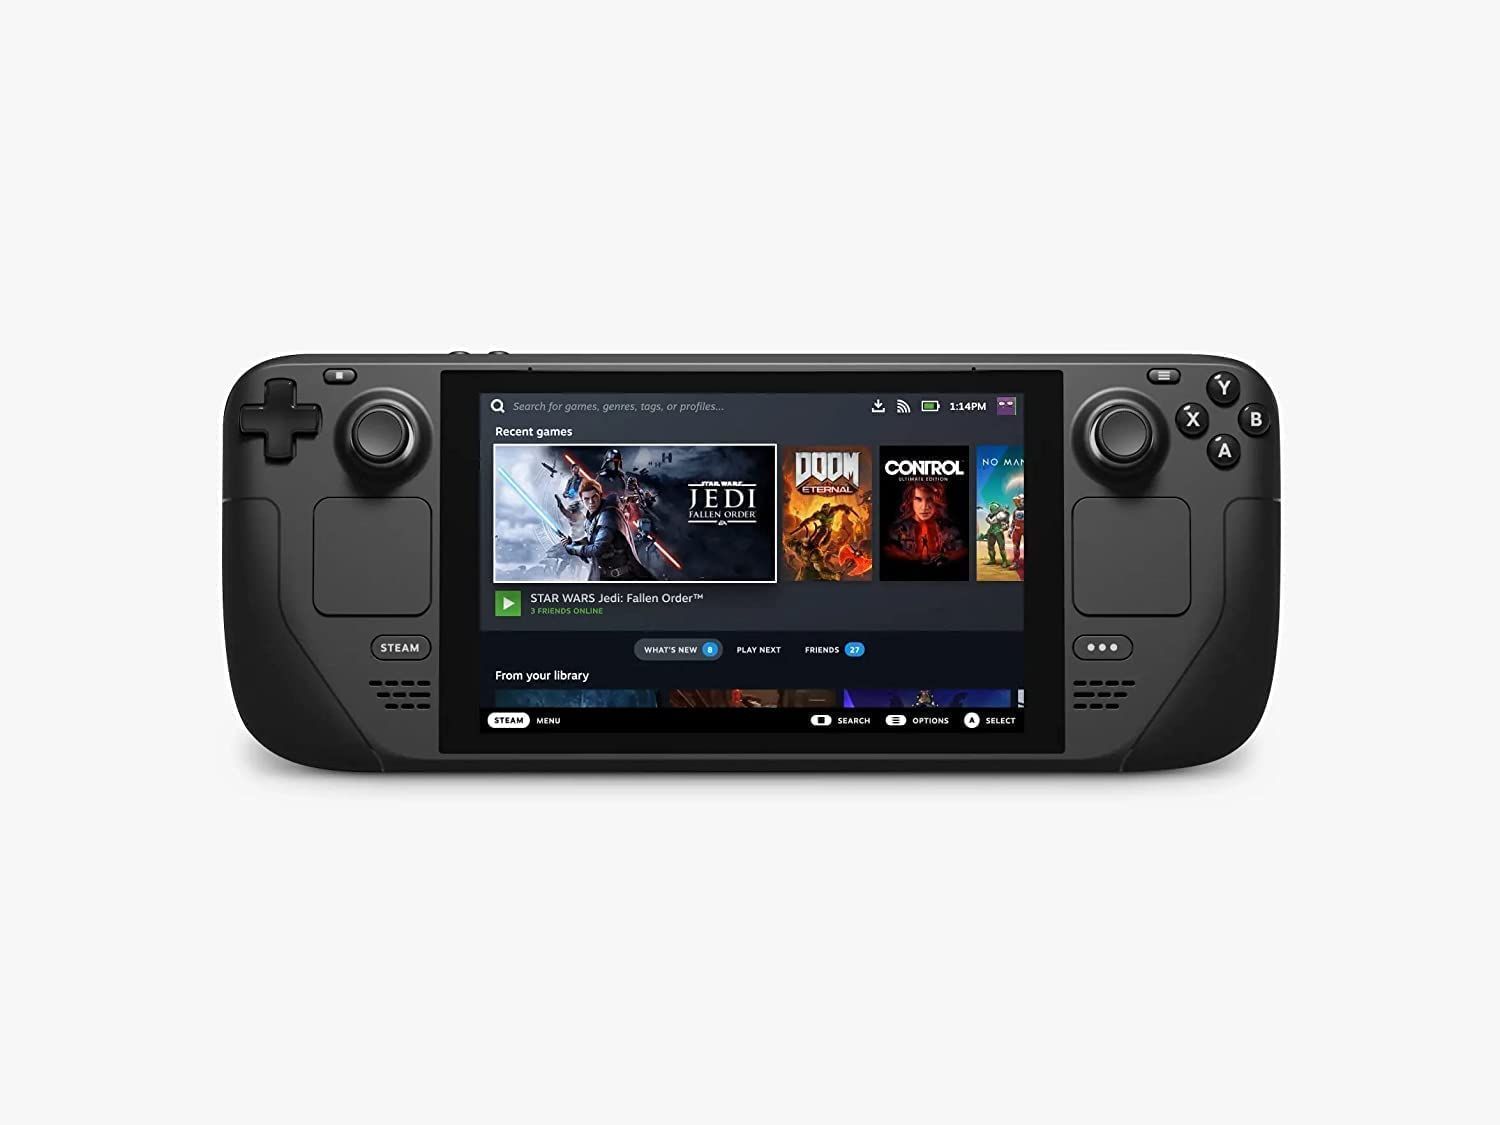
Steam Deck
- Screen
- 7″ diagonal 1280 x 800px (16:10 aspect ratio) 60Hz
- Storage
- 64 GB – 512 GB
- CPU
- AMD APU Zen 2 4c/8t, 2.4-3.5GHz
- Battery
- 40Whr battery. 2 – 8 hours of gameplay
- Ports
- 1x USB-C with DisplayPort 1.4 Alt-mode support; up to 8K @60Hz or 4K @120Hz, 1x USB 3.2 ,1x Micro SD slot, 1x 3.5 audio jack

/cdn.vox-cdn.com/uploads/chorus_asset/file/24049865/226292_Apple_Watch_SE_PHO_akrales_0133.jpg)
