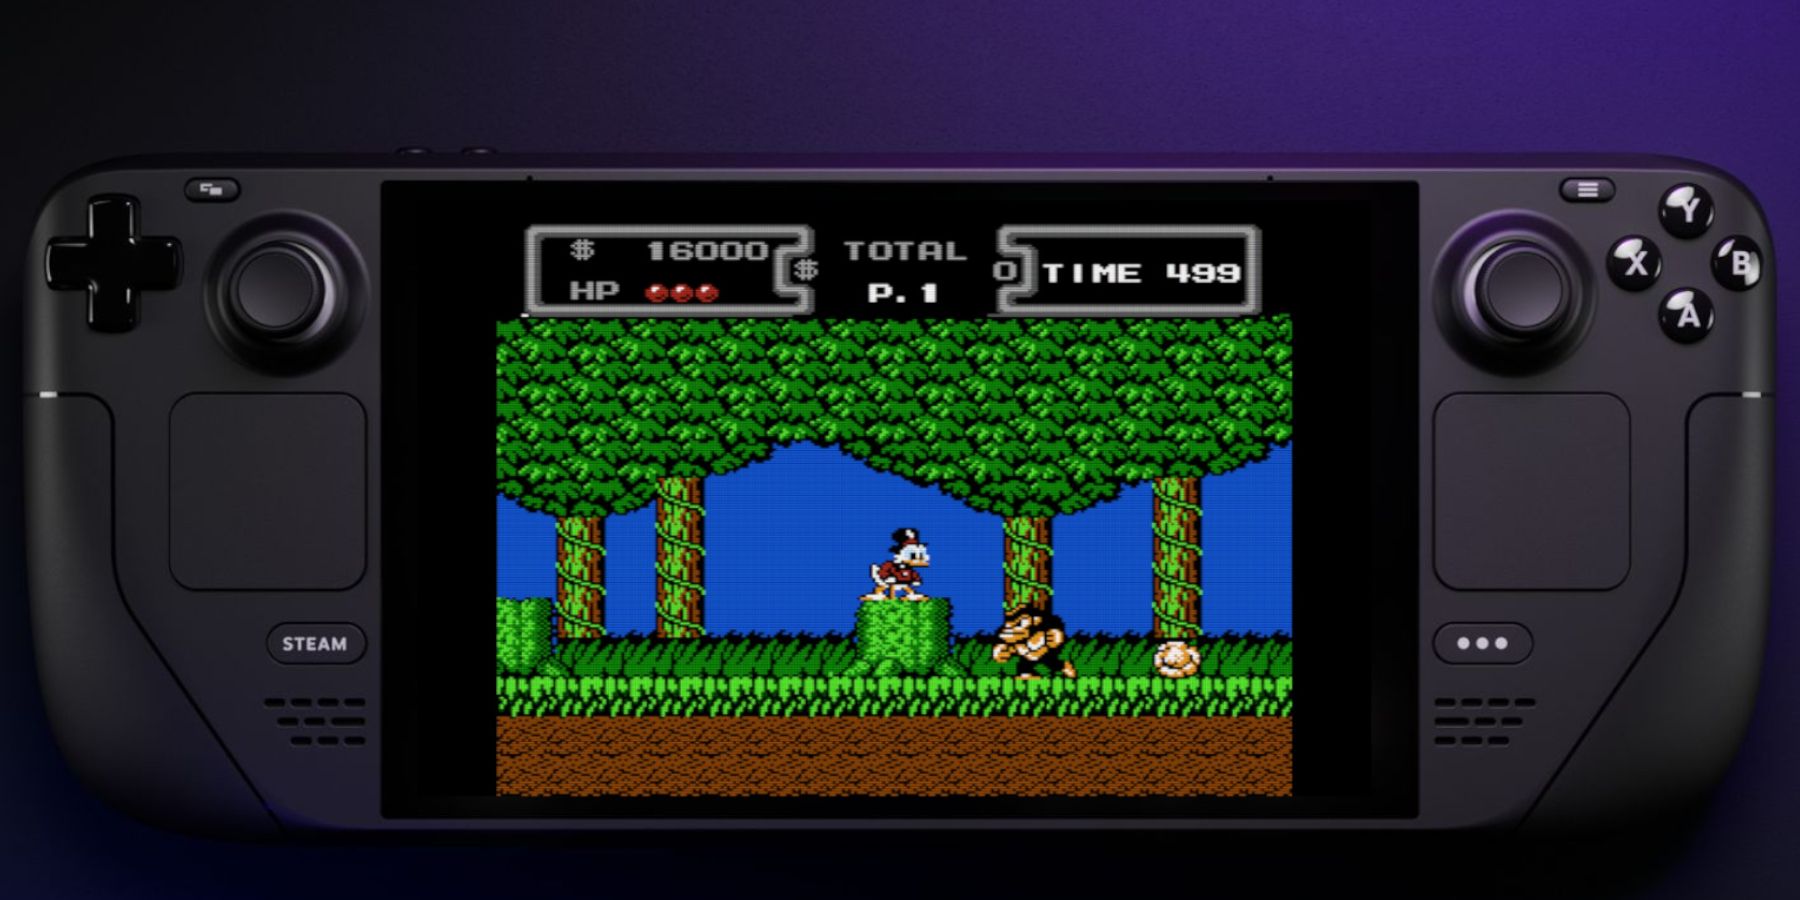
The NES or Nintendo Entertainment System helped pull console gaming back into the mainstream after the infamous Video Games Crash of 1983. It was marketed as an entertainment system that fit neatly under the television, alongside the VCR.
It boasted light gun games suitable for the whole family and, of course, the iconic Mario. Next to the brilliant Super Mario Bros games, there was The Legend of Zelda, Castlevania 3, Dragon Quest, and more. This guide will show Steam Deck users how to play their favorite NES games on their Steam Deck via emulation, and even improve performance.
Related
Steam Deck – How To Play Internet Radio Stations While Gaming
Learn how to play radio stations while gaming on the Steam Deck.
Before Installing EmuDeck
Installing NES games on the Steam Deck with EmuDeck requires certain tools to ensure they run properly and preserve the health of the Steam Deck’s internal SSD.
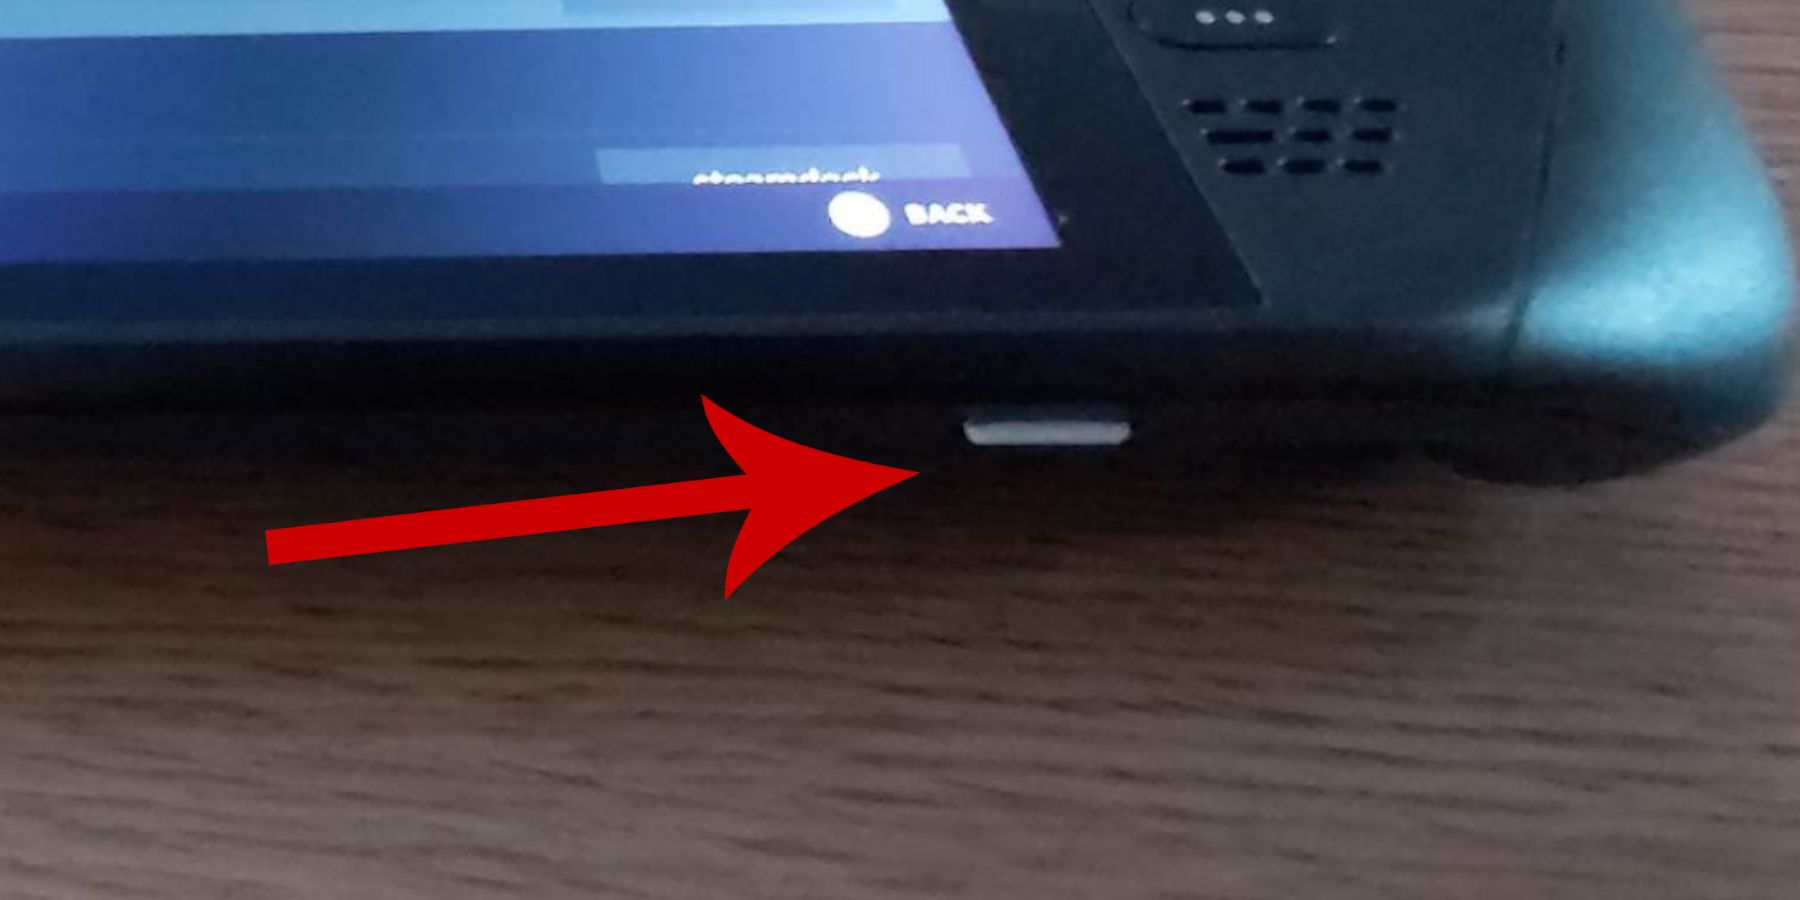
- The most important item you’ll need is a High-speed A2 Micro SD card to keep the emulators separate from the Steam Deck’s internal SSD and keep it free for official Steam games. The Samsung EVO Plus is a fast and affordable SSD card with solid performance for gaming. Alternatively, you can use an external HDD, but it will require a Steam Deck Dock with extra USB-C slots.
- Legally owned NES ROMS. You can create digital copies of the physical games you own.
- Desktop Mode becomes more functional when paired with a keyboard and mouse; tasks such as copying, pasting, and transferring files are less cumbersome, and using the search bar in Steam Rom Manager is more convenient with a keyboard.
Installing EmuDeck For NES Games
- Press the Steam button below the left trackpad, highlight the Power option, and switch to Desktop Mode.
- Connect a keyboard and mouse if you have one.
- Wait for Desktop Mode to boot and Launch a browser like DuckDuckGo or Firefox and Download the EmuDeck program.
- Move down the page until you find the Download icon, then double-click it to initiate the installer.
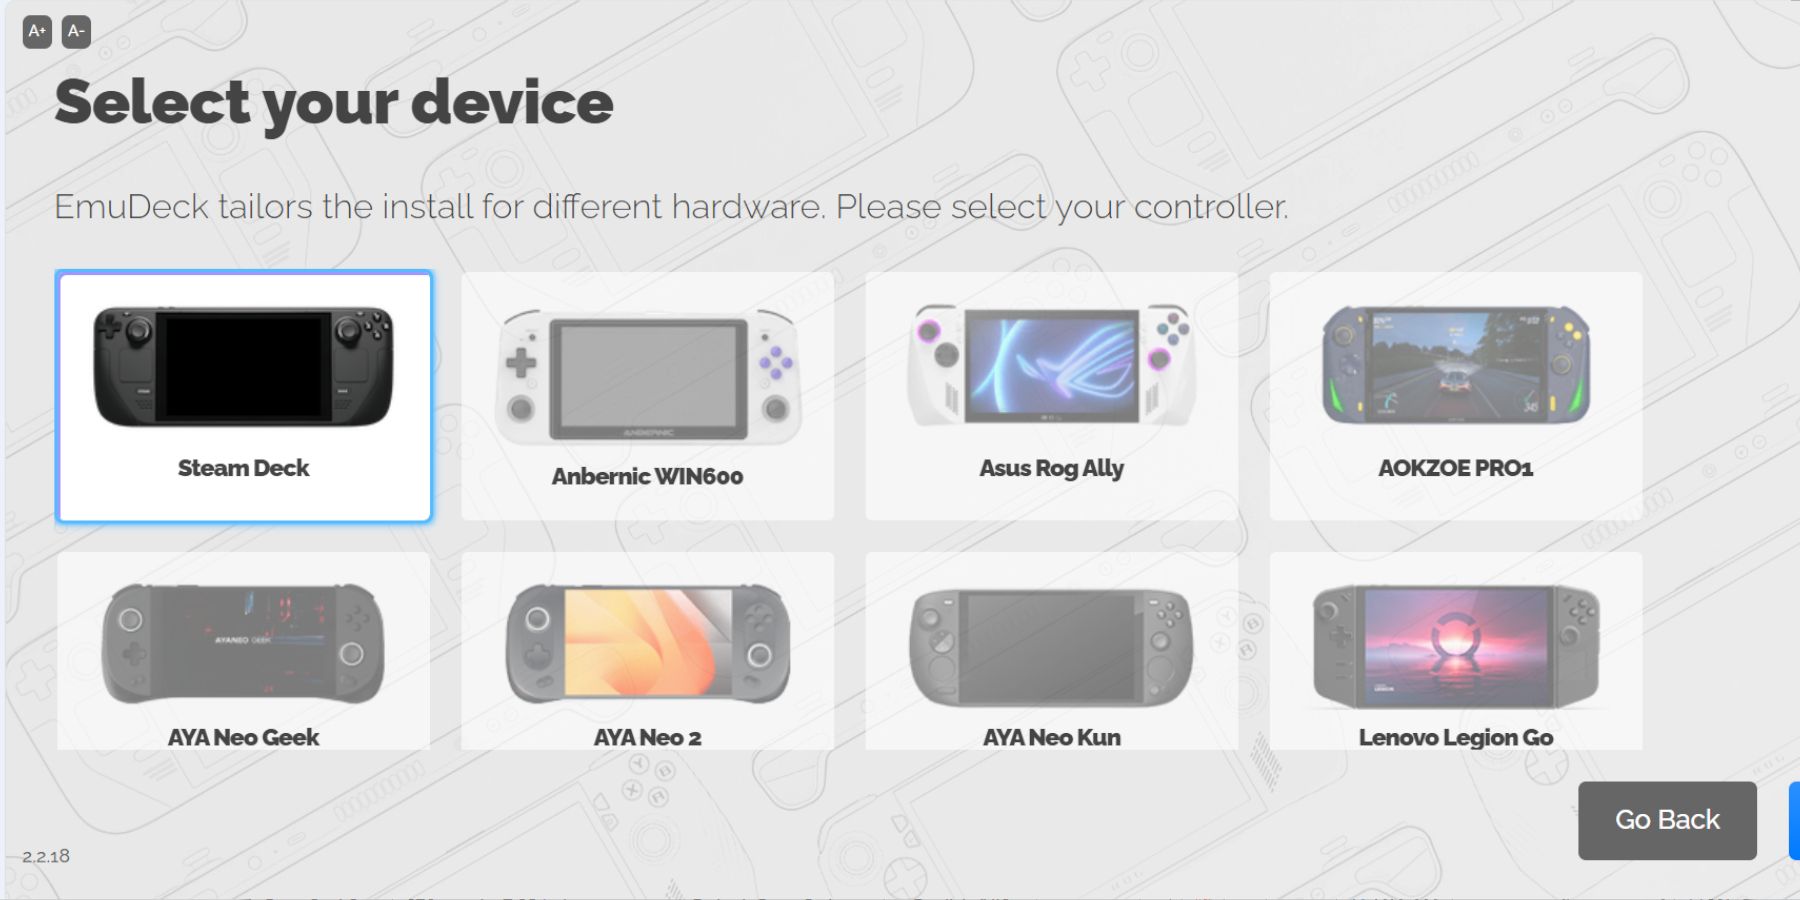
- Opt for the Recommended Settings and choose Custom Install.
- In the EmuDeck menu, choose the SD card image labeled ‘Primary’ to rename the SD card to Primary under Removable Devices.
- You can install all available emulators or opt for Retroarch and Emulation Station to play NES games. Don’t forget to include theSteam Rom Manager in your selection. The Steam Rom Manager is required to add games to the Steam Deck’s Gaming Mode.
- To achieve the classic TV appearance for your games, navigate through the options and enable the ‘Configure CRT Shader for Classic 3D Games’ feature. This can be switched on or off in the EmuDeck’s settings.
- Click Finish to install the emulators and the Steam Rom Manager.
Transfer Your NES ROMS
You can now transfer your NES ROMs so they run through EmuDeck’s designated file system.
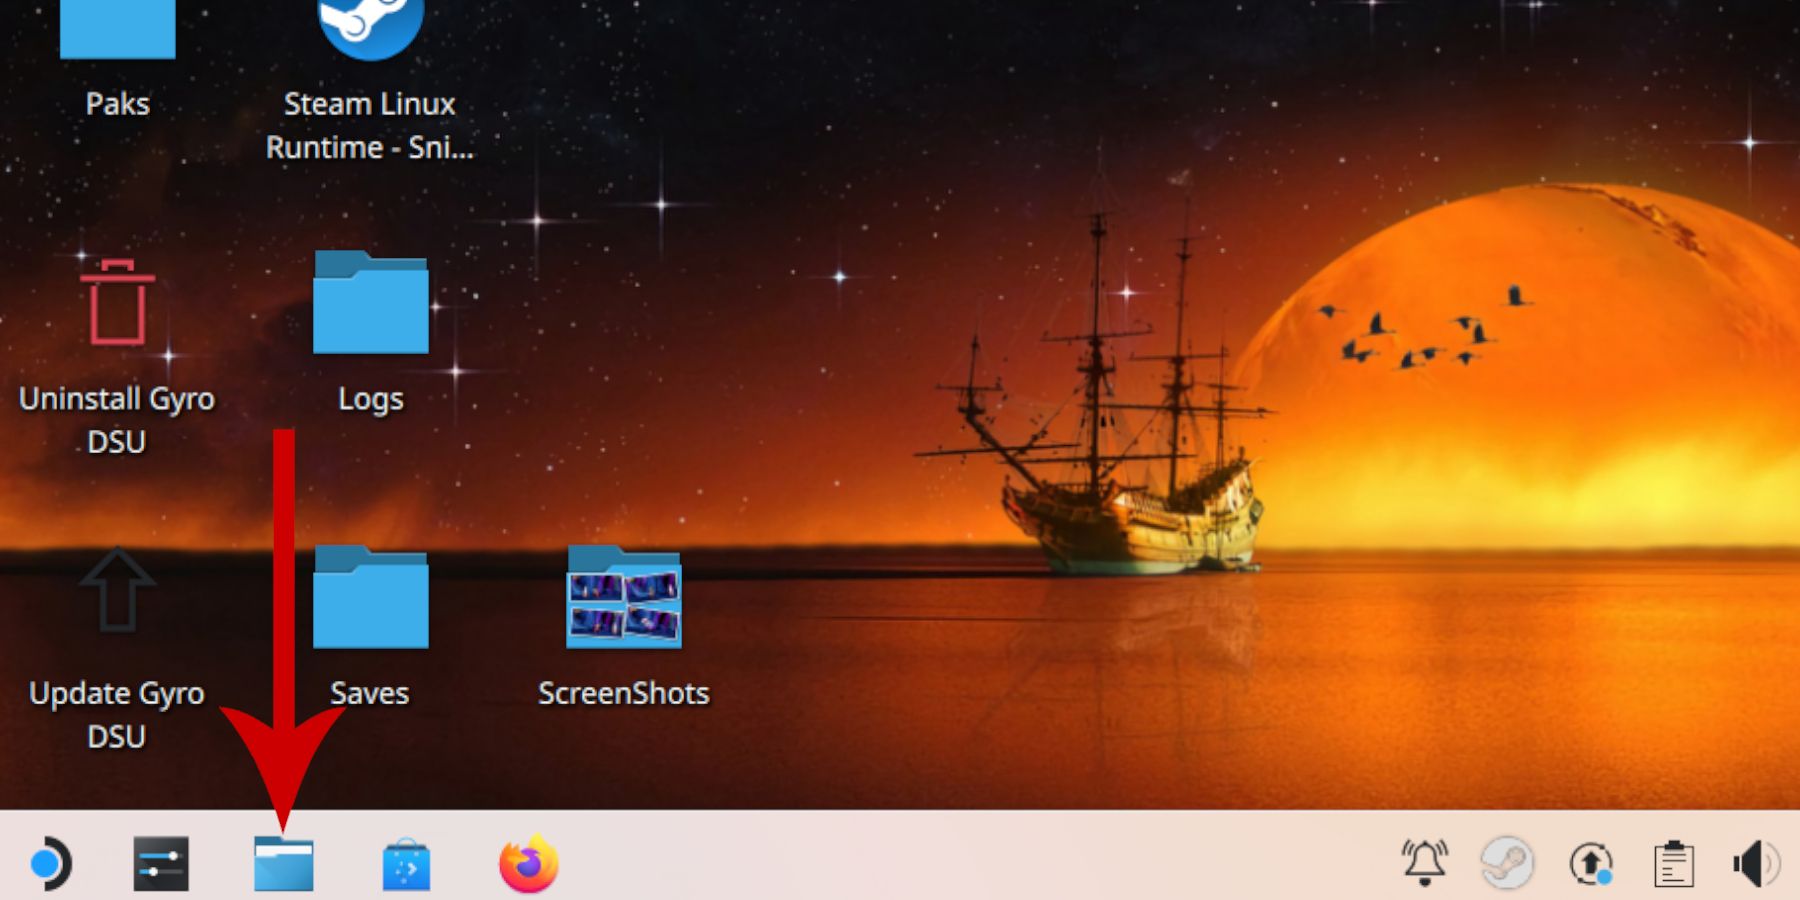
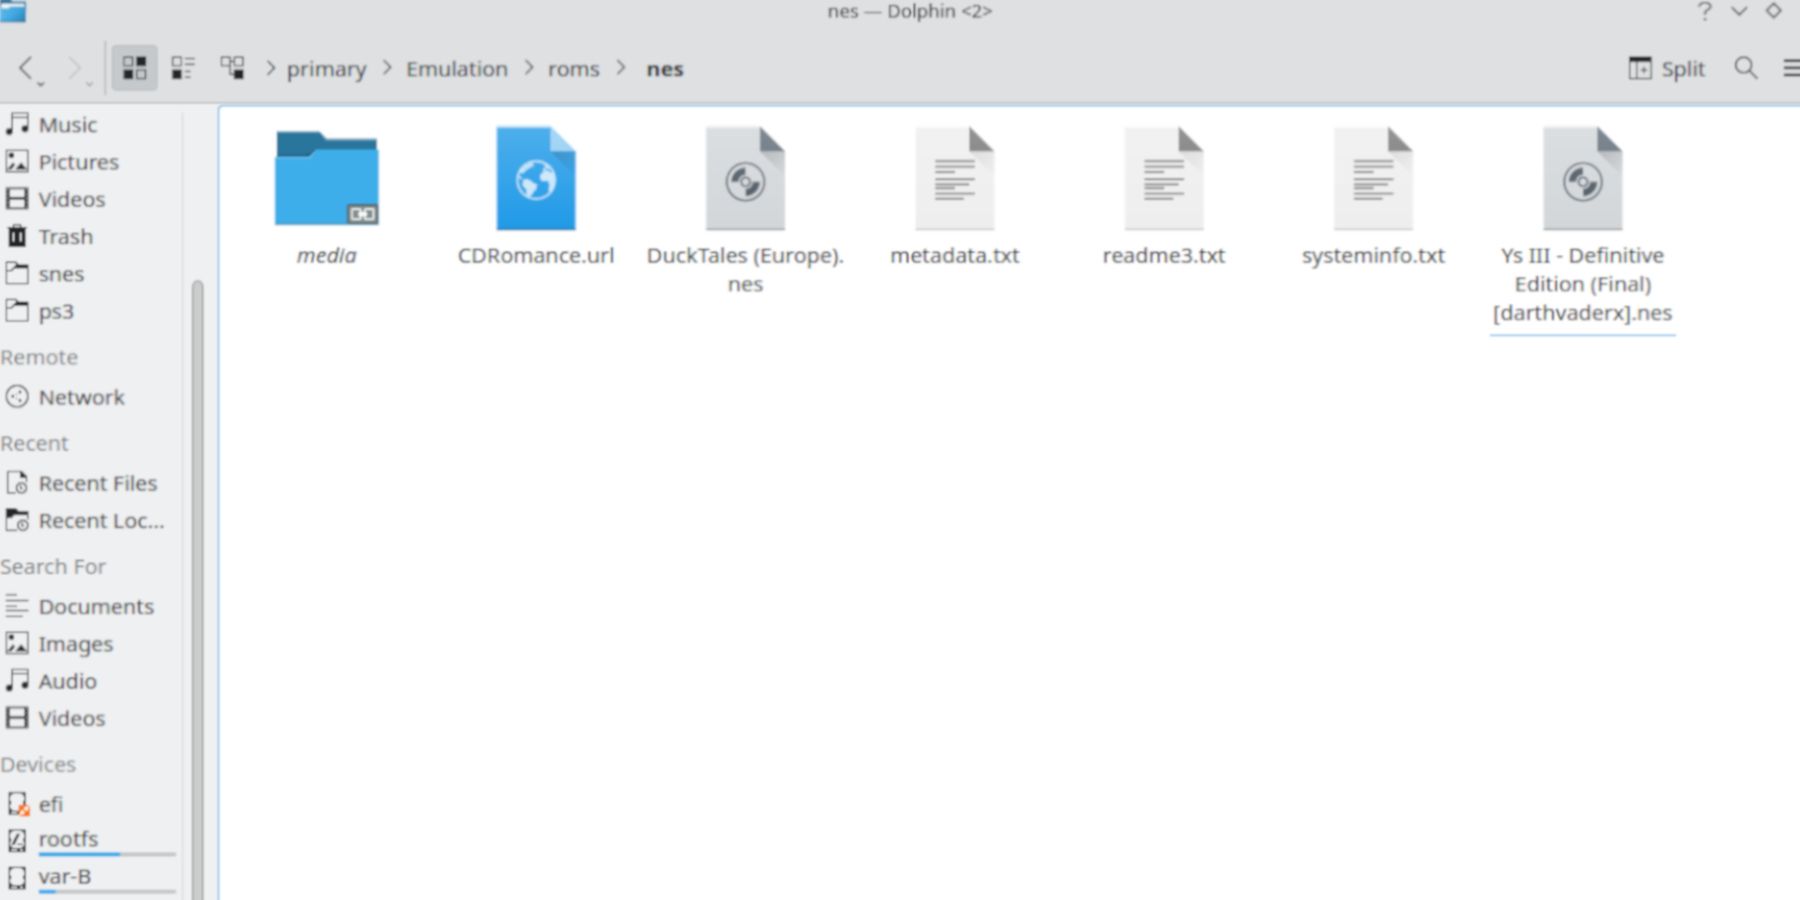
- Click or tap on the folder icon to open the Dolphin File Manager.
- Navigate to the Primary folder underneath the Removable Devices section.
- Open the Emulation Folder.
- Click on ROMs.
- Look for the folder named NES.
- Transfer your legally acquired NES games – File names should have a .nes extension, such as “Duck Tales 2.nes”.
Related
Steam Deck: How To Remote Play PS5 Games
Gamers looking to play some PS5 games on a more portable device can do so via the Steam Deck. Here’s what the process entails.
Adding NES Games To The Steam Library
Emulation Station and Retroarch are robust tools capable of running emulated games in Desktop Mode. However, the goal is to seamlessly integrate NES games into the Steam Deck’s library, enabling them to function as if they were official games. Use the following steps to add games with the Steam Rom Manager:
- With the Steam Deck in Desktop Mode, click on the Steam icon in the bottom left of the screen and click All Applications.
- Open the EmuDeck progam.
- Click on the Steam ROM Manager from the left panel.
- Click yes to exit the Steam app running in the background and allow the Steam ROM Manager to take over.
- Click Next on the ‘Welcome to SRM!’ screen.
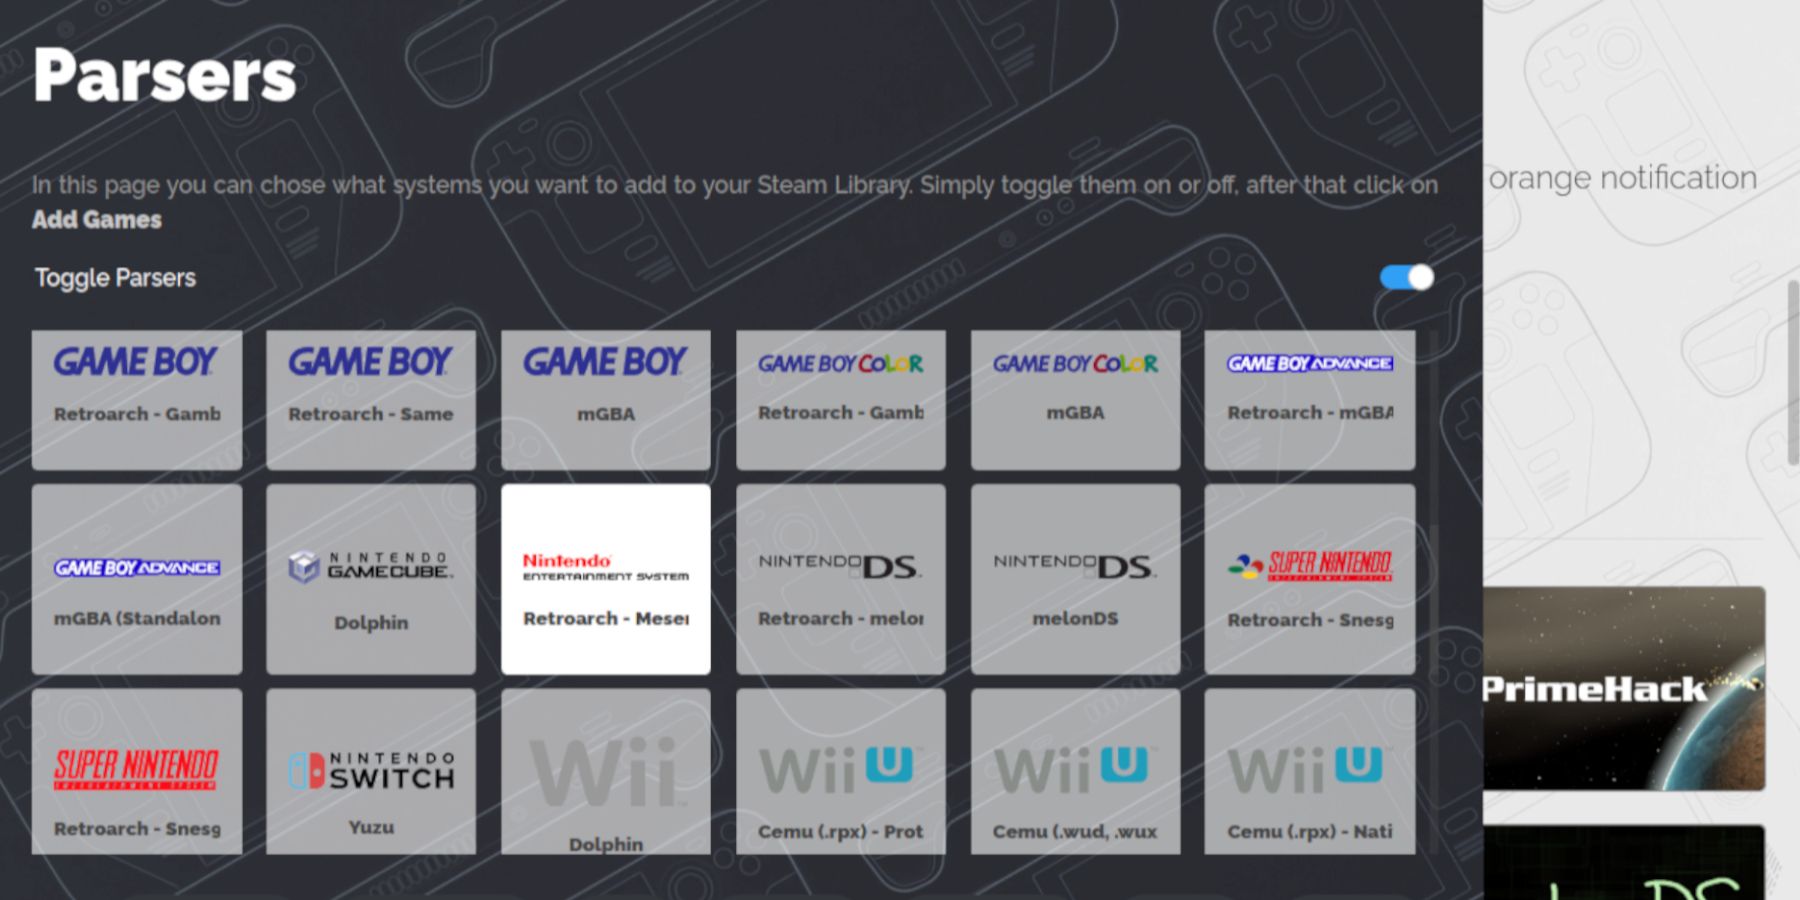
- Switch off Toggle Parsers.
- Select the Nintendo Entertainment System square and click on Add Games.
- Then select Parse in the ‘Add your games to Steam’ screen.
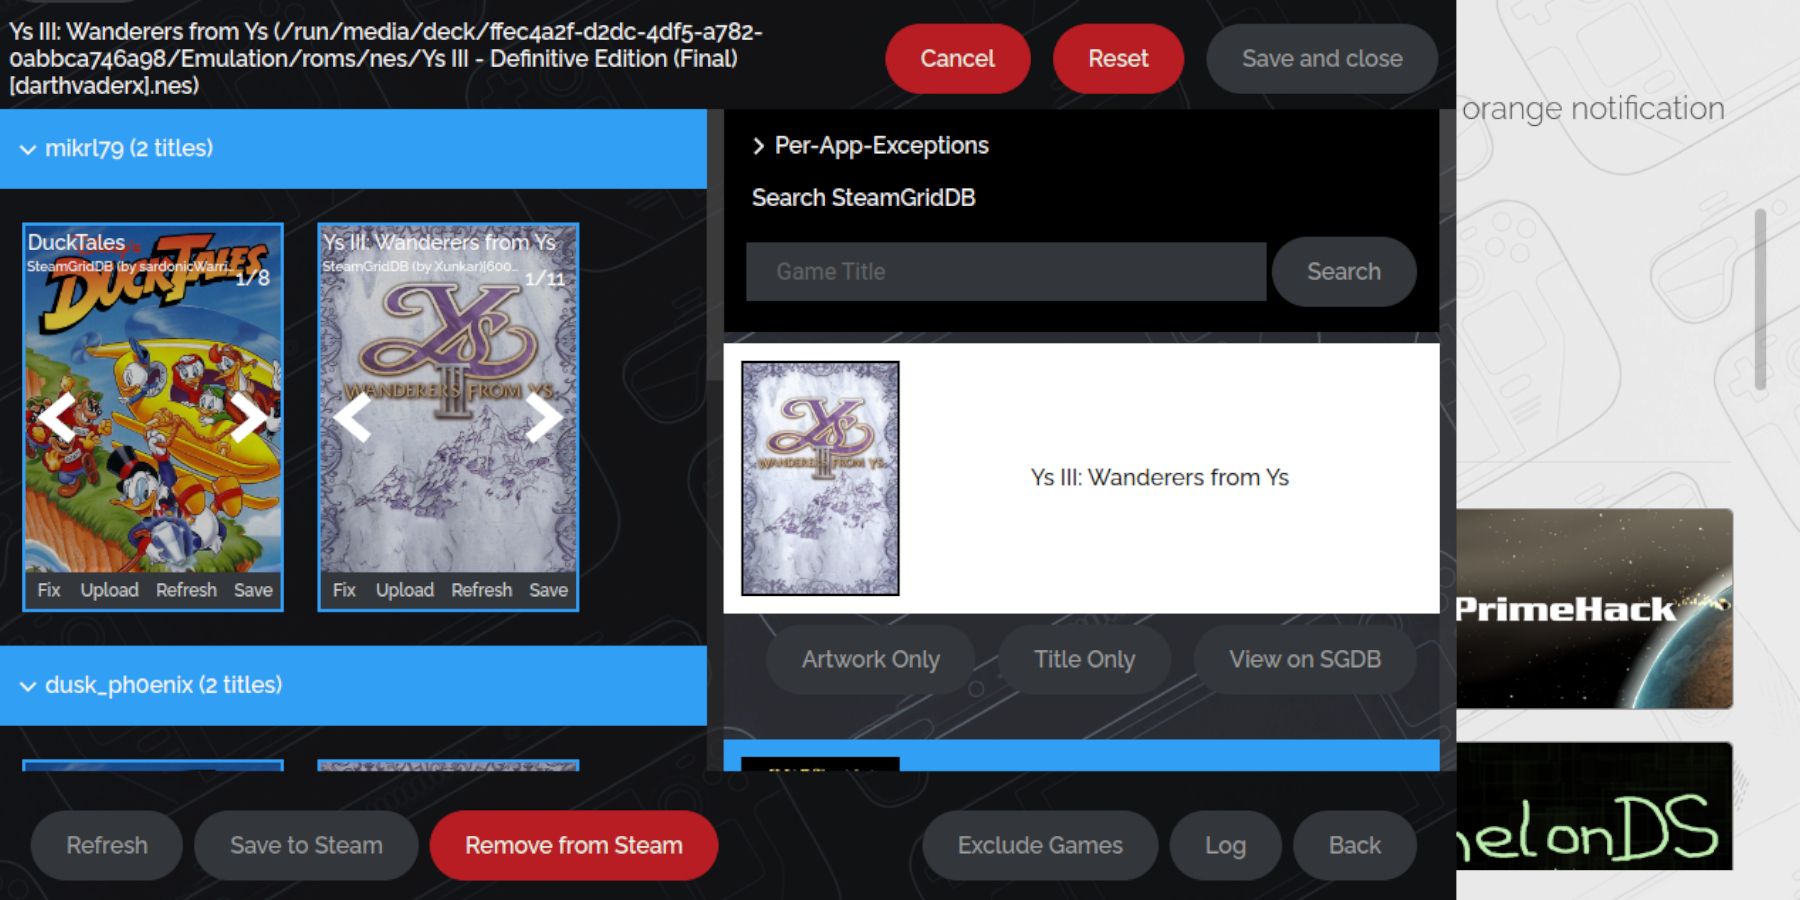
- Ensure the NES games have the correct cover art and select Save to Steam.
Fix Missing Artwork For NES Games
Some games may have missing or incorrect cover art, to fix this use the following steps:
- Select Fix.
- Click the down arrow next to ‘Per-App-Exceptions’ to pull up the menu.
- Type in the game’s title in the Game Title search bar.
- Select the desired cover art to turn the tab white.
- Click on Save and close.
- If you’re happy with the cover art click on Save to Steam.
Upload Missing Cover Art
For some classic games, the artwork might not be available in the Steam ROM Manager’s database. If this occurs, you will need to upload the artwork manually.
- With the Steam Deck in Desktop mode open a browser again to type the game in its image search engine.
- Save the image to the Pictures folder.
- Switch back to the Steam ROM Manager.
- Click Upload in the cover frame.
- The SRM will open your file manager so navigate to the Pictures folder and select your image.
- With your new cover in place, select Save and close.
- Select Save to Steam and wait for the batch files to finish.
- Close the Steam Rom Manager and switch back to Gaming Mode.
Find And Play Your NES Games On Steam Deck
Now that the Steam Rom Manager has allocated artwork and added the games to the Steam library it’s time to locate and play your NES games.
- In the Steam Deck’s Gaming Mode press the Steam button under the left trackpad.
- Select Library.
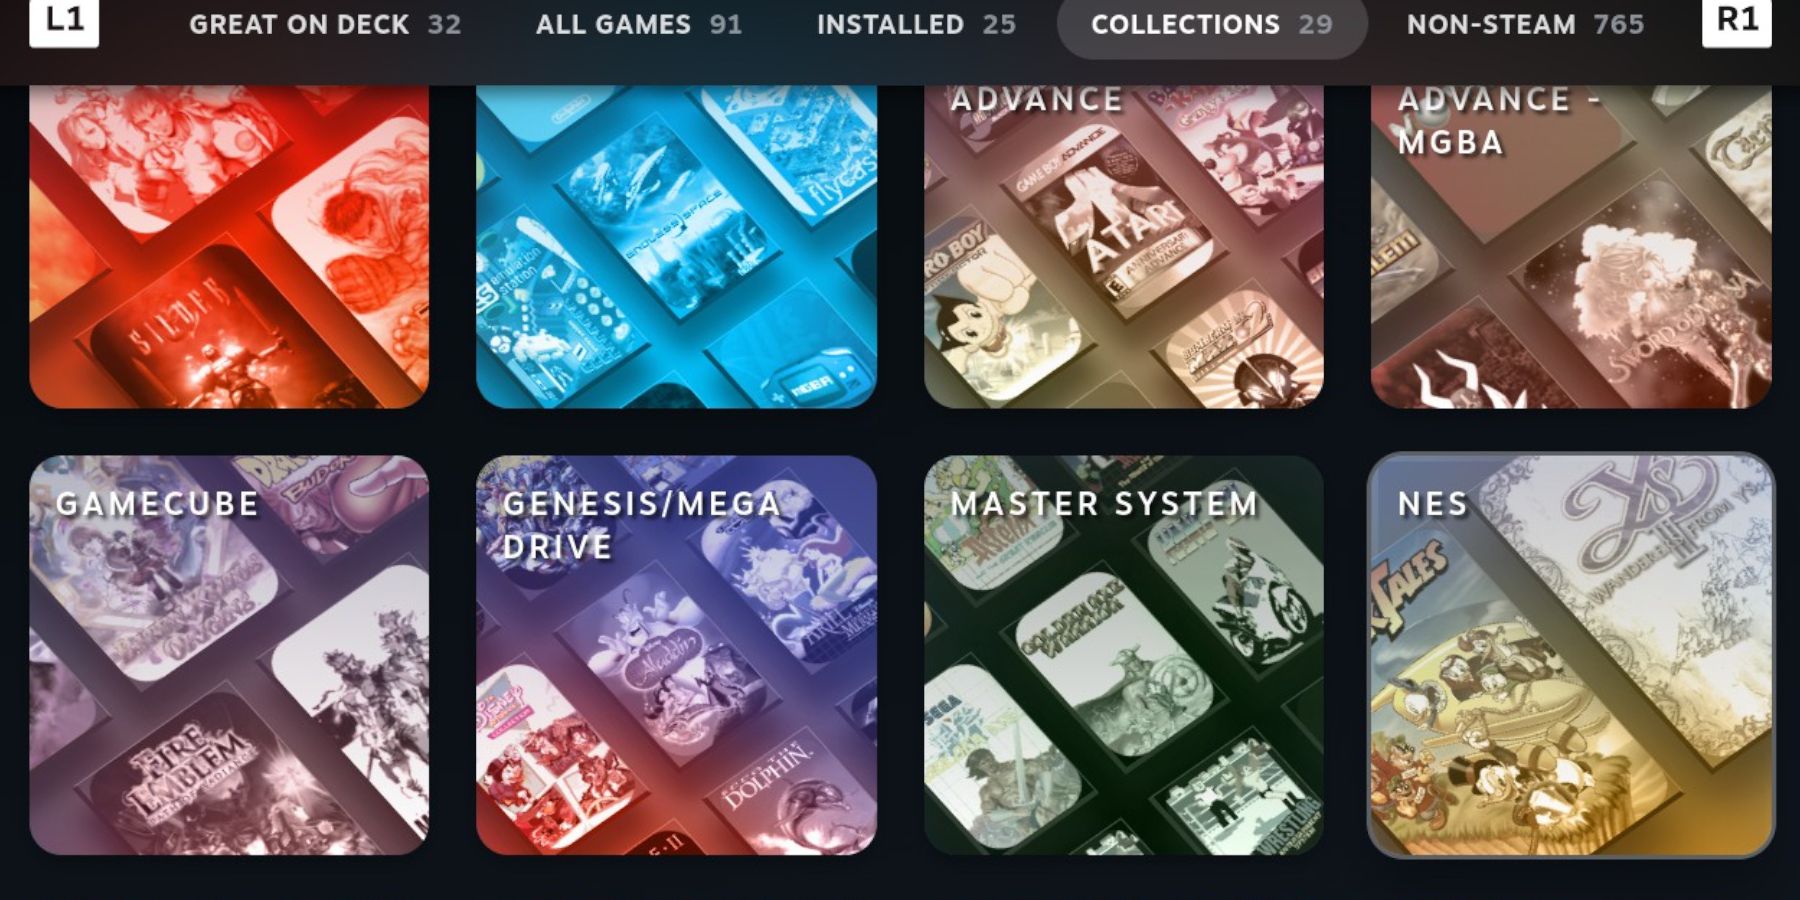
- Press the R1 button to navigate to the Collections tab.
- Open the new NES window, select the game, and Play.
Improve Performance
You can increase the frame rate to improve the performance of your favorite NES games. Use the following steps to set your performance for specific games:
- Press the QAM button underneath the right trackpad.
- In the Performance menu switch on Use per-game profile.
- Increase the Frame Limit to 60 FPS.
Increasing the framerate should also fix audio and stuttering issues that may occur from playing retro titles on the Steam Deck.
Play NES Games With Emulation Station
Emulation Station is a program that consolidates all your emulated games in one location. To play NES games from Emulation Station on the Steam Deck’s Gaming Mode, follow these steps:
- Access the Library by pressing the Steam button.
- Navigate to the Collections tab and select Emulation.
- Open the Emulation Station.
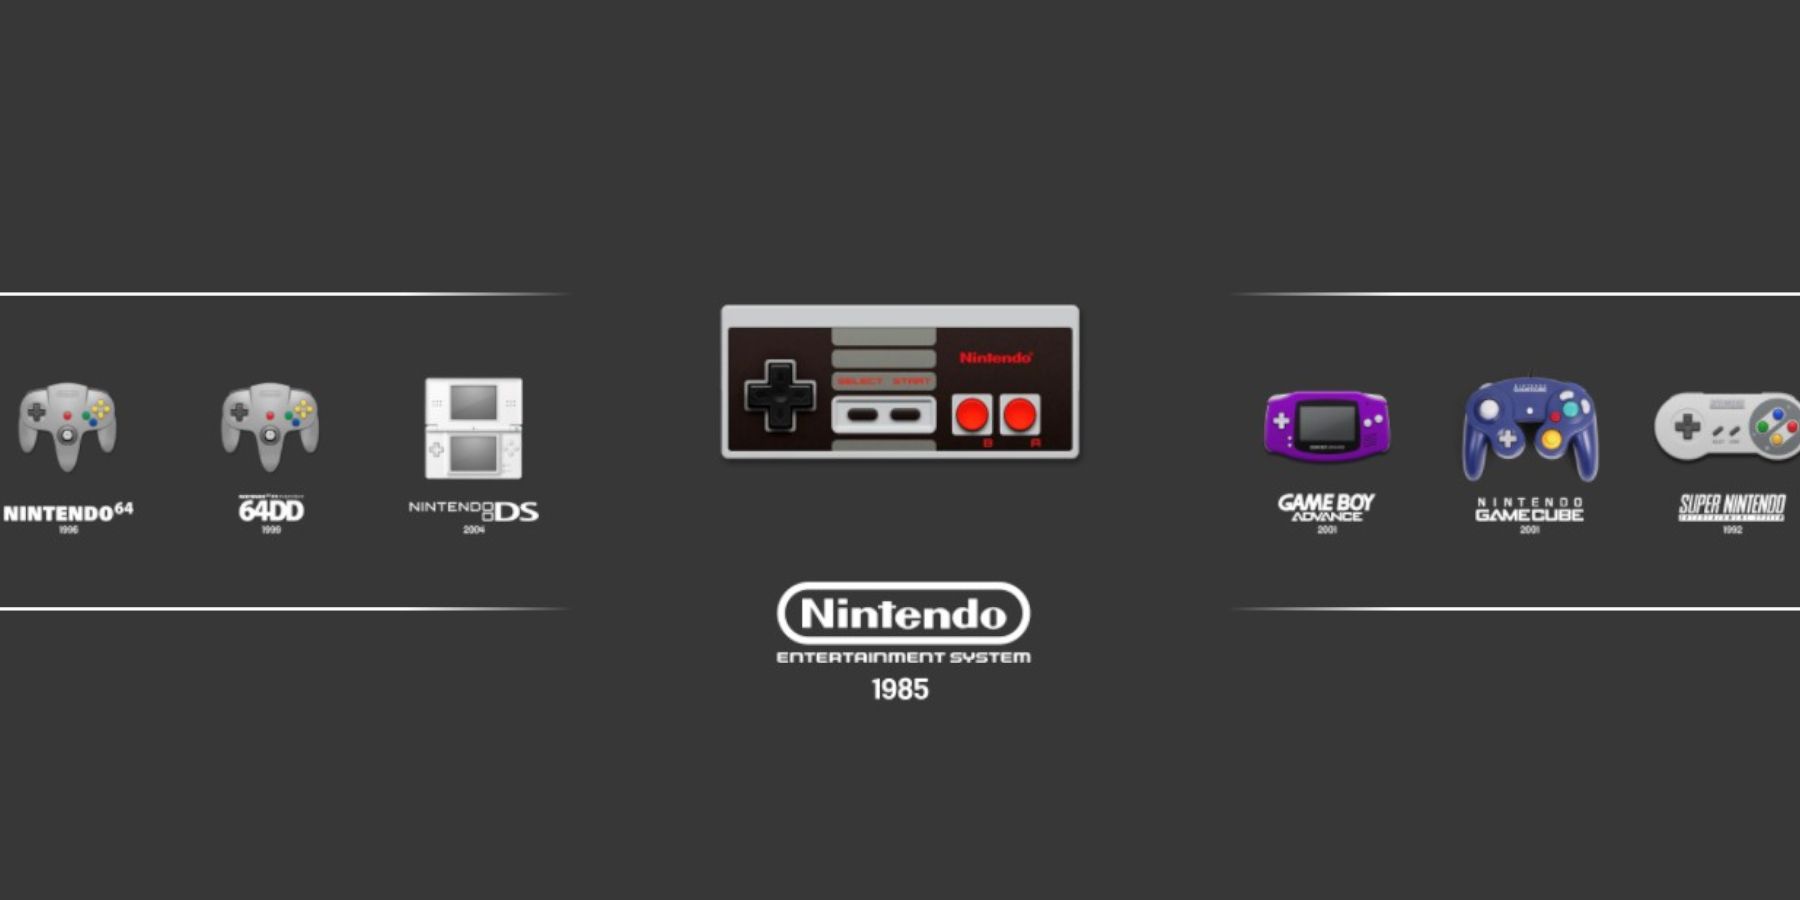
- Then select the NES controller icon to open a list of your NES games.
- Open a game from the list to play it.
This is all you need to play NES games on the Steam Deck and integrate them into your library as if they were official titles.
/cdn.vox-cdn.com/uploads/chorus_asset/file/23932925/acastro_STK108__03.jpg)
