Although Content Warning is a very fun and addictive game, it was released quite recently and is not filled with as much content as fans would like. If you don’t want to wait for new updates or patches, you can try installing mods. In addition to new content, you can also install mods that will make the game easier, for example, or add useful tools to your gameplay. Regardless of your intentions, to achieve what you want, you will definitely need to know how to install mods for Content Warning, and here is how to do it.
Content Warning: How to Film Something Scary
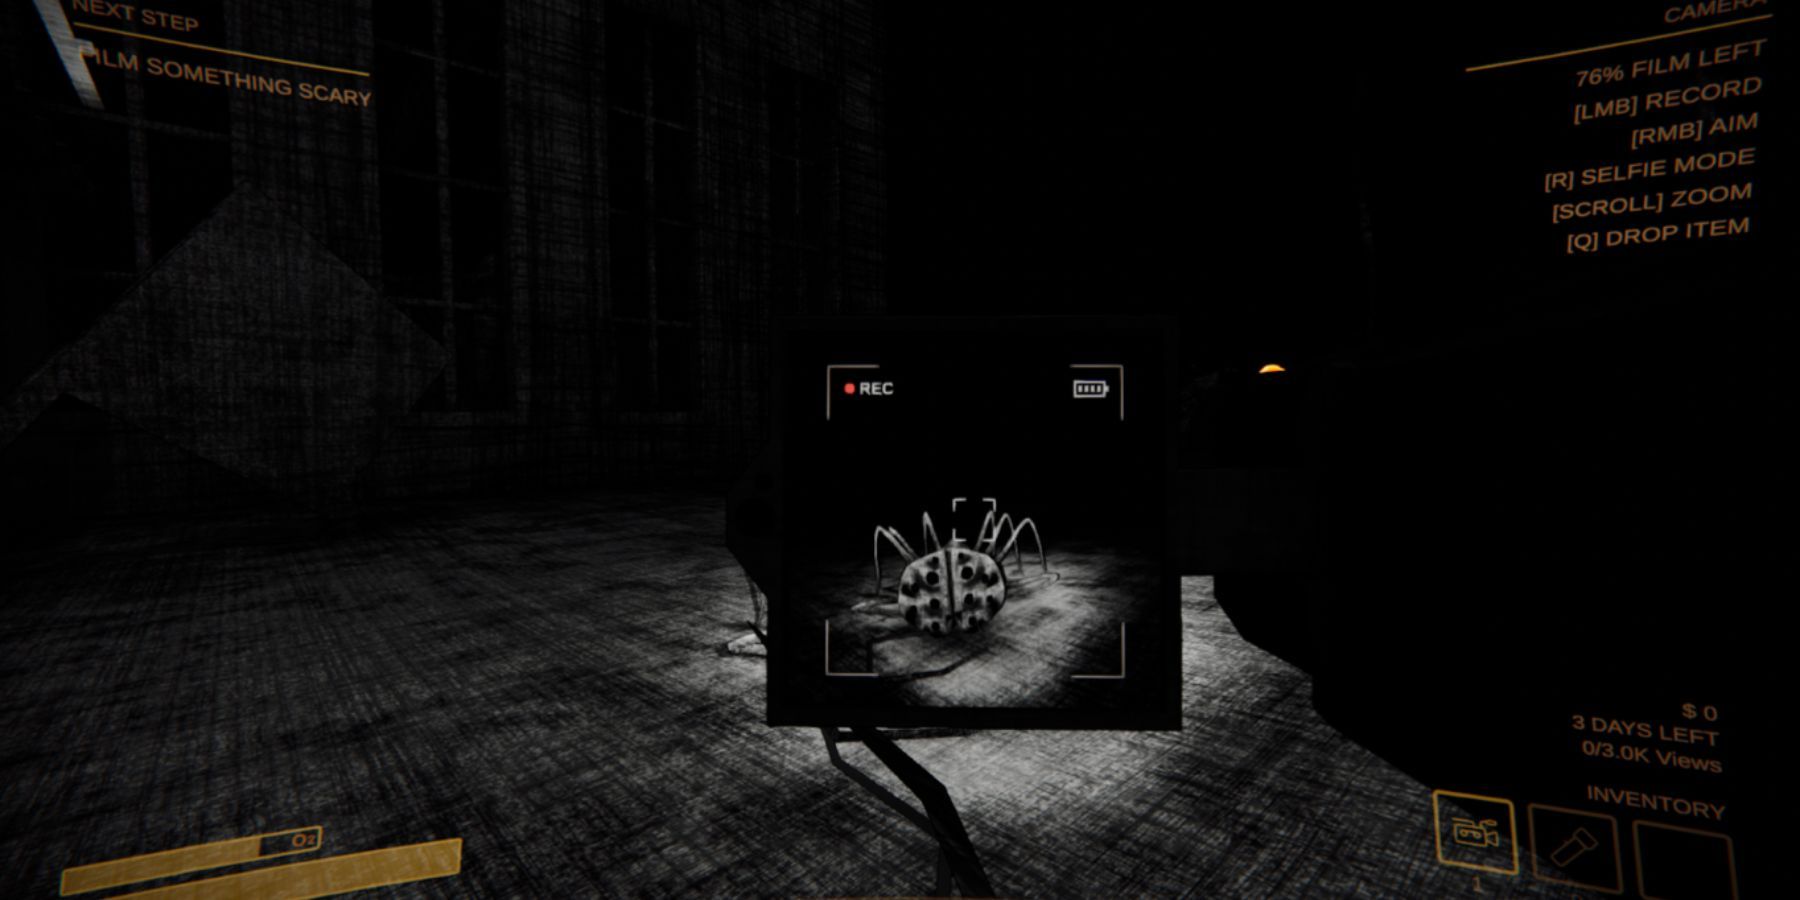
If you’re a beginner and don’t understand what kind of video you should make, this guide will explain how to film something scary in Content Warning.
How to Install Mods for Content Warning

Mods have always been a great tool for customizing games, and Content Warning is no exception. You can make the game even scarier, or just add something new or useful. If you want to take advantage of this and install a couple for yourself, it can be a challenge if you haven’t done it before. In general, there are two ways to install mods, using a mod manager and manually, so let’s talk about it in more detail.
Installation Using Mod Manager
The first method involves using the mod manager to download additional content. In this case, before downloading mods, you will need to download and install the mod manager itself. Currently, the best one that supports Content Warning is Thunderstore, so foremost, visit the linked website, and download and install it.
Once you have Thunderstore installed, open it and type Content Warning into the search box, then interact with the game’s cover art to open Profile Selection. This will take you to a new menu where you’ll need to select a profile. Luckily, there will be a default profile created here that you can choose to use. Once you’re in the new menu, look to the left side of the screen, and you’ll see the Get Mods tab. This tab lists all the current mods for the game that you can install.
It’s convenient and easy because you have access to all the available mods at once, from which you can choose and install the desired ones. To do this, go to the Get Mods tab, interact with the mod you want to install, and click the Download button. After downloading and installing, click on the Modded button in the upper-right corner of the mod manager to launch the game with the installed additional content.

Content Warning: How to Change Faces
If you want to look unique among your friends, you should learn how to change faces in Content Warning. Here’s all you need to know.
Manual Installation
As an alternative, you can use manual installation, which may be a bit more complicated, but still straightforward. As soon as you find a site where you can download the mod and do so, a .zip file will be downloaded to your PC. If you don’t know where to find mods, here are a few links where you can download some of them:
- Flashcard – increases the maximum length of videos you can film with the camera.
- MoreCustomization – adds many more features for face customization.
- Virality – increases the number of players who can join the lobby and play with you.
Once you download the .zip, you will need to unzip all the files it contains into the game folder. In most cases, the game folder can be opened by following the path below:
C:Program Files (x86)SteamsteamappscommonContent Warning
Open the C folder first, and then move from one folder to the next in the order described above. As soon as you open the Content Warning folder, unzip the downloaded .zip file and the mod will be successfully installed. It is worth noting that in most cases, other players you are playing with must also have the same mod installed. Otherwise, errors may occur.

Content Warning
- Released
- April 1, 2024
- Developer
- Skog, Zorro, Wilnyl, Philip, thePetHen