Highlights
- Upgrade your audio with a quality microphone to instantly improve your stream’s sound quality.
- Utilize three-point lighting for a professional appearance on camera without breaking the bank.
- Upgrade to a high-quality webcam for a clear video feed, or use a mirrorless camera with a clean HDMI output for the best results.
With more and more people getting into the world of streaming, it takes much more to stand out from the crowd now than it did a few years ago. Whether you are just starting out streaming or looking to upgrade your setup, there are some easy ways to improve the look and feel of your stream without having to buy all new things.
For some of these steps, you will have the option to upgrade the gear to make it easier, but if you are willing to tinker with your setup and utilize things you probably already have in your house, you can complete a streaming setup upgrade for free.
How to Upgrade Your Stream’s Quality in 5 Easy Steps
- Audio
- Lighting
- Camera
- Background Set Dressing
- OBS Overlay
Step 1: Audio
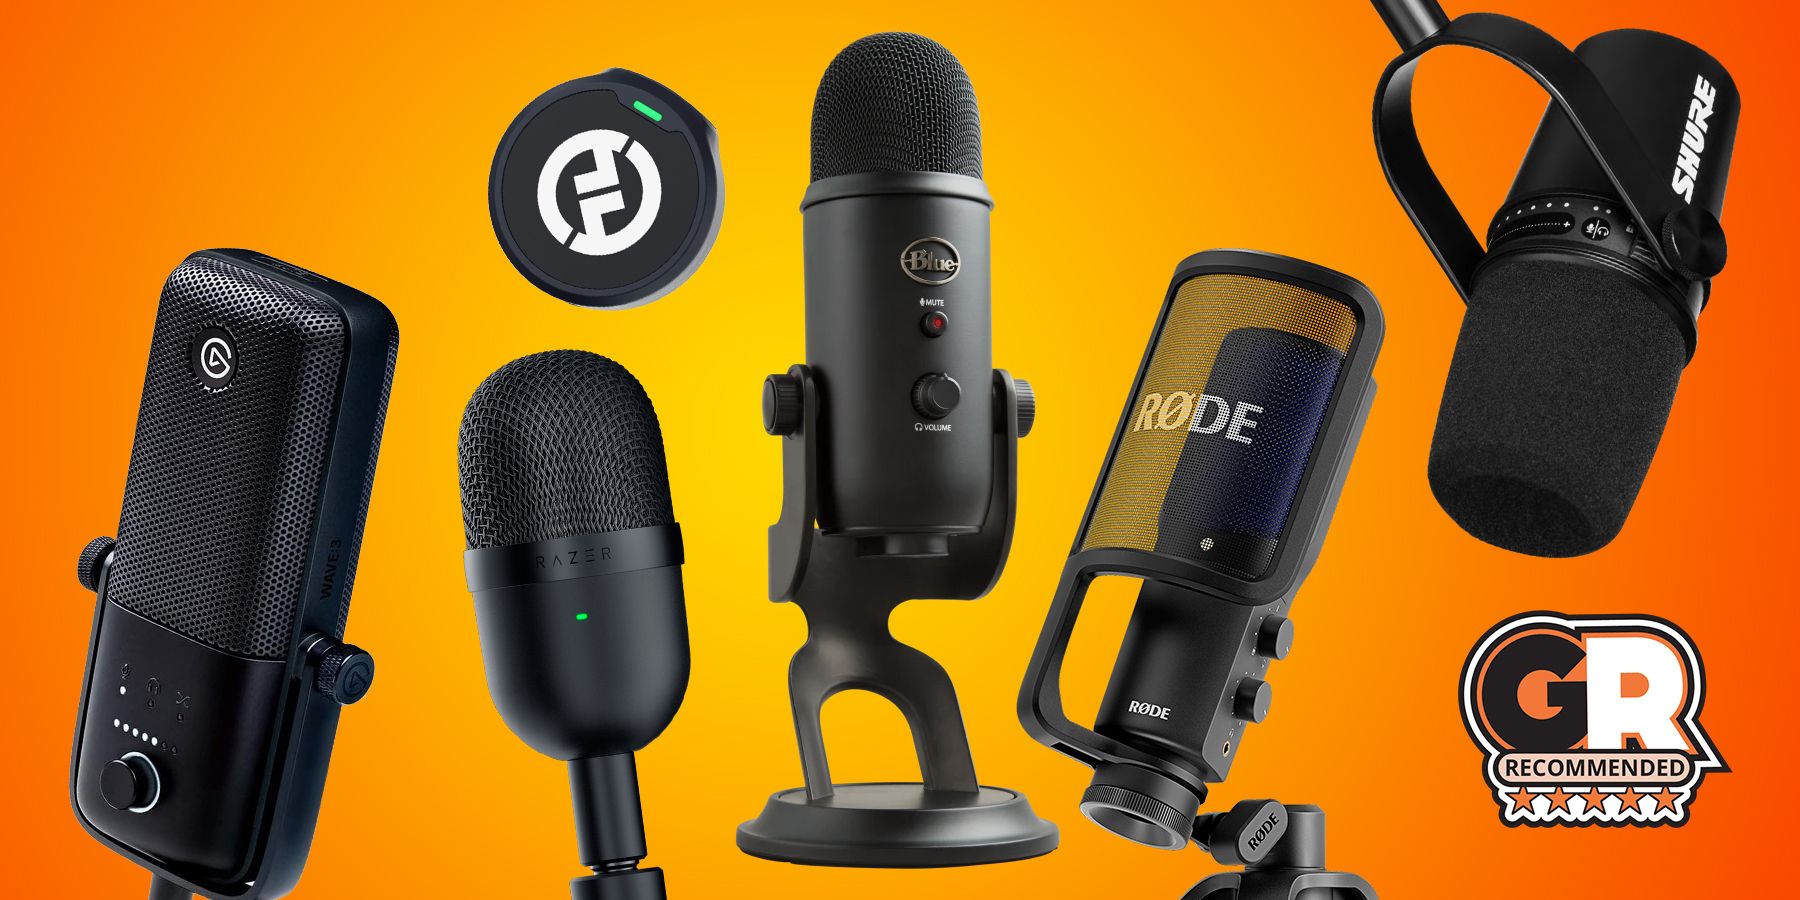
Oddly enough, having lousy audio is the number one deterrent from people joining your stream. Thankfully, there are some pretty easy ways to make yourself sound better as long as you have a halfway decent microphone. However, if you are using the built-in microphone on your laptop or the microphone on your wireless earbuds, in that case, it is worth picking up a new gaming headset with a better microphone or, better yet, a standalone microphone.
Related
The Best Microphones for 2024
Whether people are looking for a mic to upgrade their streaming setup or sound better in Discord calls, a quality mic will go a long way.
If you feel confident in the microphone you already have, the best way to improve your audio quality instantly is to practice good mic techniques. The number one thing streamers get wrong with their microphone is the placement. Ideally, regardless of whether you are using a gaming headset or a standalone microphone, you want the microphone a couple of inches away from your mouth and to stay in a similar position throughout the whole stream. Having the microphone reasonably close to your mouth allows you to turn down the gain, thus cutting off more noise around you, like computer fans.
While this can be accomplished with a desk stand, the best way to cover all your bases and reduce bumping noises is to get a shock mount. You have probably seen streamers use one of these, and it’s not just because they look cool. They do a great job of allowing you to properly position the microphone in front of your mouth no matter how you like to sit or stand while you stream, and they are also excellent for removing shaking and handling noise.
The second most significant factor in poor audio is popping and plosives. This is when you say words with a “P” or similar sounds, causing a pop in the microphone. While being closer can cause more plosives, you can easily mitigate them by adding a pop filter to your microphone.
Finally (and this is something you cannot buy) is proper annunciation when you are speaking. This isn’t as big of a factor for streaming, but it makes the whole process much more straightforward if you are already easy to understand without the first two techniques.
Step 2: Lighting
Before buying a new camera to improve your stream, an upgrade to your lighting setup or even just your lighting technique is an easy and typically more affordable way to enhance your on-camera appearance. Depending on what lights or lamps you already have on hand, this can possibly be a free upgrade, but there are also options to purchase if you want a bit of a more straightforward route.
Related
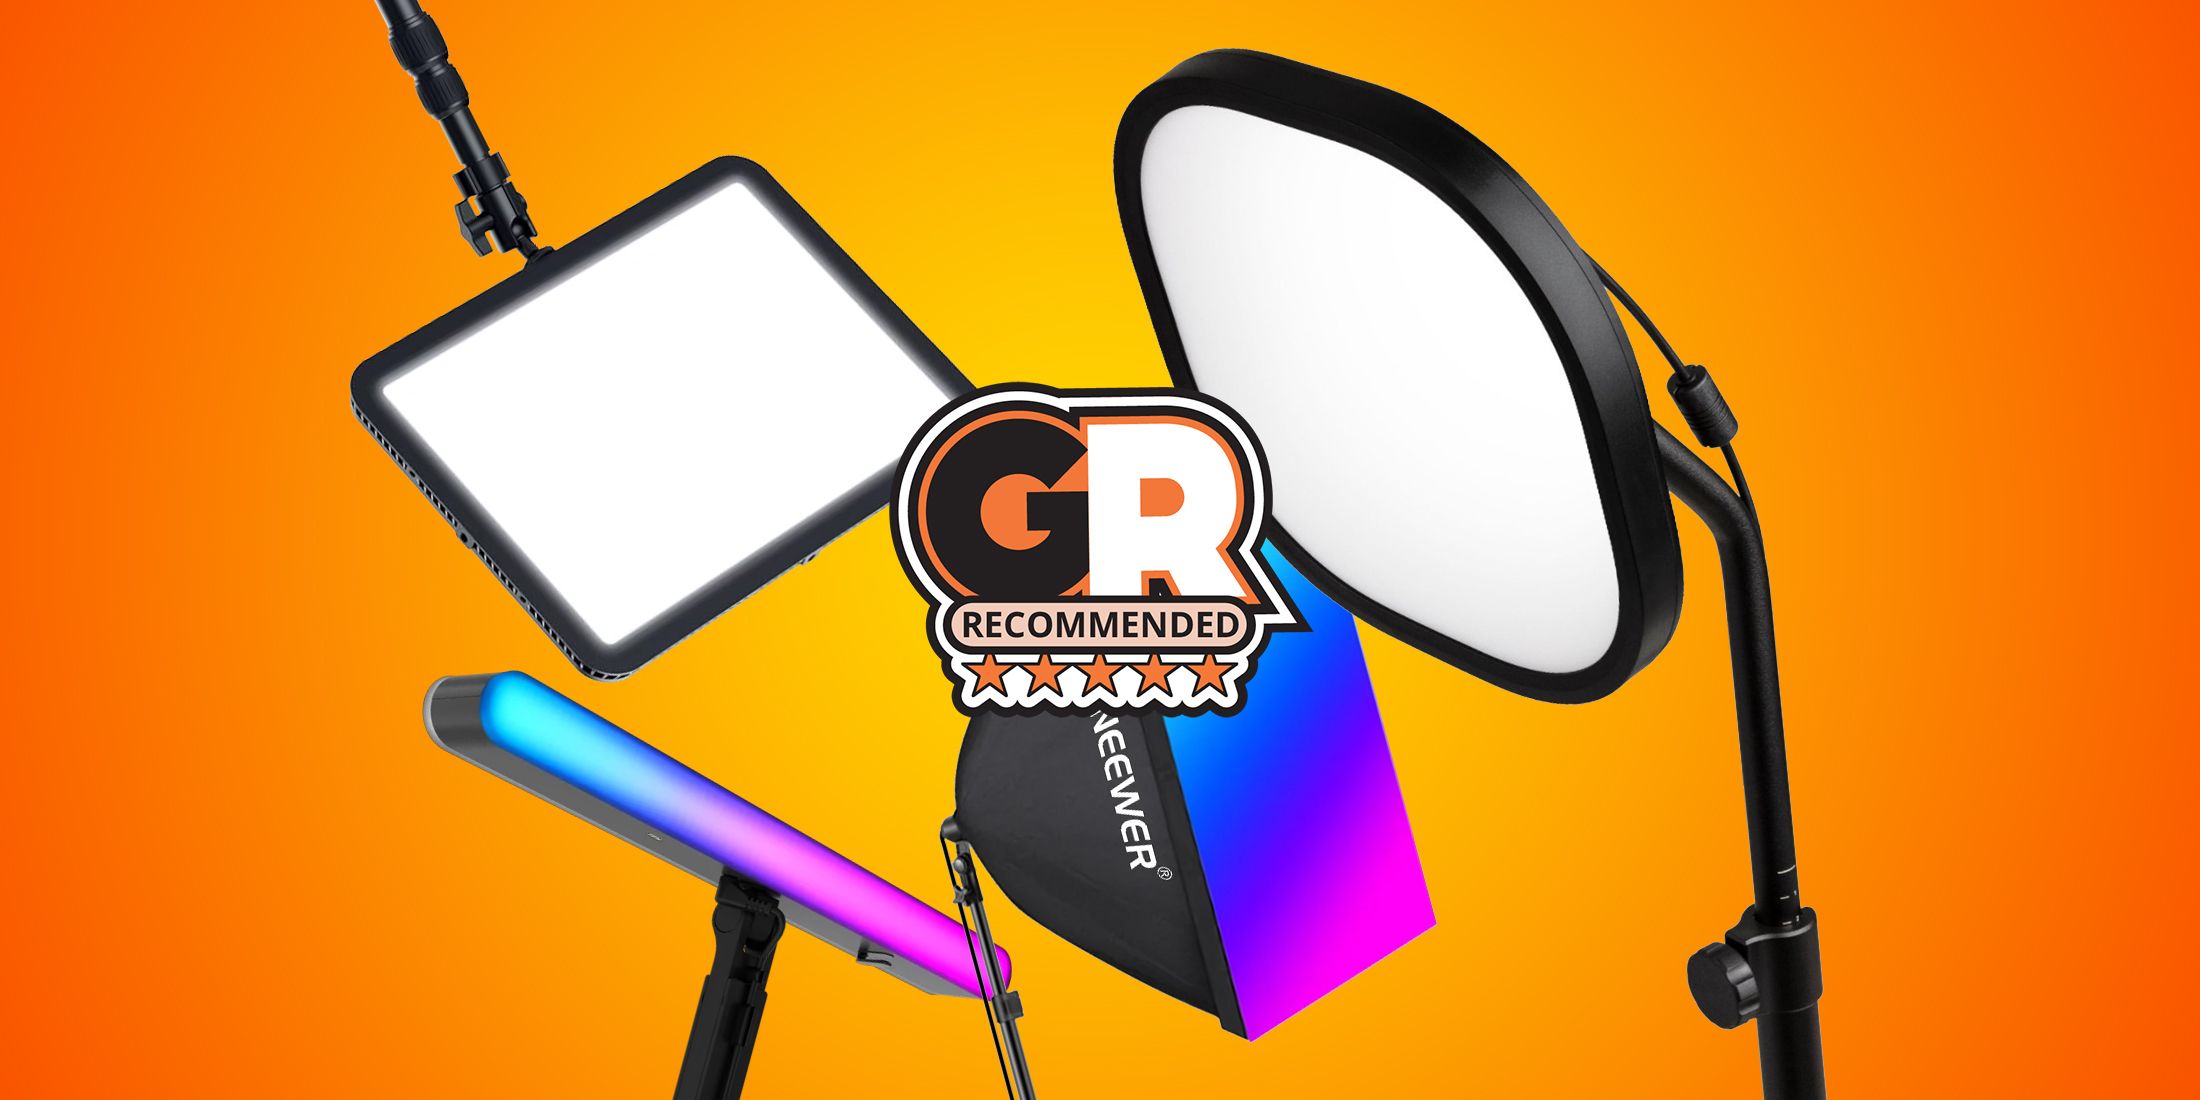
The Best Lights For Streaming
Lighting is one quick way to make your stream look so much more professional while also adding a bit of flair to your setup.
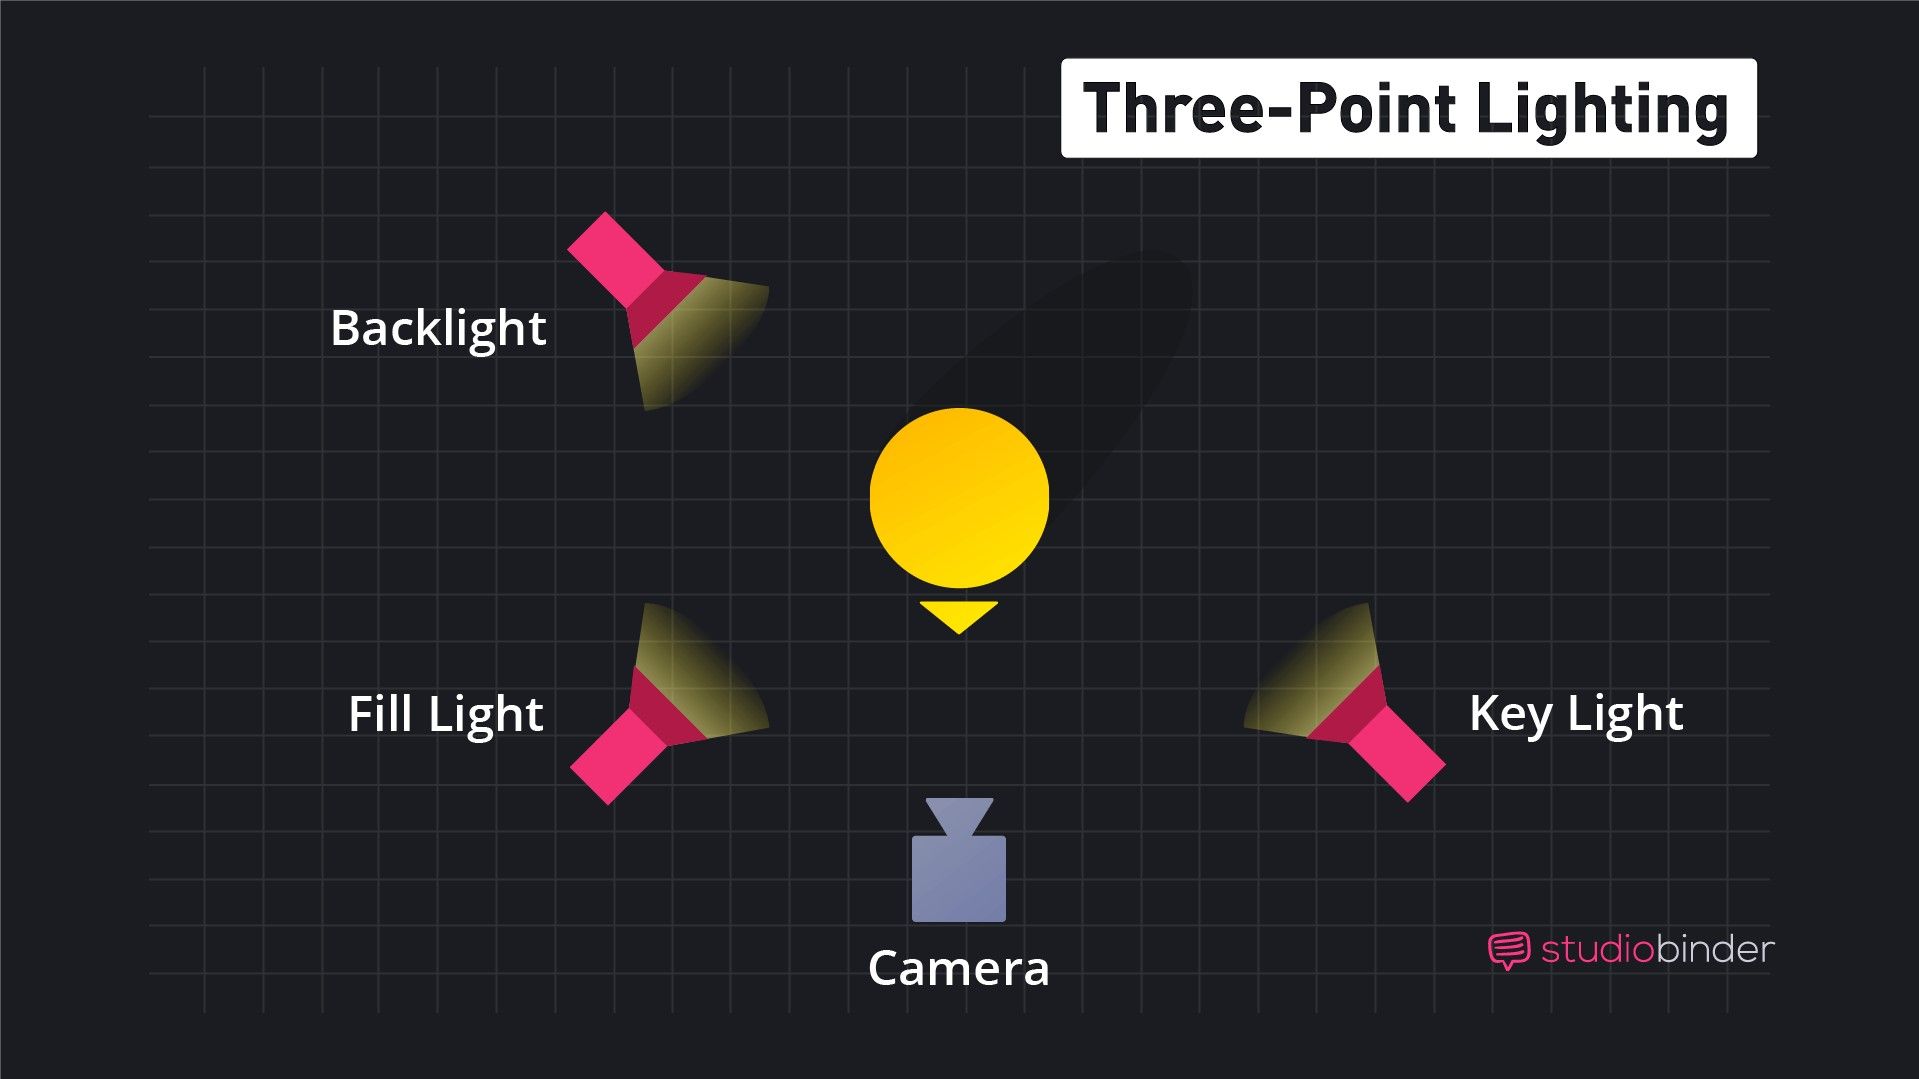
Three-point lighting is the standard lighting setup for most sit-down interviews in professional video. This setup gives very even lighting to your whole face, and with a nice softbox or some DIY diffusion, there will be no weird splotchy sections that come from LED lighting sometimes.
Essentially, two lights for this setup are absolutely critical: the key light and the fill light. The key light is going to be your main light that illuminates most of your face; if you could only have a softbox or diffusion on one light, this would be the one to do it on. Then, on the other side of the camera, you will have the fill light; this will catch the shadow side of your face that is not lit by the key light. While it is also nice to have this light diffused, it is not totally necessary. With some tinkering, a non-diffused fill light can actually create a quite dramatic-looking scene if that is what you are after.
Finally, the third light in the setup is the backlight, which is also known as a rim light or hair light. This light creates separation between you and the background; while the key and fill light are essential, the backlight is like the icing on top of the cake. It’s not entirely necessary, especially if you don’t have the room to fit another light in your setup, but it does give the whole look a much more professional feel.
Step 3: Camera
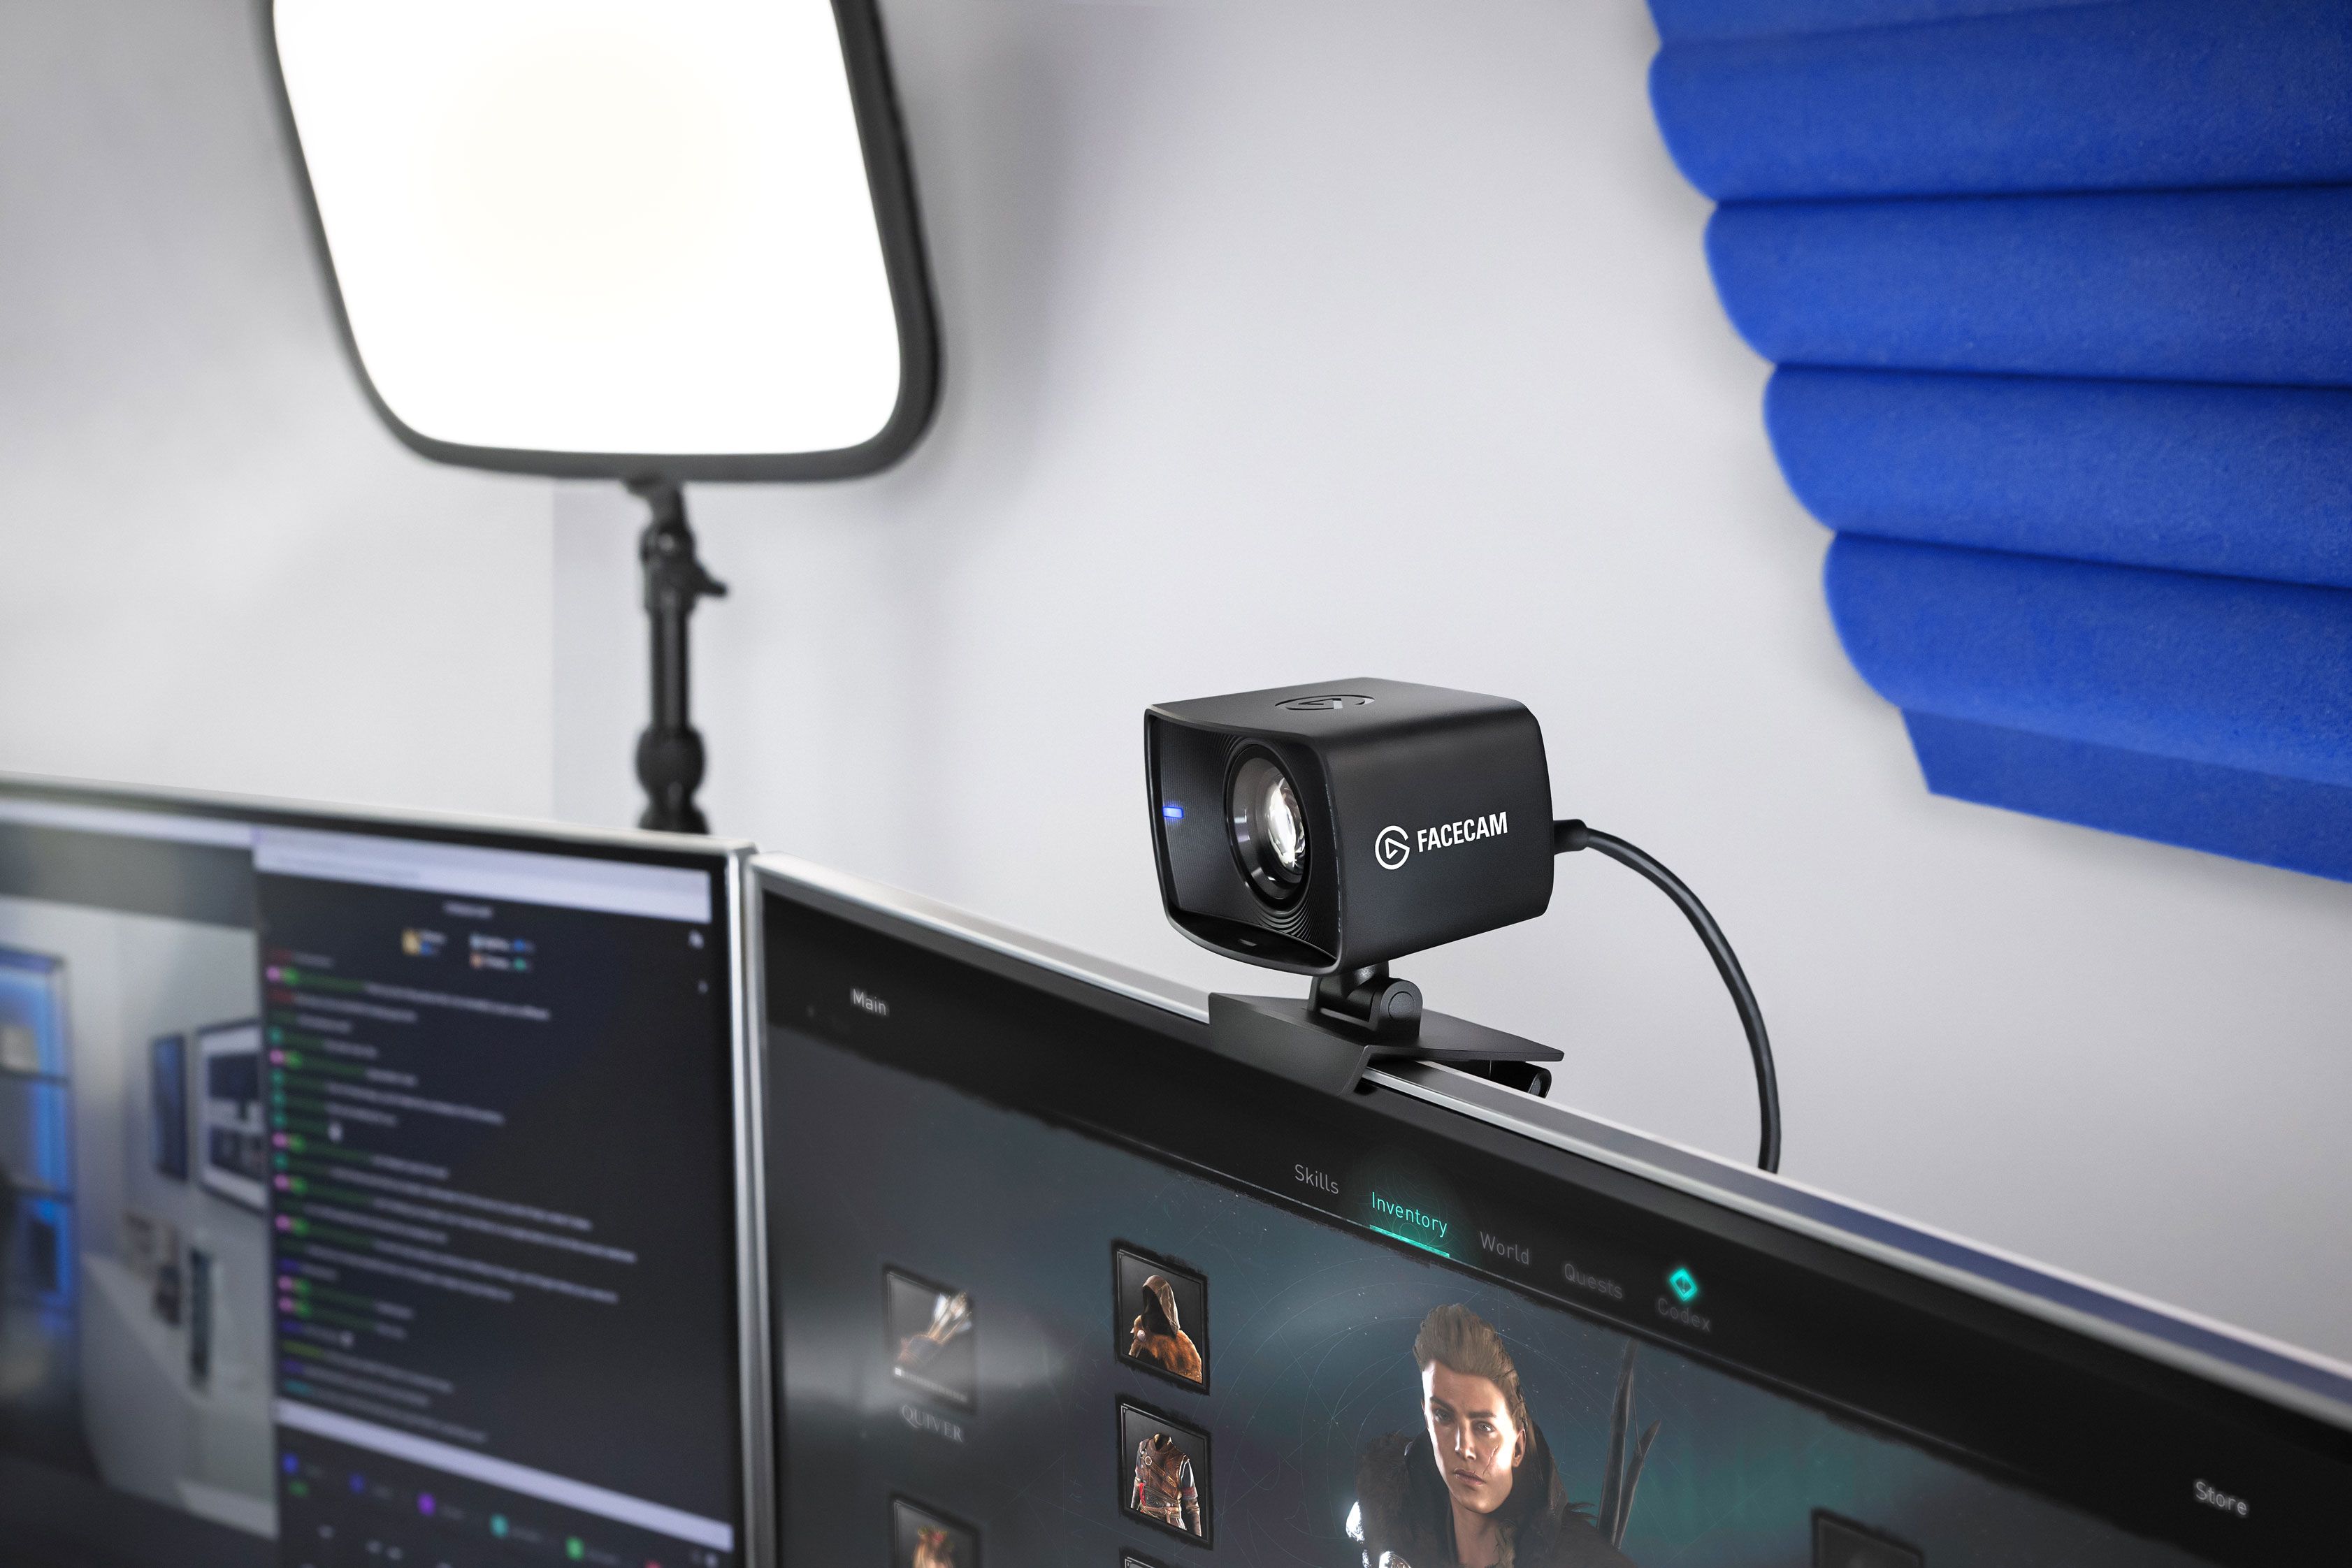
If you have upgraded your lighting setup and played around with the three-point lighting technique and are still not happy with the way your stream looks, it might be time to upgrade your camera. Unlike the first two steps, which can be upgraded with devices you already have, unless you have a high-end webcam or a camera with a clean HDMI feed, you will probably need to purchase something for this step.
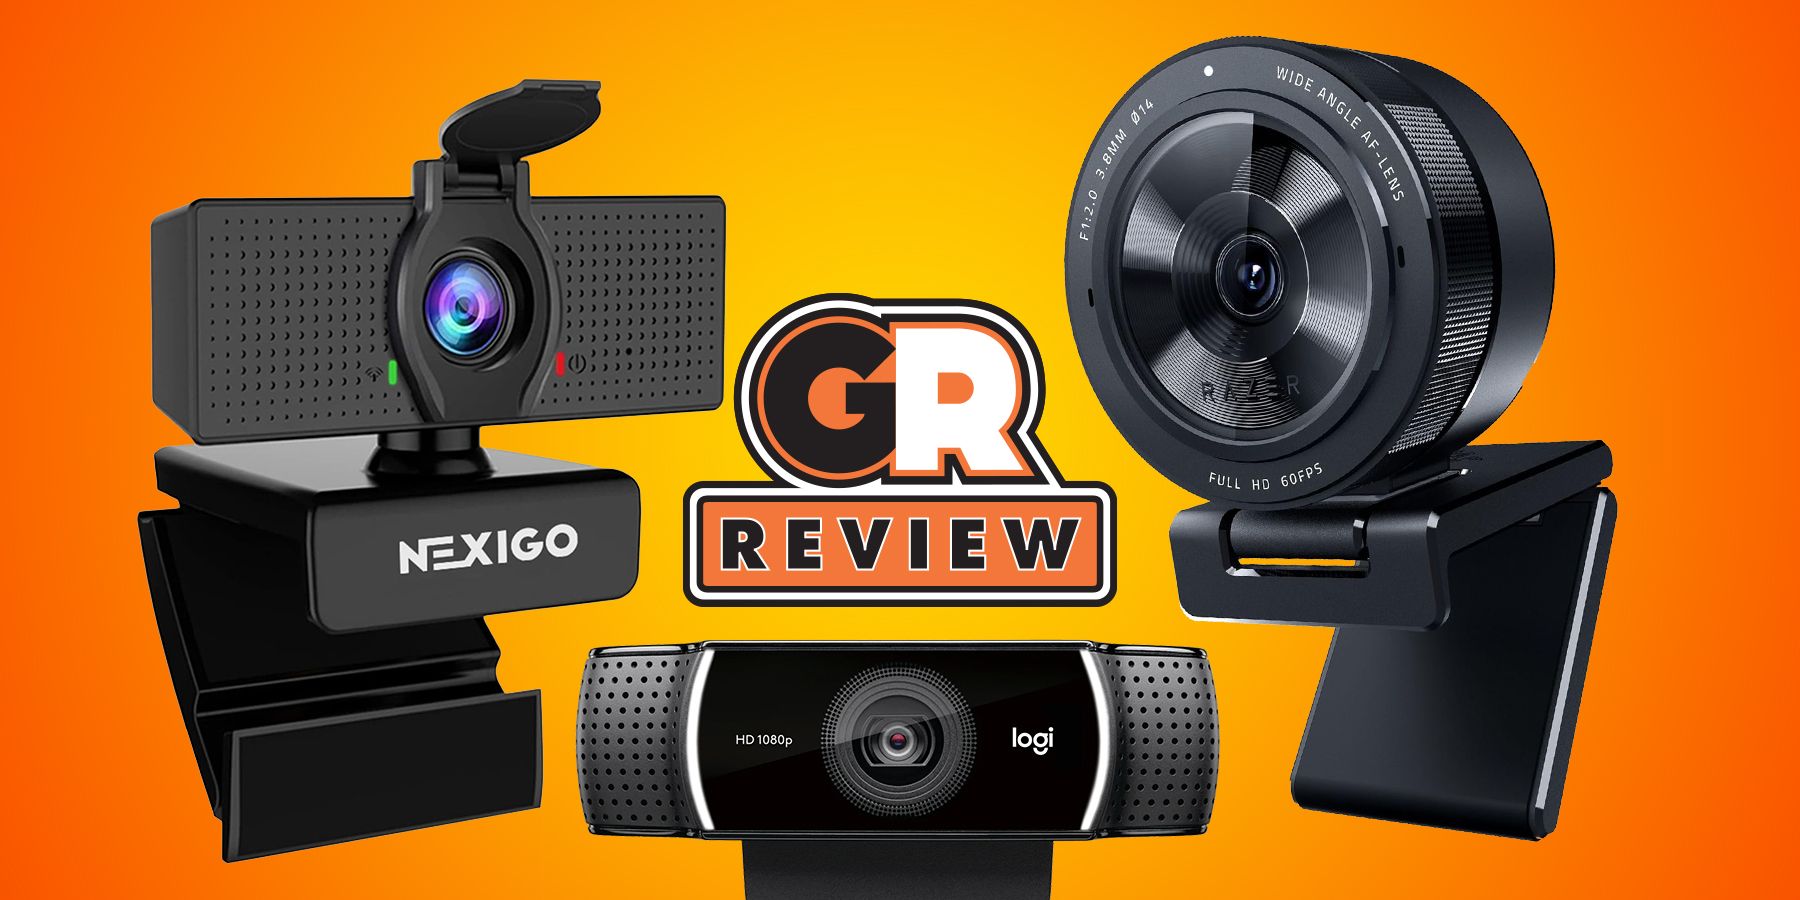
Related
The Best Webcams in 2024
A high-quality webcam is useful for content creation, streaming, or chatting with friends and family. Here are Game Rant’s picks for the best webcams.
Webcams have hit their stride since COVID, with many people still working from home and Zoom meetings still being the norm. There has been a surge in the market for higher-end webcams and PTZ cameras that look pretty amazing for their compact size. The main things you want to look at when getting a new webcam are the resolution and the frame rate. A webcam offering 1080p and 60 fps is the best option for most people. This is an excellent blend of high-quality video that looks good, but it’s also not too taxing on your PC or internet.
If you want to take it a step further, you can pick up a mirrorless or DSLR camera with a clean HDMI out feed. This will allow you to use a capture card and an HDMI cable to essentially use a professional camera as a webcam. Because of the vast difference in the sensor size, even the highest-end webcams still have trouble competing with a mid-range mirrorless camera. If you already have a camera with an HDMI port of some kind, you should see if it has a clean feed, and then all you need to pick up is a capture card like this one from Elgato.
Step 4: Background Set Dressing
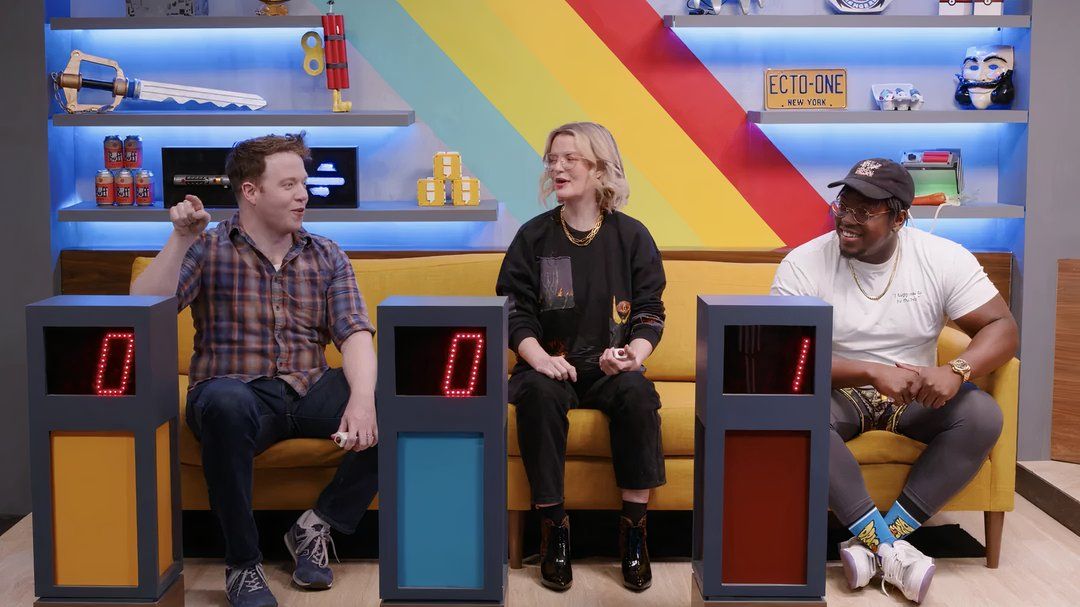
Just like the backlight was the icing on the cake for lighting, building a pleasing background and set dressing behind you is the icing on the cake for the whole streaming setup. This doesn’t need to be elaborate. There could even be some fun RGB lights from Govee.
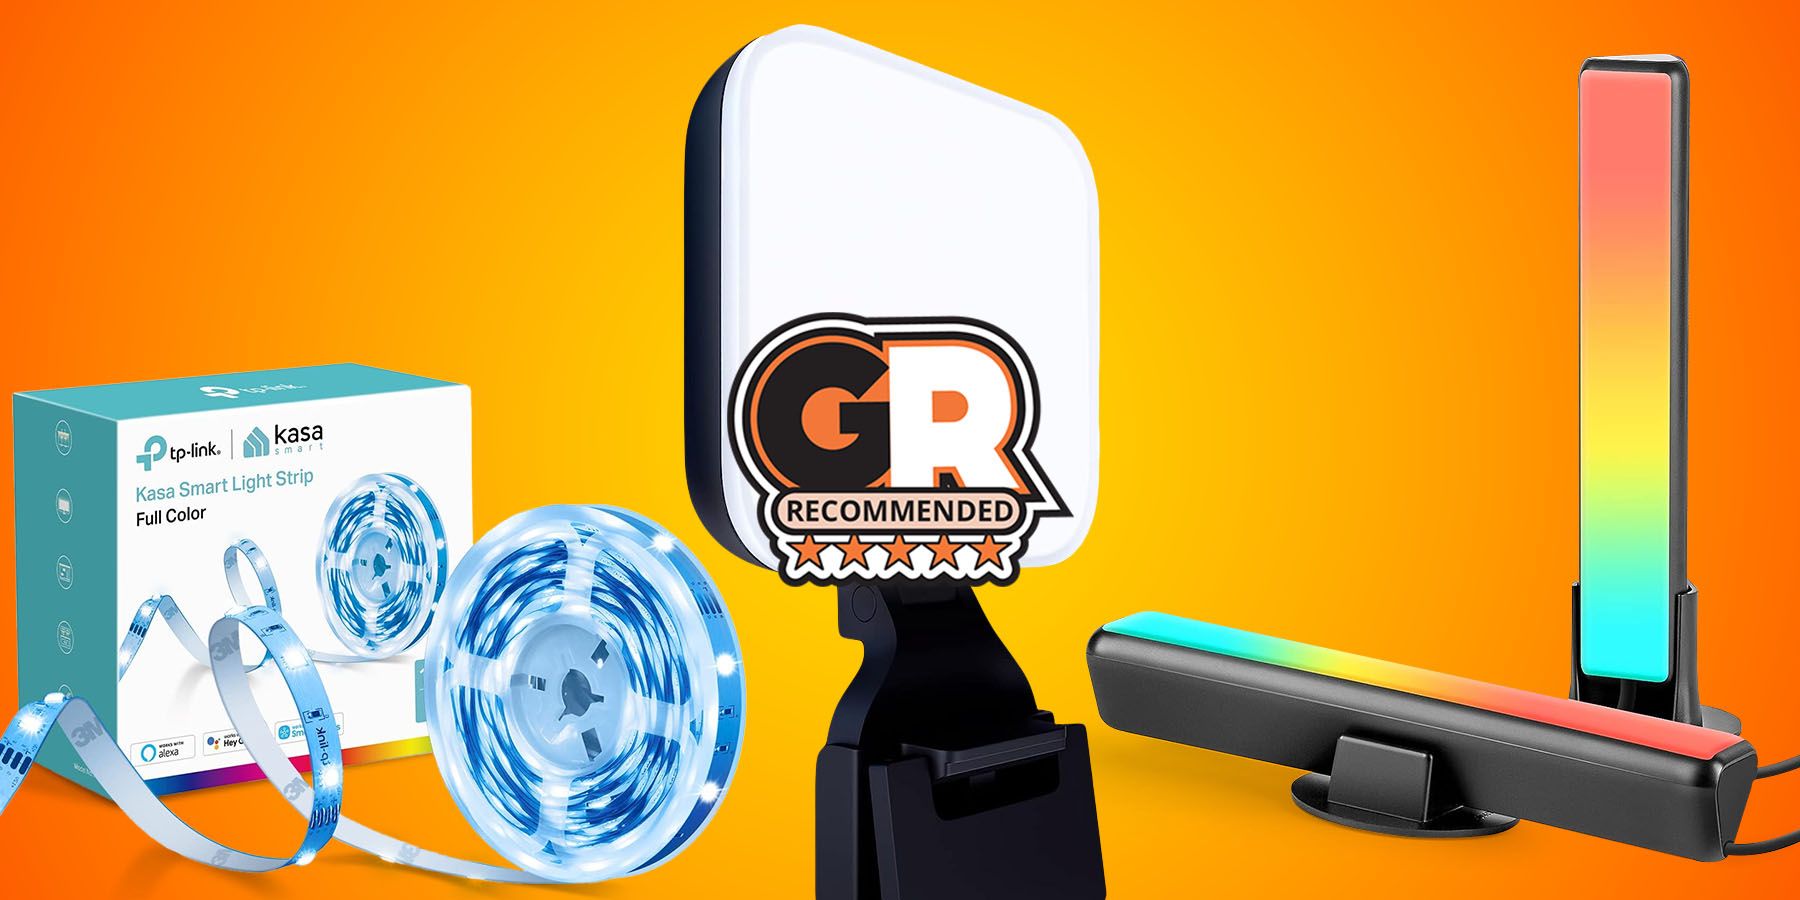
Related
The Best LED Lights for Gaming Rooms
Adding some awesome RGB LED lights to a space can elevate a gaming experience. These are some of the best smart lights for gaming rooms.
The best way to start building a pleasing background is to pick things you already have that you want to show off. Think about your favorite streamers or some shows and what they have behind them. Um, Actually on Dropout is a great example, with all the slightly wrong props and items from nerd culture. These are never the focus of the episode, but they provide visual interest in the rest of the camera frame that is not just the person in the frame.
Step 5: OBS Overlay
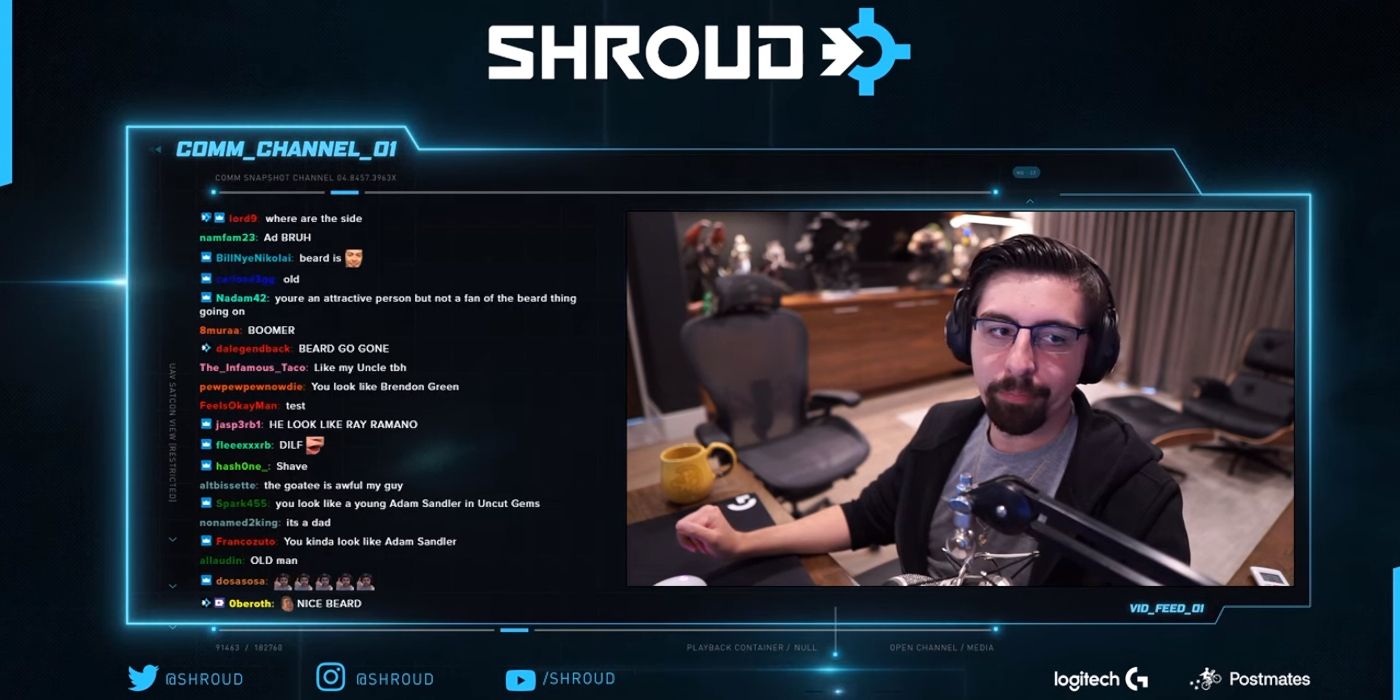
While we already have the icing on the cake with the set dressing, the OBS overlay ties everything together and brings all this hard work into one package for your stream, whether playing games or just hanging out with your chat. It is easy to get carried away with the overlay, but in the long run, the ultimate goal is a sleek and understated overlay that enhances your stream instead of distracting it.
This doesn’t always have to be like Shroud’s overlay. It can still have fun and quirky elements like DankPods drum streams, where every box has an old Windows Vista UI around it. An overlay should continue the theme you built through the rest of your physical setup; it shouldn’t be the end all be all.
-
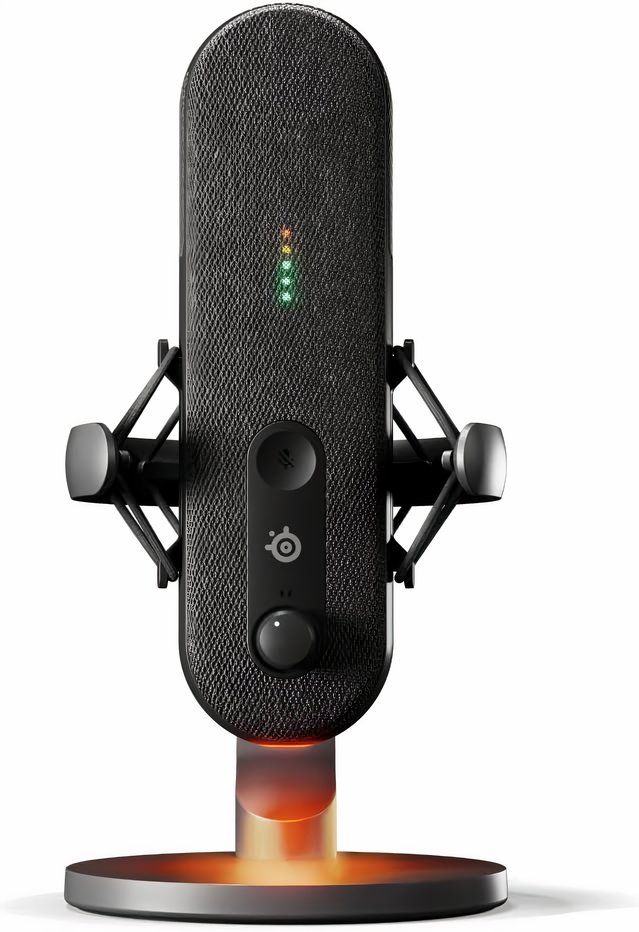
SteelSeries Alias
The SteelSeries Alias is designed for gamers from the ground up. Despite being a plug-and-play microphone, the Alias delivers professional-sounding results out of the box. And with just a few tweaks using SteelSeries’ Sonar software like the AI noise suppression, this microphone makes you sound like you are in a recording studio in a matter of seconds.
-
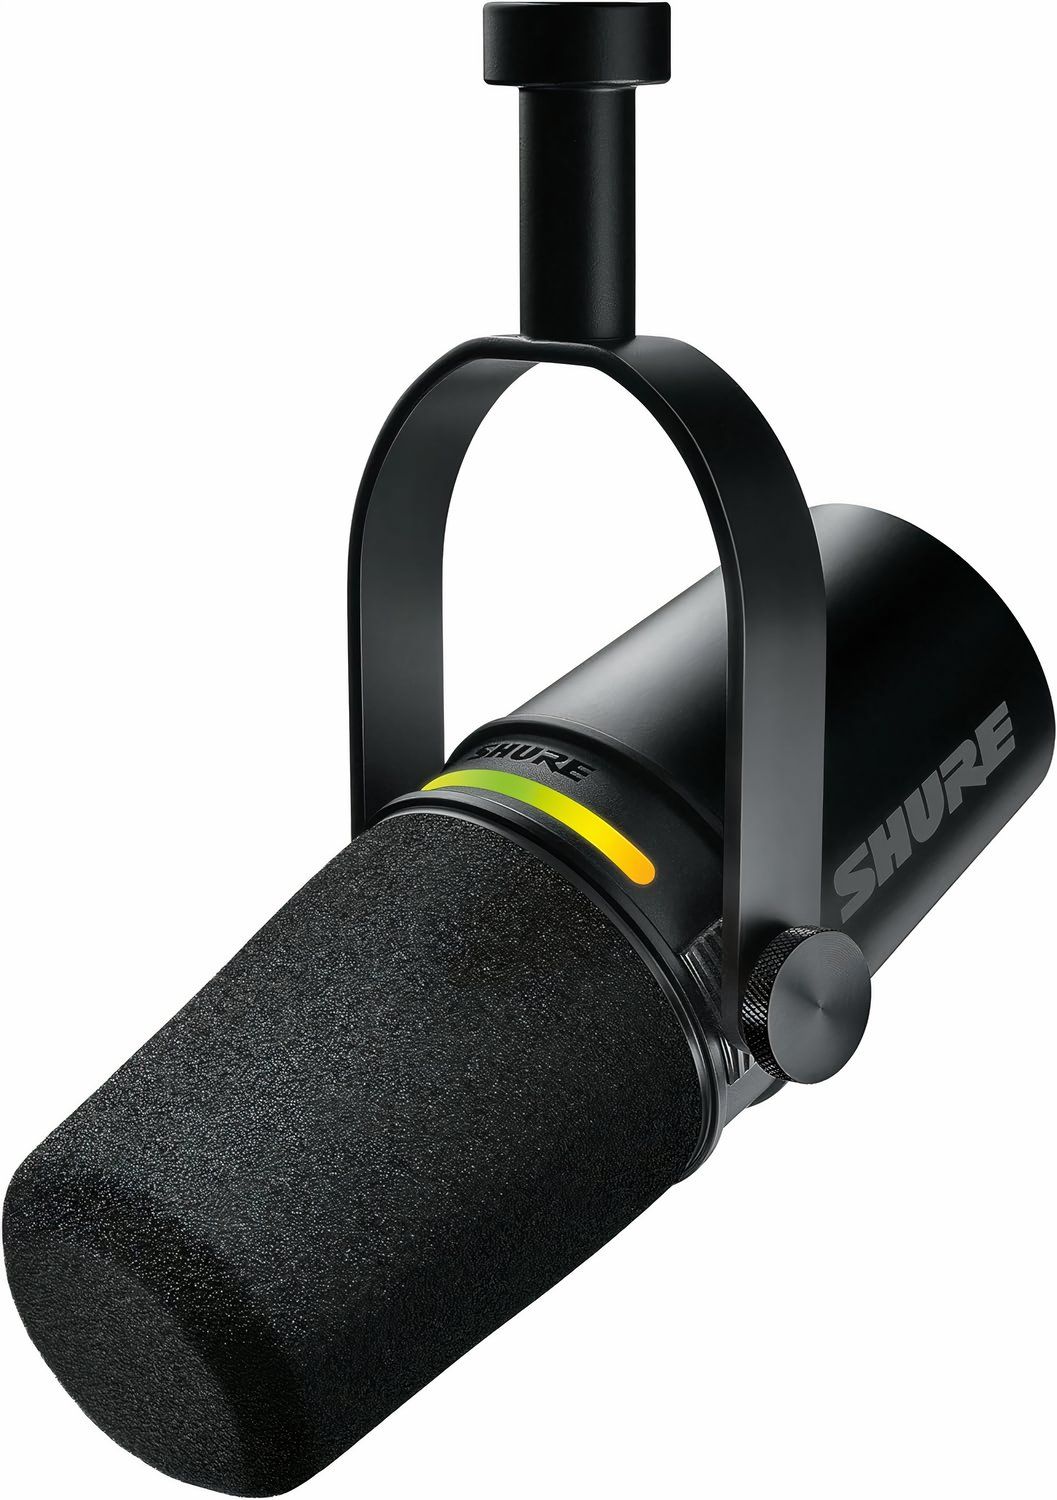
Shure MV7+
The Shure MV7+ is a premium and high-performing microphone suitable for all purposes, but ideal for podcasting. It comes with a customizable LED panel, an improved auto level mode, both XLR and USB Type-C connections, and a real-time denoiser.
-
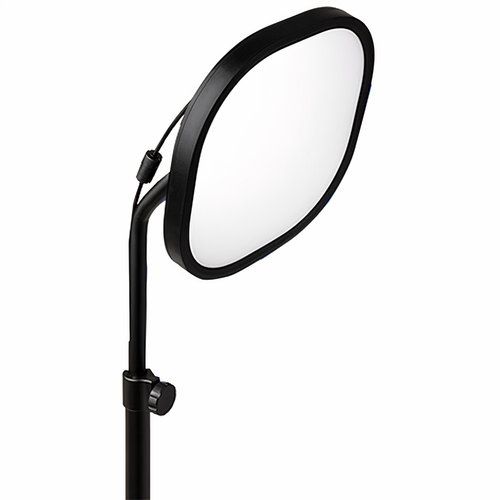
Elgato Key Light Air
The Elgato Key Light Air is a content creator-friendly desktop light solution that offers soft, even illumination without any eye strain or noticeable heat. The Elgato air comes with a stand to make set up a breeze while keeping your desk nice and tidy.
-
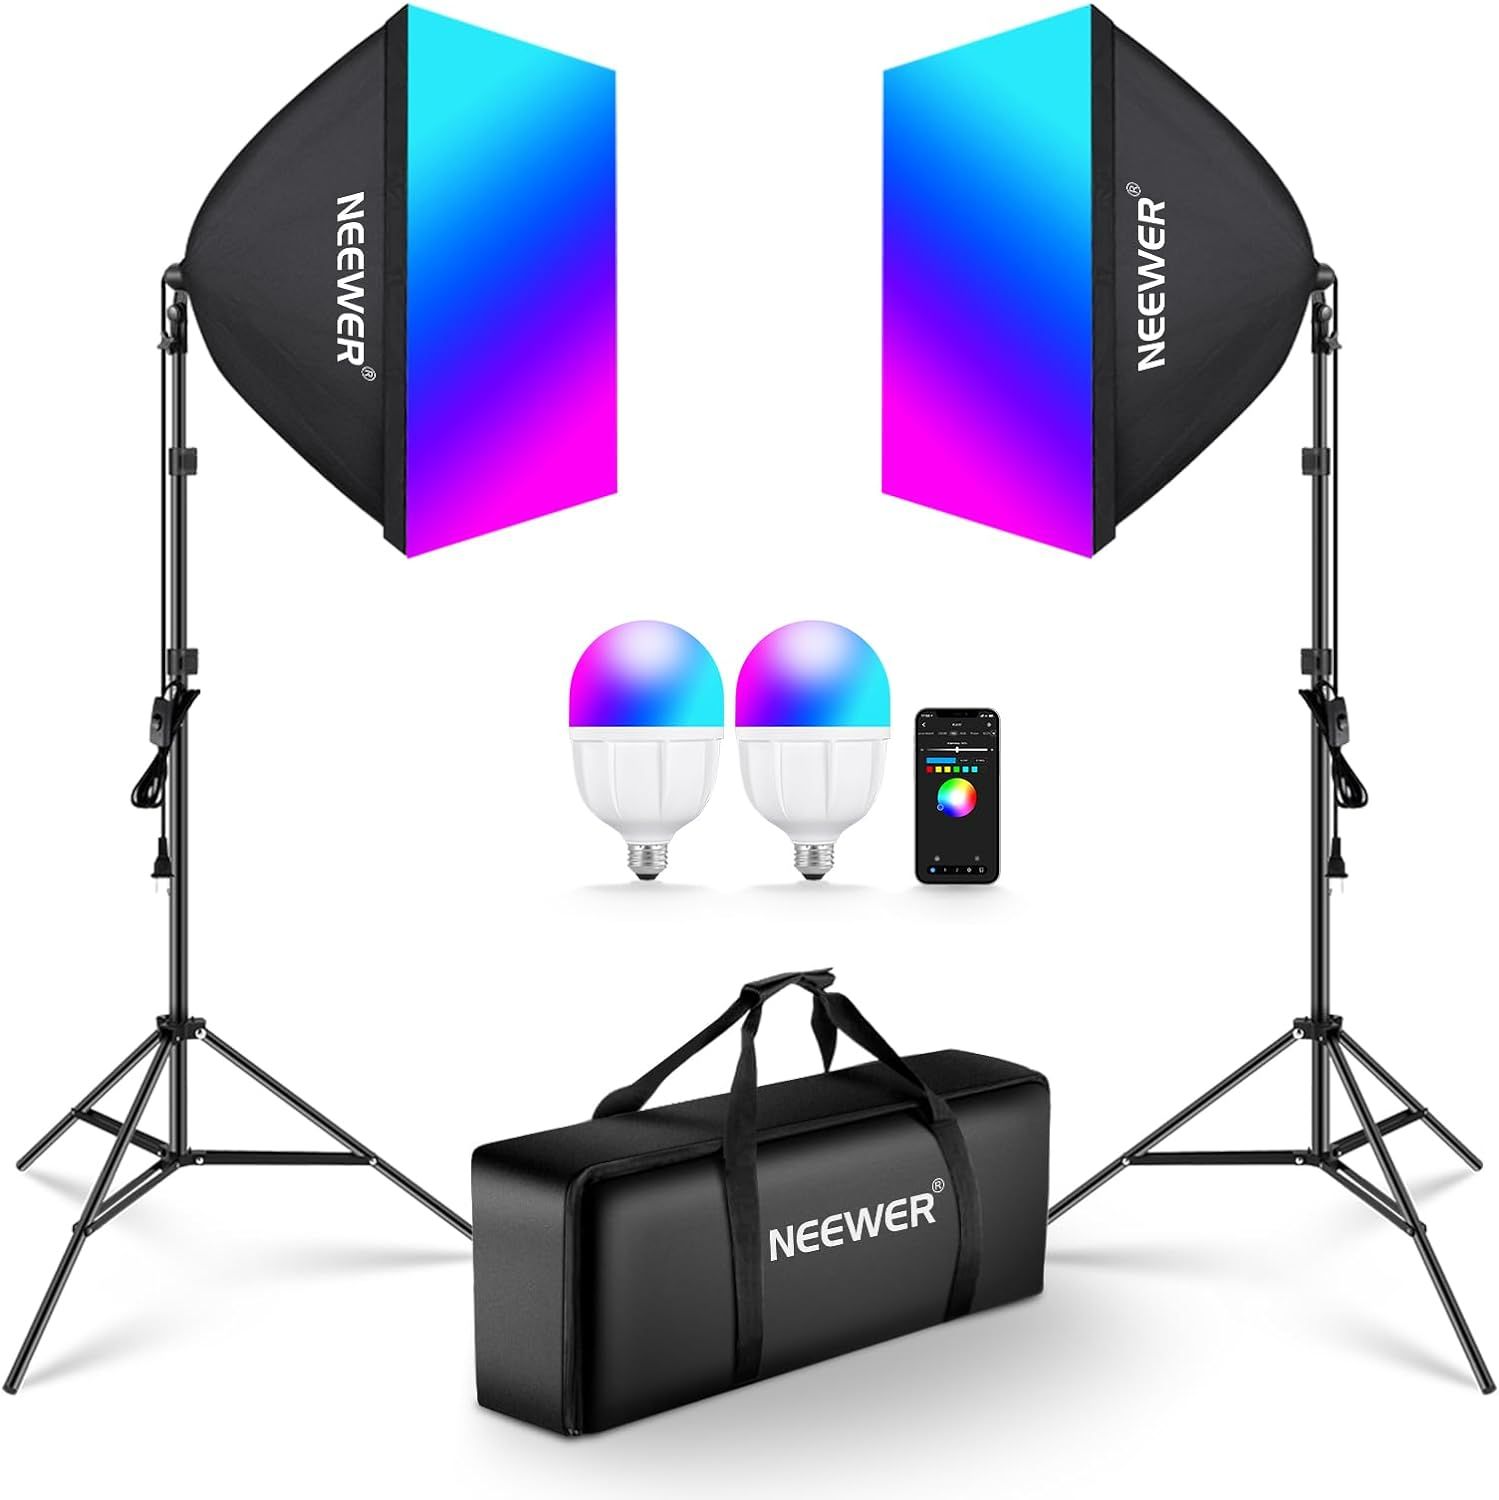
NEEWER RGB Softbox Lighting Kit
$110 $129 Save $19
The Neewer RGB softbox lighting kit allows users to set up a professional lighting set with diffusers and even RGB lighting for a very affordable price. This kit includes everything you need to get started with lighting. Using the two lights, you can create even lighting across your face and make you pop out from the background.
-
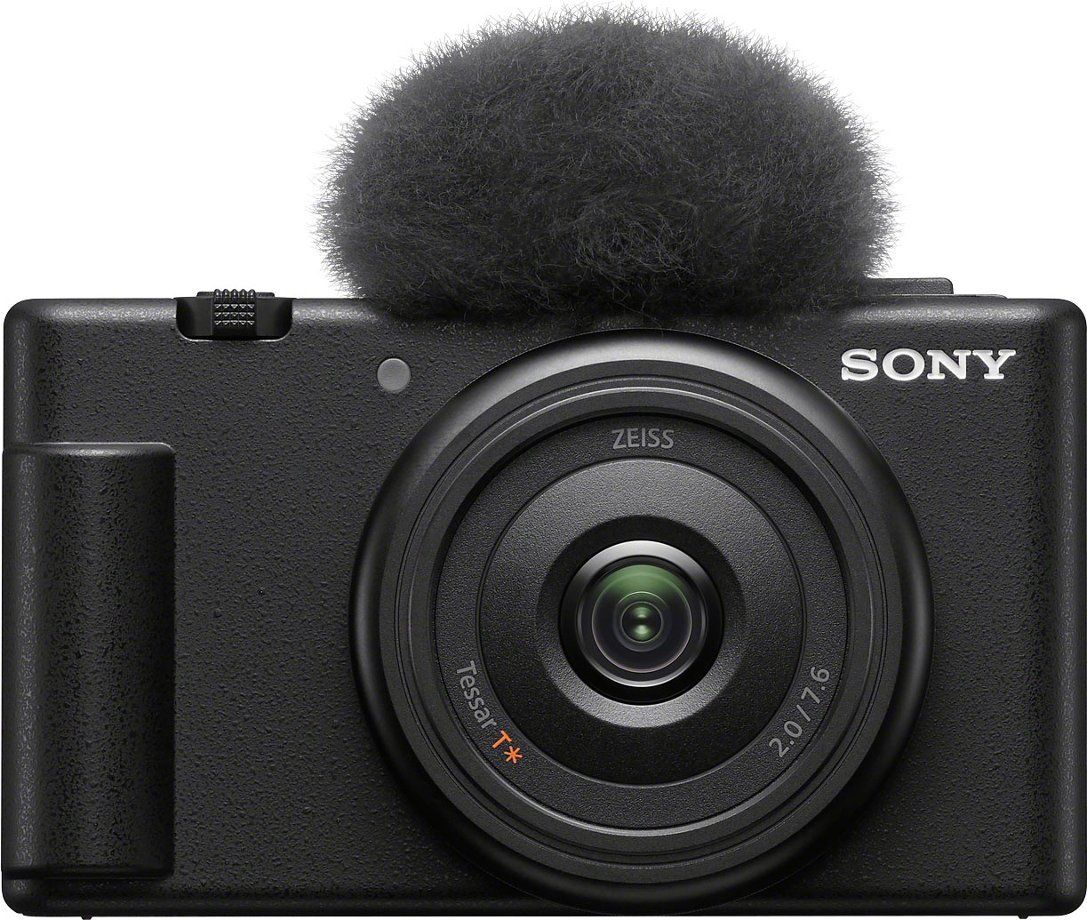
Sony ZV-1F
Sony ZV-1F Vlog camera is explicitly designed with content creators and streamers in mind. The large 1-inch sensor and wide-angle 20mm lens are packed into this compact body and are very easy to use. Without any unique settings, the ZV-1F will accurately capture the skin tone of people in the frame, ensuring a healthy and natural look. Using Sony’s famous eye-tracking autofocus, this camera always keeps the user in focus no matter how much they move.
-
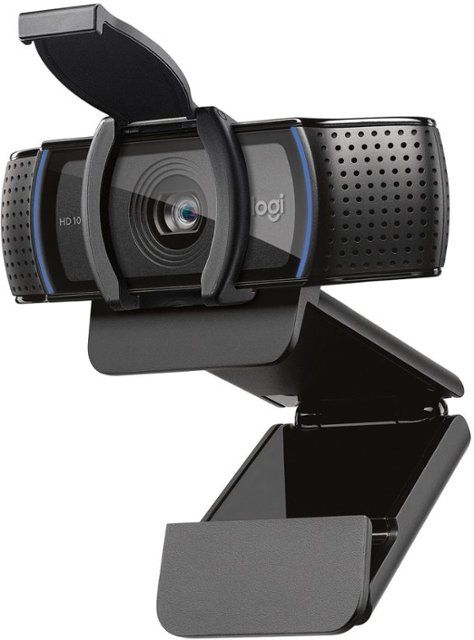
Logitech C920S Pro HD Webcam
$55 $70 Save $15
Logitech C920s is a budget-friendly, work-from-anywhere webcam that delivers a professional video meeting experience. A 78º diagonal field of view perfectly frames any space, while autofocus adjusts smoothly and precisely. RightLight 2 technology automatically adjusts to every lighting situation, even in low-light or backlit conditions. Dual-integrated mics accurately capture streamers’ voices from multiple angles for greater nuance. Those who are streaming or recording can also use Logitech’s Capture app to edit and customize.
-
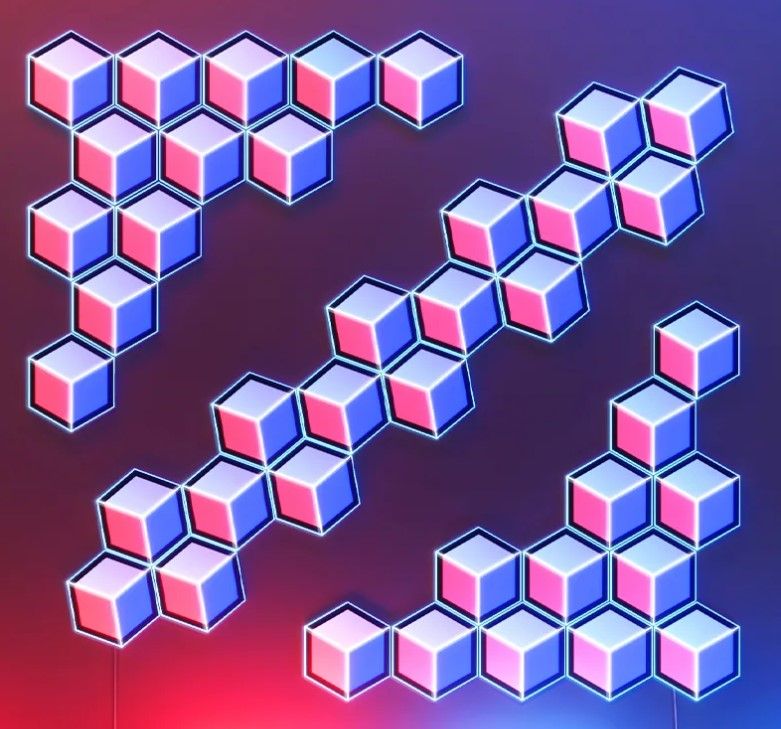
Govee Glide Hexagon Light Panels Ultra
$280 $350 Save $70
The Govee Glide Hexagon Light Panels Ultra are the most dynamic and spectacular smart wall panel lights ever created. Benefiting from surface lighting and line lighting, the two modes combine to display amazing 3D effects. Each Hexagon panel boasts 129 LEDs with 10 microcontroller units, making them some of the most advanced smart lights on the market. Users can choose from many preset scenes or create their own patterns with the Govee Home app’s DIY mode.
The Glide Hexagon Light Panels Ultra are available in 2 versions with Meteor Gray emitting a softer light while Lunar White showcases the full capabilities of the panels’ vivid illumination.
-
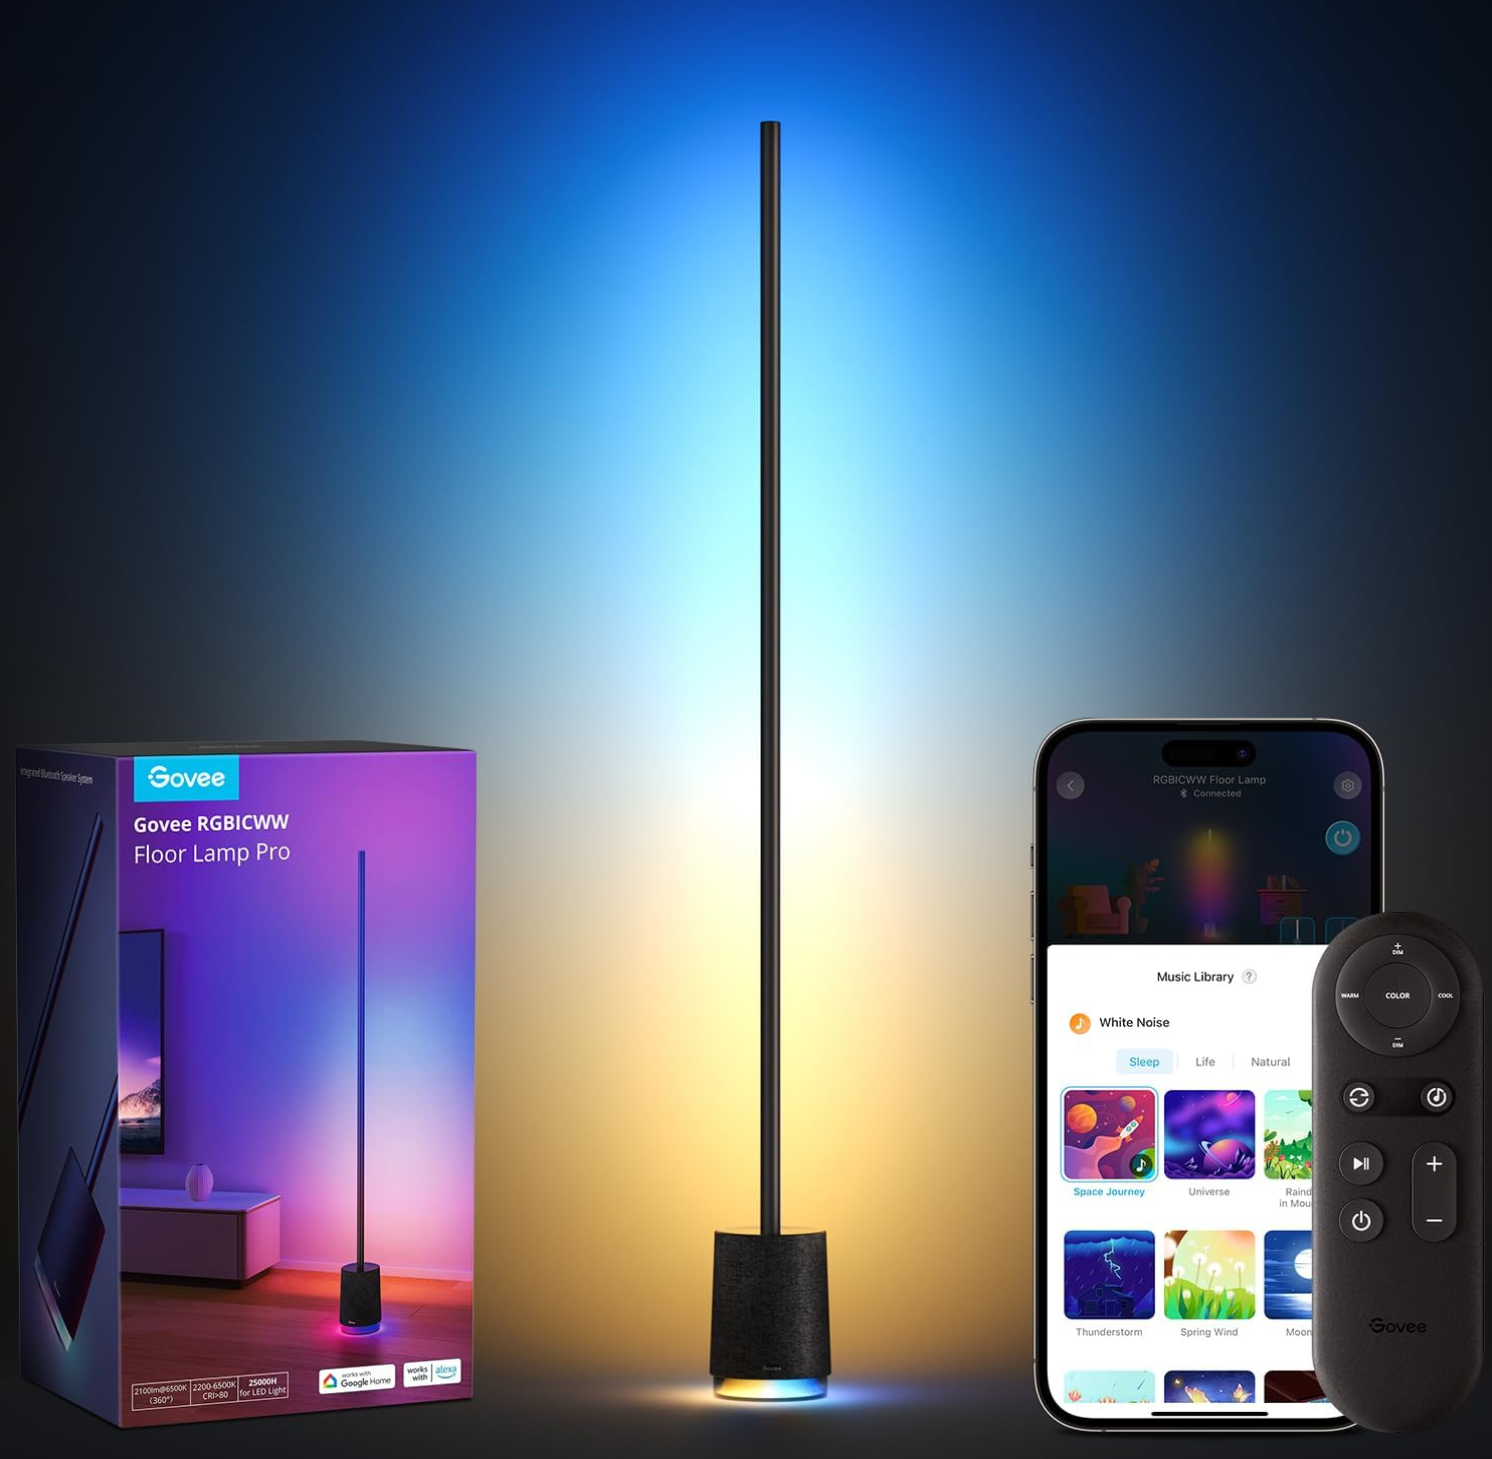
Govee Floor Lamp Pro
$200 $220 Save $20
The Floor Lamp Pro is the perfect marriage of Govee’s dynamic lighting effects with an integrated smart Bluetooth speaker. This extra-tall 67-inch floor lamp features 162 LEDs on its pole to cast a bright multi-colored glow on adjacent walls. The speaker at the lamp’s base is surprisingly powerful, playing music and sound effects that sync with the Floor Lamp Pro’s pulsating RGB lighting. Buyers can choose from 85 preset scenes that demonstrate the full capabilities of the lamp or activate white noise sounds that create a relaxing nighttime or morning atmosphere.
FAQ
Q: How much does a streaming setup cost?
Depending on what you want to stream, streaming setups come in all form factors and price points. For the most part, you can expect the range to be anywhere from $500, which is barebones, up to $2,000 for that premium look and no compromises.
Q: How much does it cost to stream on Twitch?
Streaming on Twitch is free, and there is no monthly charge for your channel or live recording hosting. The main cost of streaming comes from the equipment needed to create a good-looking stream.


