Risk of Rain 2 is one of the most supremely exciting rogue-like games to come out in the last decade. Risk of Rain 2 has a huge variety of weapons, playstyles, enemies, and its progression systems are the envy of other games in the randomly generated genre – plus, it’s an upgrade in every way from its predecessor.
Related
8 Best Story-Driven Roguelike & Roguelite Games
Roguelikes and Roguelites are often known for their great gameplay/combat, but these games have a great narrative too.
Even experienced players haven’t tried every combo in the game, and some are a little more out of the way than others. It’s hard to find rare items sometimes, and other times it’s difficult to get a good number of stacks on items that benefit from stacking. However, if you do get to run with one of these Risk of Rain 2 builds, you’ll feel unstoppable.
Updated August 19th, 2024 by Jacob Buchalter: With the Seeker character now revealed for Risk of Rain 2’s upcoming Seekers of the Storm update, it seemed like an apt time to go back and take a look at some of the game’s strongest builds. Of course, because you can’t really control what items spawn from chests in Risk of Rain 2 (outside of using Artifacts), following specific builds can be pretty tough. With that in mind, we made sure each build had a core item that it was centered around, as well as a few other items that enable said build or even alternative items that can work in the build. This way, no matter what items spawn in your run, you’ll likely be able to go for one of the builds mentioned below and see just how strong they are.
6 Huntress Build
Crit Chance + Harvester’s Scythe for Some Much-Needed Sustain
|
Name |
Rarity |
Effect |
Stacking ‘Type’ |
Additional Info |
|---|---|---|---|---|
|
Lens-Maker’s Glasses |
Common |
Gain +10 percent Crit Chance. |
Linear |
Each stack adds an additional +10 percent Crit Chance. |
|
Harvester’s Scythe |
Uncommon |
Gain +5 percent Crit Chance. Additionally, Critical Strikes now heal you for 8 Health. |
Linear |
Every Scythe adds +4 to the amount of Health healed per Crit. |
|
Ukulele |
Uncommon |
Gain a 25 percent chance to fire chain lightning for 80 percent of your Total Damage on up to 3 targets within 20 meters whenever this effect is triggered. |
Linear |
Amount of Targets + 2 per stack & +2 meter additional radius per stack |
Huntress is a character who is a lot like Commando in that they both seem very weak at the start, but their damage potential is incredibly high. When you first start a run with Huntress, you’re going to feel pretty weak in terms of damage and health, but thankfully that can be easily fixed.
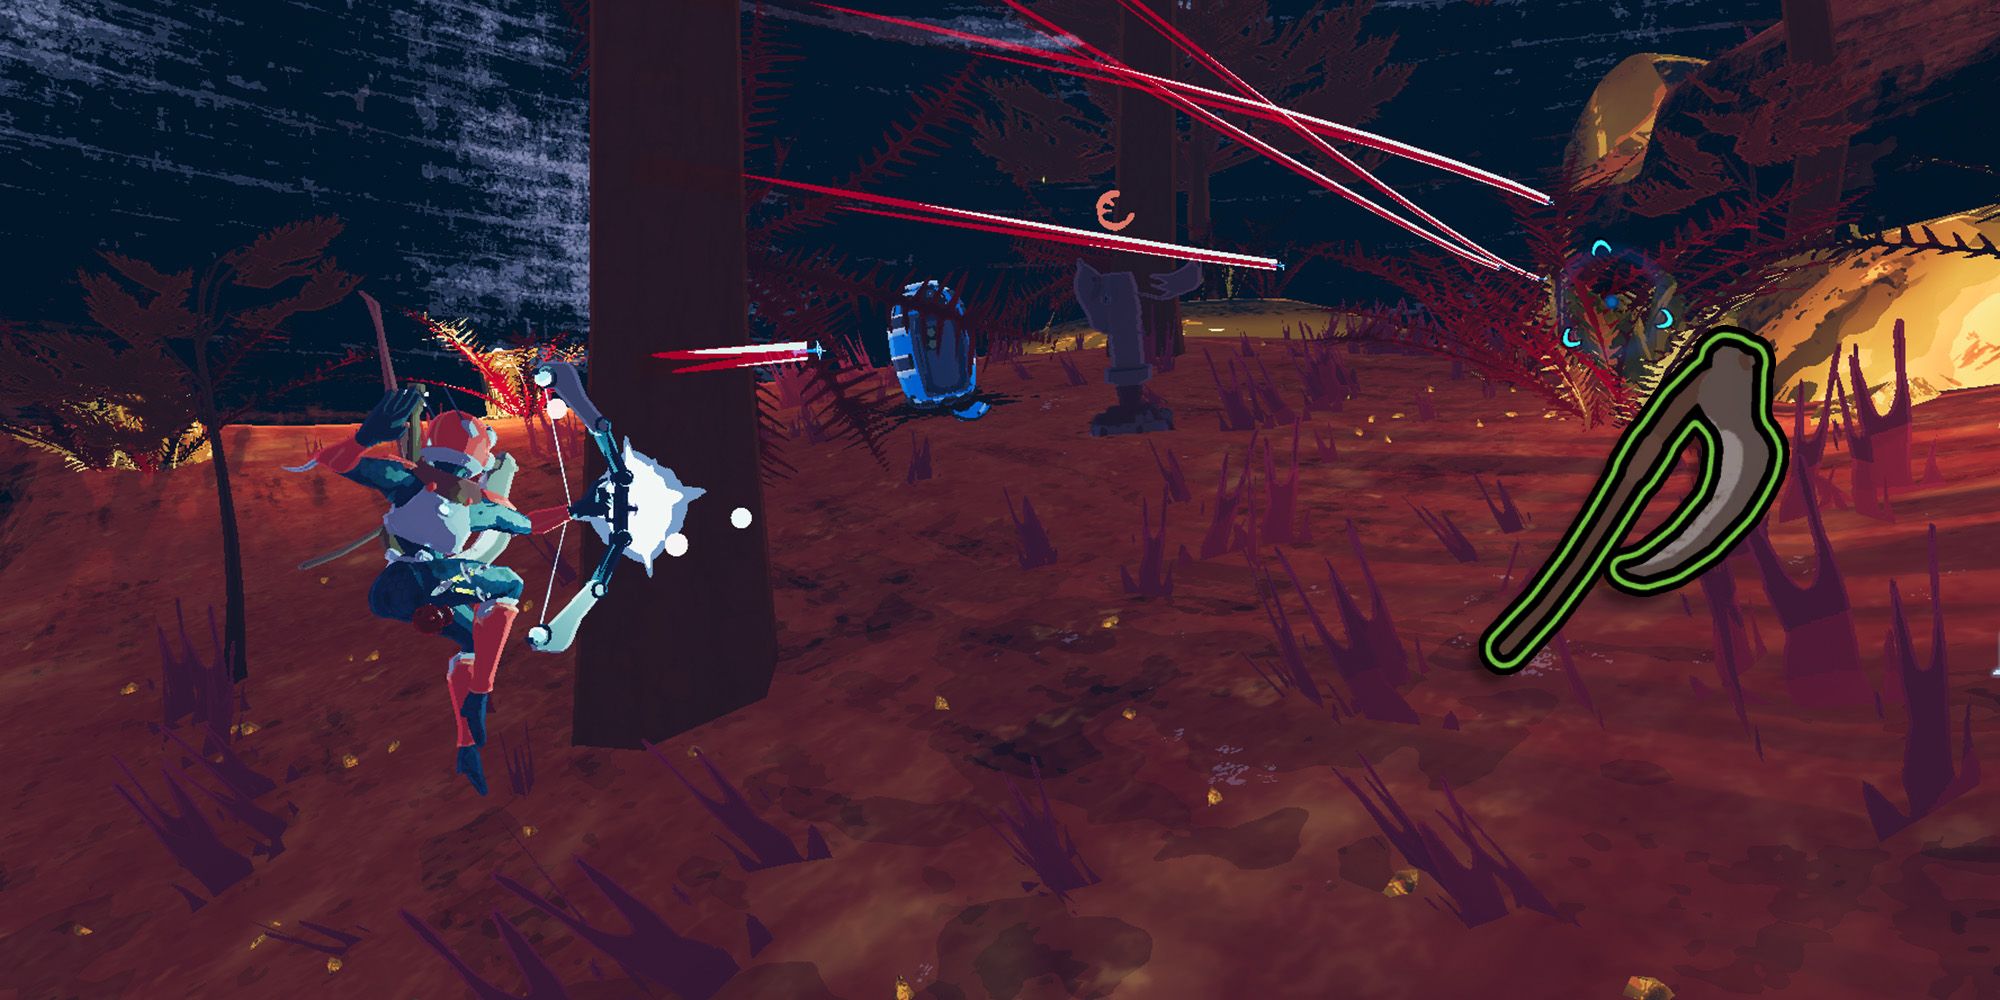
And, one of the ways to fix this the best is by getting any amount of Crit Chance combined with Harvester’s Scythe. Harvester’s Scythe’s heal isn’t incredible, but on characters who let out a ton of attacks that all have a chance to Crit, it becomes an essential healing tool.
Playstyle
When playing as the Huntress, it’s important to keep an eye out for any items that flat-out increase DPS for the survivor. While Huntress is great at dodging and thus is one of the most maneuverable choices, she has a hard time taking down single targets like bosses. Keep an eye out for Crit Chance and Ukulele’s in particular as this can make clearing mobs of enemies as Huntress a lot less painful.
5 Melee Character Build
Let the Enemies Take Themselves Out Just By Damaging You
|
Name |
Rarity |
Effect |
Stacking ‘Type’ |
Additional Info |
|---|---|---|---|---|
|
Medkit |
Common |
2 seconds after taking damage, heal for 20 health plus an additional 5 percent of your Maximum Health. |
Linear |
Each stack adds +5 percent to the Maximum Health part of the heal. |
|
Razorwire |
Uncommon |
Getting hit causes you to explode in a burst of razors, dealing 160 percent damage to 5 targets in a 25-meter radius around you. |
Linear |
Each stack adds +2 targets & +10 meters to the radius. |
|
Helfire Tincture |
Lunar/Equipment |
When activated, Ignites all characters within 15 meters for 12 seconds, dealing 5 percent of your Max Health per second as burning damage. The burn is 0.5 times stronger on yourself, 0.25 times stronger on allies, and 24 times stronger on enemies. |
N/A |
Has a cooldown of 45 seconds, is meant for dealing damage to nearby enemies, & triggers Razorwire. |
This next build is one that works on really any of the Survivors but typically works best (especially early on in a run) on melee Survivors. Razorwire is an item that, at first glance, doesn’t seem all that great. The damage it deals to enemies nearby when hit is pretty minimal, and the range is relatively small. However, after getting 3+ Razorwires, both the damage and range become a lot more noticeable. Then, throw Helfire Tincture on top, a Lunar Item that deals constant damage to both the Survivor and any enemies in range while it’s active, and Razorwire is getting constantly triggered.
However, because this build requires a Lunar Item to really ‘take off’, you’ll want to learn the locations of Newt Altars on all levels so that you have as much access to the Lunar Shop as possible. Additionally with this build, grabbing on-hit items like Sticky Bombs or AtGs is actually pretty useful, since the hits from both Razorwire and Helfire Tincture can trigger these items as well.
Playstyle
The Razorwire-stacking build is a build that not a lot of players swear by, at least early on in their Risk of Rain 2 playtime, but it’s still absolutely overpowered. The playstyle you’ll want to keep in mind for this build is dependent on how many Razorwires you have because with enough Razorwires you can essentially sit in the middle of the stage, let the enemies come to you, and pop Helfire Tincture as soon as they’re visible to instantly start shredding their health bars. Just keep in mind that this is a build that heavily relies on damaging yourself, so you’ll want to grab whatever healing items you can before fully relying on Razorwire damage.
4 High Attack Speed Character Build
The Tried & True Bleed Build
|
Name |
Rarity |
Effect |
Stacking ‘Type’ |
Additional Info |
|---|---|---|---|---|
|
Soldier’s Syringe |
Common |
Increases attack speed by 15 percent |
Linear |
Each stack adds an additional 15 percent. |
|
Mocha |
Common |
Increases Attack Speed by 7.5 percent and Movement Speed by 7 percent. |
Linear |
Each stack adds +7.5 percent Attack Speed & +7 percent Movement Speed. |
|
Tri-Tip Dagger |
Common |
Gain a +10 percent chance to bleed an enemy for 240 percent base damage. |
Linear |
Each stack gives +10 percent more chance to proc bleed. |
|
Shatterspleen |
Boss |
Gain +5 percent Crit Chance. Critical Strikes now bleed enemies for 240 percent base damage. Bleeding enemies now also explode on death for 400 percent damage, plus an additional 15 percent of their maximum health. |
Linear |
Each stack adds +400 percent damage to the bleed explosion and +15 percent to the maximum health portion of the bleed explosion damage. |
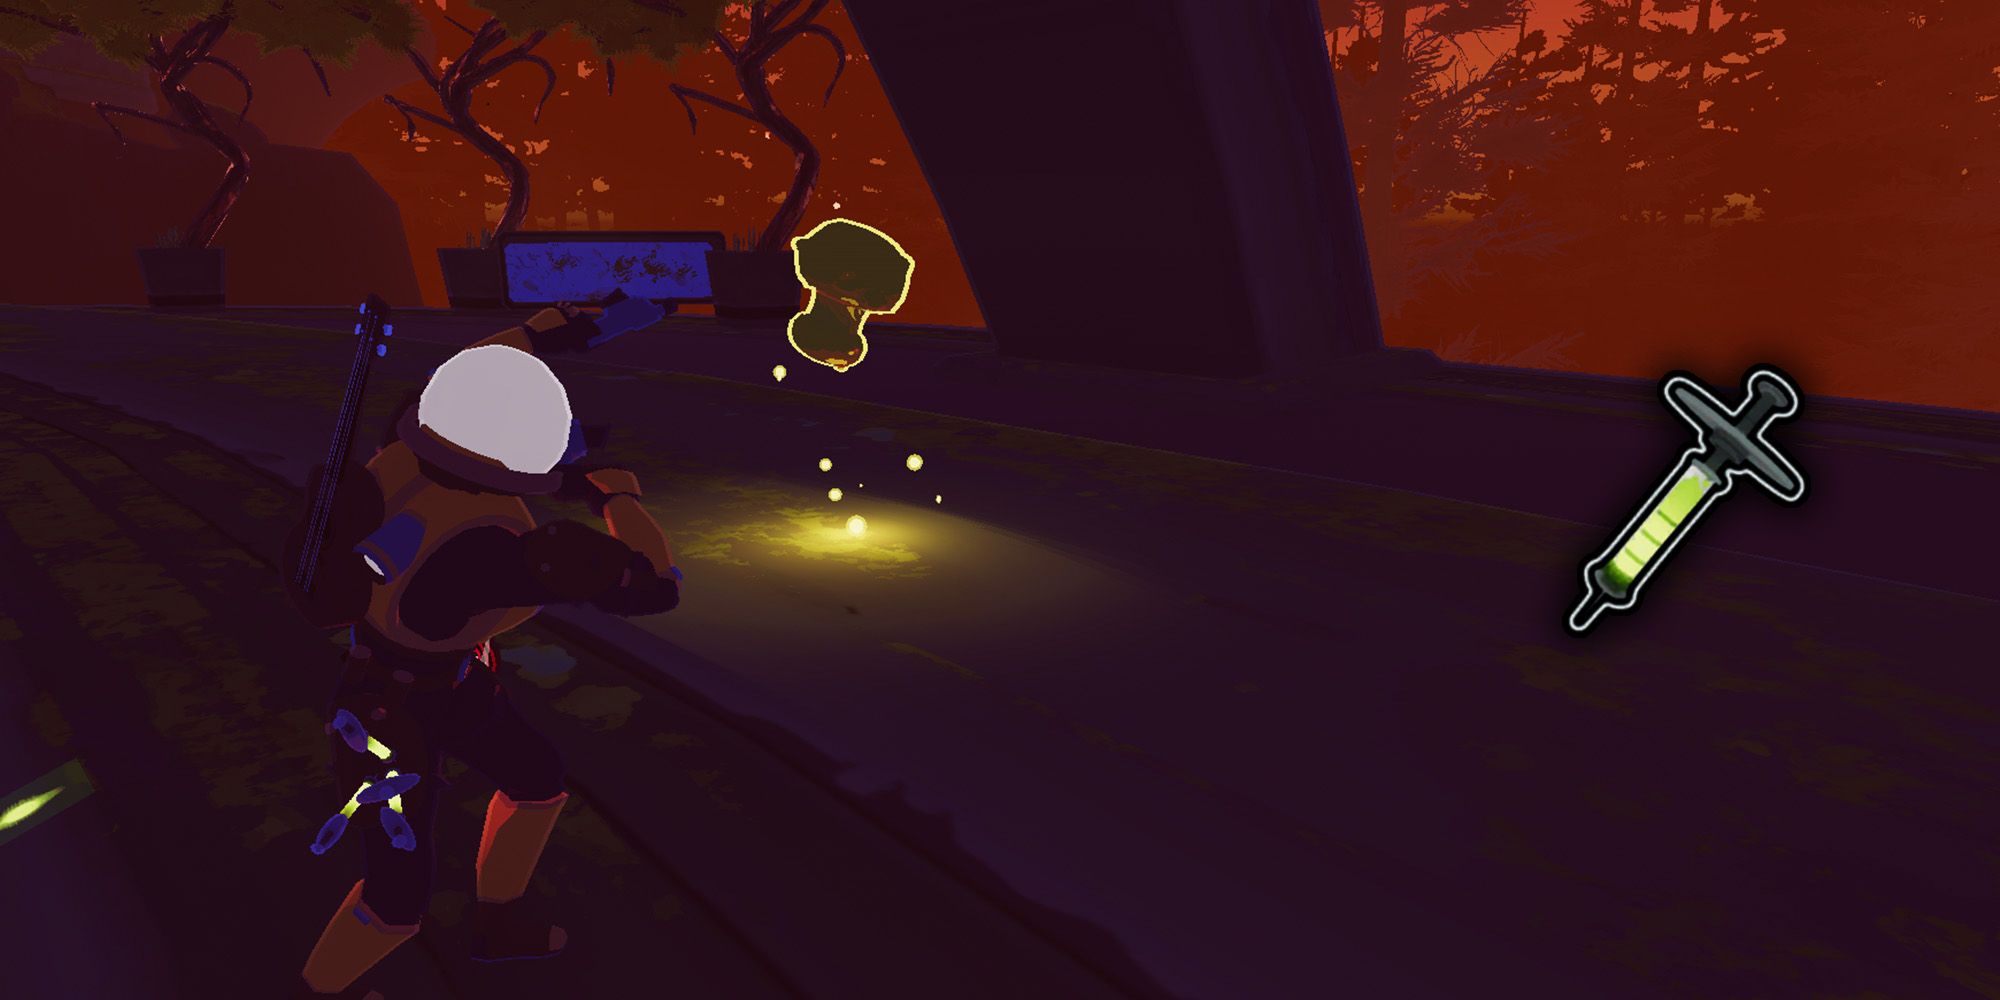
This is another ‘general’ build that can work with most of the Survivors in the game, but tends to work best on Survivors with high base Attack Speed. Essentially, this build revolves around getting more Attack Speed buffing items early and then going all-in on Tri-Tip Daggers to build absurd amounts of bleed on any enemy you hit.

Related
7 Hardest Roguelike Games On The PS5, Ranked
Roguelikes are infamous for their unforgiving difficulty. The following Roguelike games provide the toughest challenges on the PlayStation 5.
Then, if you’re lucky enough to get a Shatterspleen to drop from an Imp Overlord, you’re basically entirely set for the rest of your run. One of the best parts about this build however, is that the core of it is an ‘on-hit’ build, meaning that if you’re not getting lucky with any Tri-Tip Dagger drops, just keep an eye out for any of the on-hit items instead, and you’ll still typically be pretty powerful as a result.
Playstyle
On-hit builds in Risk of Rain 2 are some of the most common, but they’re also the builds that are the most reliant on getting lucky with certain item spawns early in a run. If you go two stages without finding really any Attack Speed-buffing items, it’s probably better to switch on the fly to another type of build.
The general playstyle of an on-hit build relies on getting as many hits on enemies as possible to trigger whatever your best on-hit damaging effect is. For this build, it’s bleed, and since bleed can stack infinitely, this build stays pretty viable not matter how many times you loop.
3 Any Character Build
Just Get Bands, They’re Always Worth Grabbing
|
Name |
Rarity |
Effect |
Stacking ‘Type’ |
Additional Info |
|---|---|---|---|---|
|
Kjaro’s Band |
Uncommon |
Hits that deal more than 400 percent damage will now also blast enemies with a runic flame tornado that deals 300 percent Total Damage over time in an area around it. This effect will recharge 10 seconds after it is triggered. |
Linear |
Each stack adds +300 percent Total Damage to the runic flame tornado. |
|
Runald’s Band |
Uncommon |
Hits that deal more than 400 percent damage will now also blast enemies with a runic ice blast that deals 250 percent Total Damage over time in an area around it and also slows any enemies hit by it by 80 percent for 3 seconds. This effect will recharge 10 seconds after it is triggered. |
Linear |
Each stack adds +3 seconds to the slowing effect and +250 percent Total Damage to the runic ice blast. |
This next build is basically just a long-winded way to say that Runald’s Band and especially Kjaro’s Band are two of the best items in Risk of Rain 2, hands down. These items are the core of most damage builds, and absolutely skyrocket a Survivor’s damage potential as long as they have a way to deal 400 percent damage (which most Survivors do).
Essentially, you can throw either of these bands into any build and it’ll only improve it, which is exactly why them being available every time you go to the Abandoned Aqueduct stage (provided you step on both the necessary buttons) is such a huge bonus. If we were to pick one over the other, we’d have to go with Kjaro’s Band over Runald’s, simply because Kjaro’s fire tornado is better for DPS, AoE Damage, and synergizes with more items (such as Ignition Tank).
How To Unlock Kjaro’s and Runald’s Band in Risk of Rain 2
In the desert hills of the Abandoned Aqueduct area look for what appears to be a large hole in a cliff with a gate on it. There are two pressure plates on the map that players must find, and they and somebody else must step on them at the same time to open a secret area.
Once it’s open, head inside and take out both (what we assume to be) Kjaro and Runald to get their Bands. Once you do this for the first time, the Bands are then added into the pool for Uncommon Items in all future runs, but you can always get a copy of each on this stage.
2 Movement Speed Build
Just Run Around & Let Little Disciple Do All the Work
|
Name |
Rarity |
Effect |
Stacking ‘Type’ |
Additional Info |
|---|---|---|---|---|
|
Paul’s Goat Hoof |
Common |
Increases Movement Speed by +14 percent. |
Linear |
Each stack adds an additional 14 percent Movement Speed increase. |
|
Mocha |
Common |
Increases Attack Speed by 7.5 percent and Movement Speed by 7 percent. |
Linear |
Each stack adds +7.5 percent Attack Speed & +7 percent Movement Speed. |
|
Red Whip |
Uncommon |
Gain a +30 percent Movement Speed buff whenever you’re not in combat. |
Linear |
Each stack adds +30 percent to the out-of-combat Movement Speed buff. |
|
Little Disciple |
Boss |
Fire a tracking wisp for 300 percent damage. Fires every 1.6 seconds while sprinting. Fire Rate increases with Movement Speed. |
Linear |
Each stack adds +300 percent to the tracking wisp damage. |
Risk of Rain 2 is the roguelike that sort of defined the saying ‘if you stop moving, you die’. Movement Speed is everything in this game because as long as you’re moving, you’re avoiding the vast majority of damage coming your way.

Related
6 Hardest Roguelikes On The Nintendo Switch
The hardest roguelikes on the Nintendo Switch handheld will put players to the test to come out on top against brutal RNG and vicious enemies.
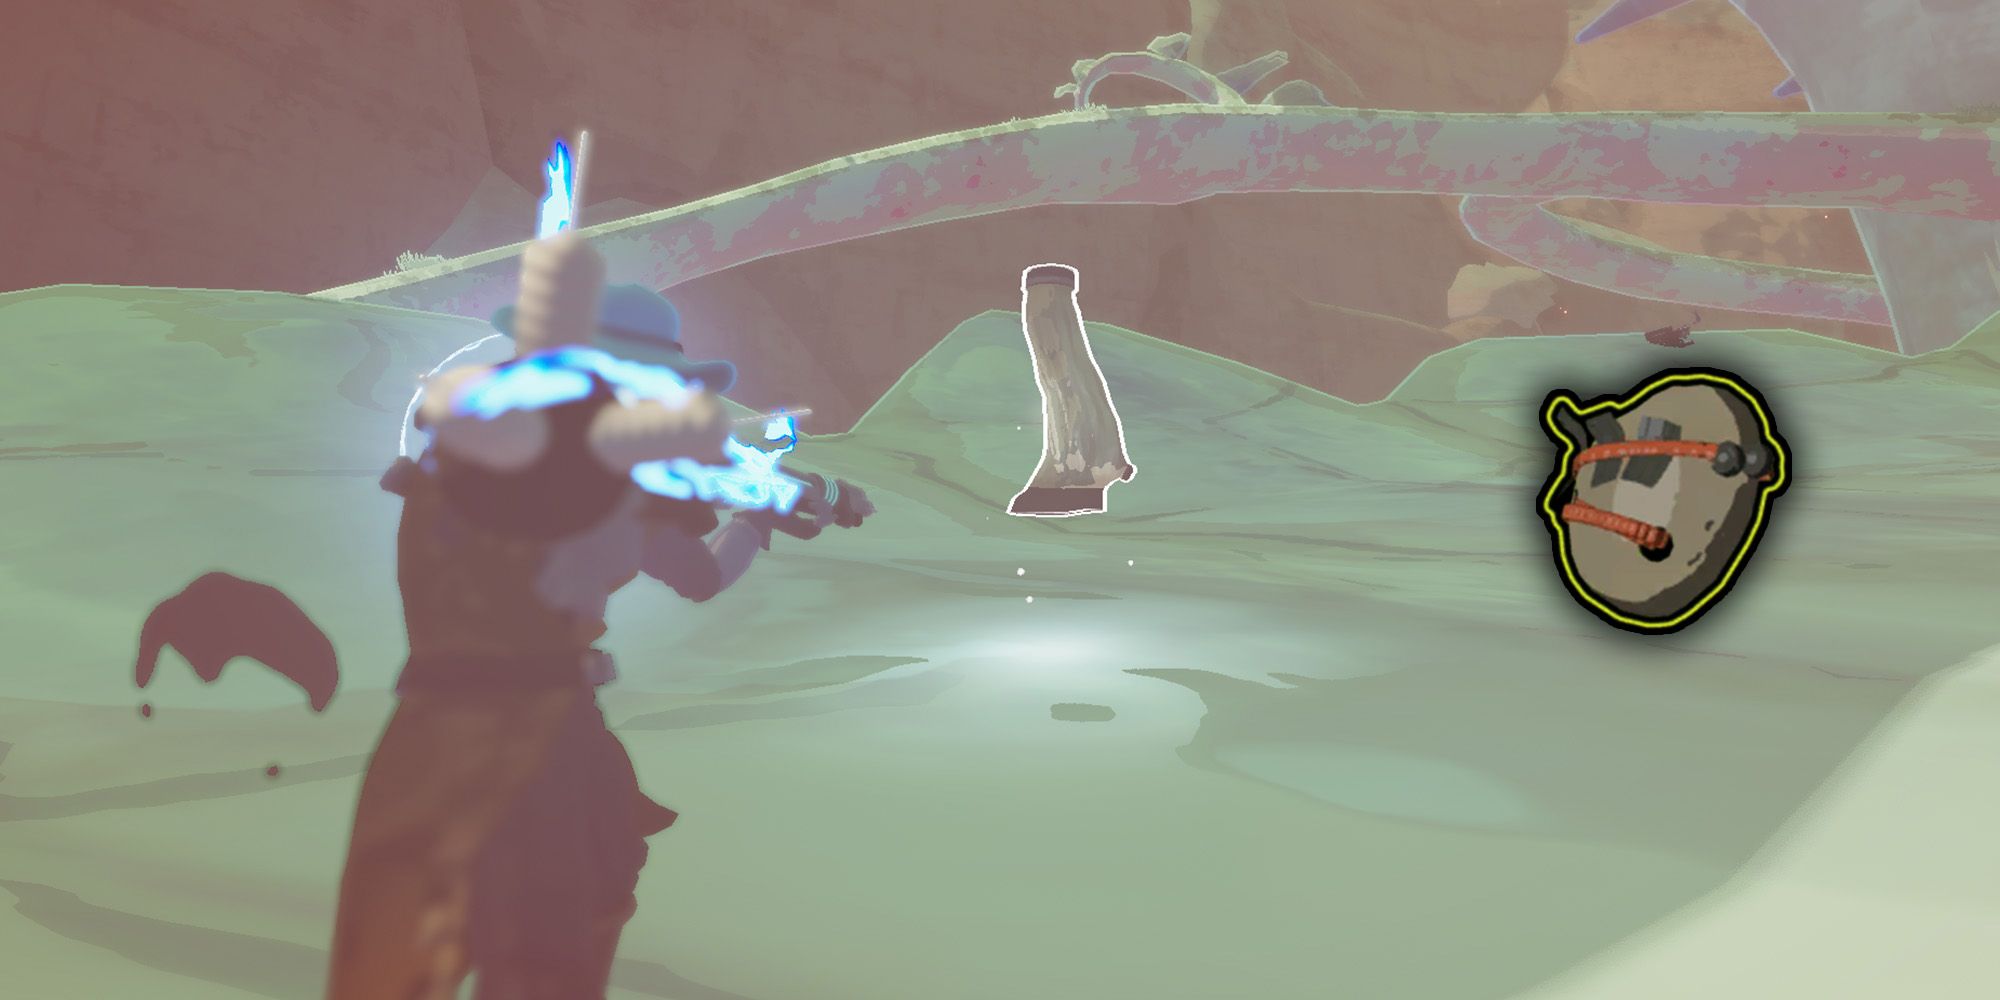
The more Movement Speed you have, the easier you’ll avoid attacks, the faster you’ll clear stages, and the better off you’ll be. So, there’s almost never a situation where one would want to scrap or avoid items like Paul’s Goat Hoof, Mocha, or at least one Red Whip. However, if you want a build centered around these items, then a Little Disciple build is your best bet, even if this relies on getting the Grovetender as your boss in the Scorched Acres stage.
Playstyle
Once you have Little Disciple and even just one Movement Speed item, the build is pretty much ‘online’. All you need to do is run around as usual, focusing on keeping your sprint active as often as you can.
While doing this, the tracking wisps from Little Disciple will be taking out most of the mobs around you, which will allow you to focus most of your Survivor’s core damage around the tankier, scarier, or tougher enemies. The Movement Speed build is one of the best out there for clearing stages, as it makes exploring each stage a whole lot less of a chore.
1 Artificer Build
Let Artificer Feel Like a True Mage Character
|
Name |
Rarity |
Effect |
Stacking ‘Type’ |
Additional Info |
|---|---|---|---|---|
|
Backup Magazine |
Common |
Adds +1 charge to your Secondary Skill. |
Linear |
Each stack adds another +1 charge to your Secondary Skill. |
|
Alien Head |
Legendary |
Reduces all of your Skill Cooldowns by 25 percent |
Exponential |
Each stack reduces the Skill Cooldown time by 25 percent. Exponential Stacking means if 1 Alien head reduces a 10-second cooldown to 7.5 seconds, the next Alien Head will reduce it again but by 1.875 seconds (25 percent of 7.5) not by 2.5 (25 percent of 10). |
|
Light Flux Pauldron |
Lunar |
Decreases your Skill Cooldowns by 50 percent, but also decreases your Attack Speed by 50 percent. |
Exponential |
Each stack increases Skill Cooldowns and decreases Attack Speed by +50 percent. |
Last up, let’s go over a build for one of RoR2’s most complex characters, the Artificer. The Artificer is the closest thing to a ‘Mage’ in Risk of Rain 2, as she has control over multiple elements, floats around, and primarily relies on elemental projectiles for her damage.
While everyone benefits from the Cooldown Reduction that Alien Head grants, Artificer probably benefits from it the most. And, with Alien Head and a single Backup Magazine, Artficier can stay floating in the air 100 percent of the damage, will always be outputting some type of burst damage, and will always have options if things get dicey.
Playstyle
Because the 25 percent Cooldown Reduction increase from Alien Head is Exponential, getting more than one of them really isn’t all that important, and the same can be said for Light Flux Pauldron if you happen to stumble upon it during a stage clear or in the Glass Newt’s shop. Light Flux Pauldron isn’t exactly mandatory for this build, as the Attack Speed debuff can be pretty rough, but it does help Artificer players absolutely melt high-health enemies or even Mithrix, and counteracting the Attack Speed debuff with certain other items isn’t all that difficult to do.

Risk of Rain 2
- Franchise
- risk of rain
- Released
- September 11, 2020
- Developer(s)
- Hopoo Games
- Publisher(s)
- Gearbox Publishing
/cdn.vox-cdn.com/uploads/chorus_asset/file/25630193/apple_license.jpg)
