The Cage is a route in Slay the Princess that was added to the game with the release of the Pristine Cut upgrade. Players can access this route after finding the Prisoner in Chapter 2, provided that they pursue the appropriate dialogue options. This guide is here to detail exactly which options fans should select, and it will help them reach the Cage route in Slay the Princess: The Pristine Cut.
While this guide attempts to minimize spoilers, fans of
games where choices matter
should know that it does detail some of the events that occur along the path to the Cage route.
Related
Slay the Princess: Happily Ever After Route Guide
This guide will help players reach Slay the Princess’s Happily Ever After route, which was added with the release of the Pristine Cut.
Slay the Princess: The Cage Route Guide
Get the Prisoner
Players who want to experience the Cage route must begin by reaching the Prisoner, a Princess that can appear in Chapter 2. To find the Prisoner, fans of visual novels must take the blade into the basement and rescue the Princess during Chapter 1. Here are the specific options that players should select:
- [Proceed to the cabin.]
- [Proceed into the cabin.]
- (Explore) [Take the blade.]
- [Enter the basement.]
- [Continue down the stairs.]
- I’m just here to talk.
- [Drop it.]
- Okay, we’ve talked enough.
- I’m getting you out of here. [Examine the chains.]
- And if there isn’t a key… do you have any ideas?
- [Return to the bottom of the stairs.]
- [Save the Princess.]
- [Approach the locked door.]
- [Warn her.]
- [Resist.]
Let the Prisoner Decapitate Herself
Players should now have reached Chapter 2: The Prisoner, and their first goals in this chapter are to allow the Princess to decapitate herself and then leave her head. Fans of indie games can achieve this outcome by taking the blade into the basement and giving it to the Prisoner, and here are the specific options that they should select:
- [Proceed to the cabin.]
- [Proceed into the cabin.]
- (Explore) [Take the blade.]
- [Enter the basement.]
- [Sit with her.]
- [Sit where you were told to sit.]
- (Explore) What would you have me do?
- Okay. I’m trusting you. [Give her the knife.]
- [Watch in uneasy silence.]
- [Leave the basement to claim your reward.]
Die
Upon reaching the top of the stairs (without the Prisoner’s head), players must die, and there are three paths that lead to that outcome. While all three paths will give players access to the Cage route, the Voice that is added for Chapter 3 is determined by the path that is taken. More specifically, fans of horror games can make the Voice of the Paranoid, the Voice of the Broken, or the Voice of the Cheated appear on the Cage route.
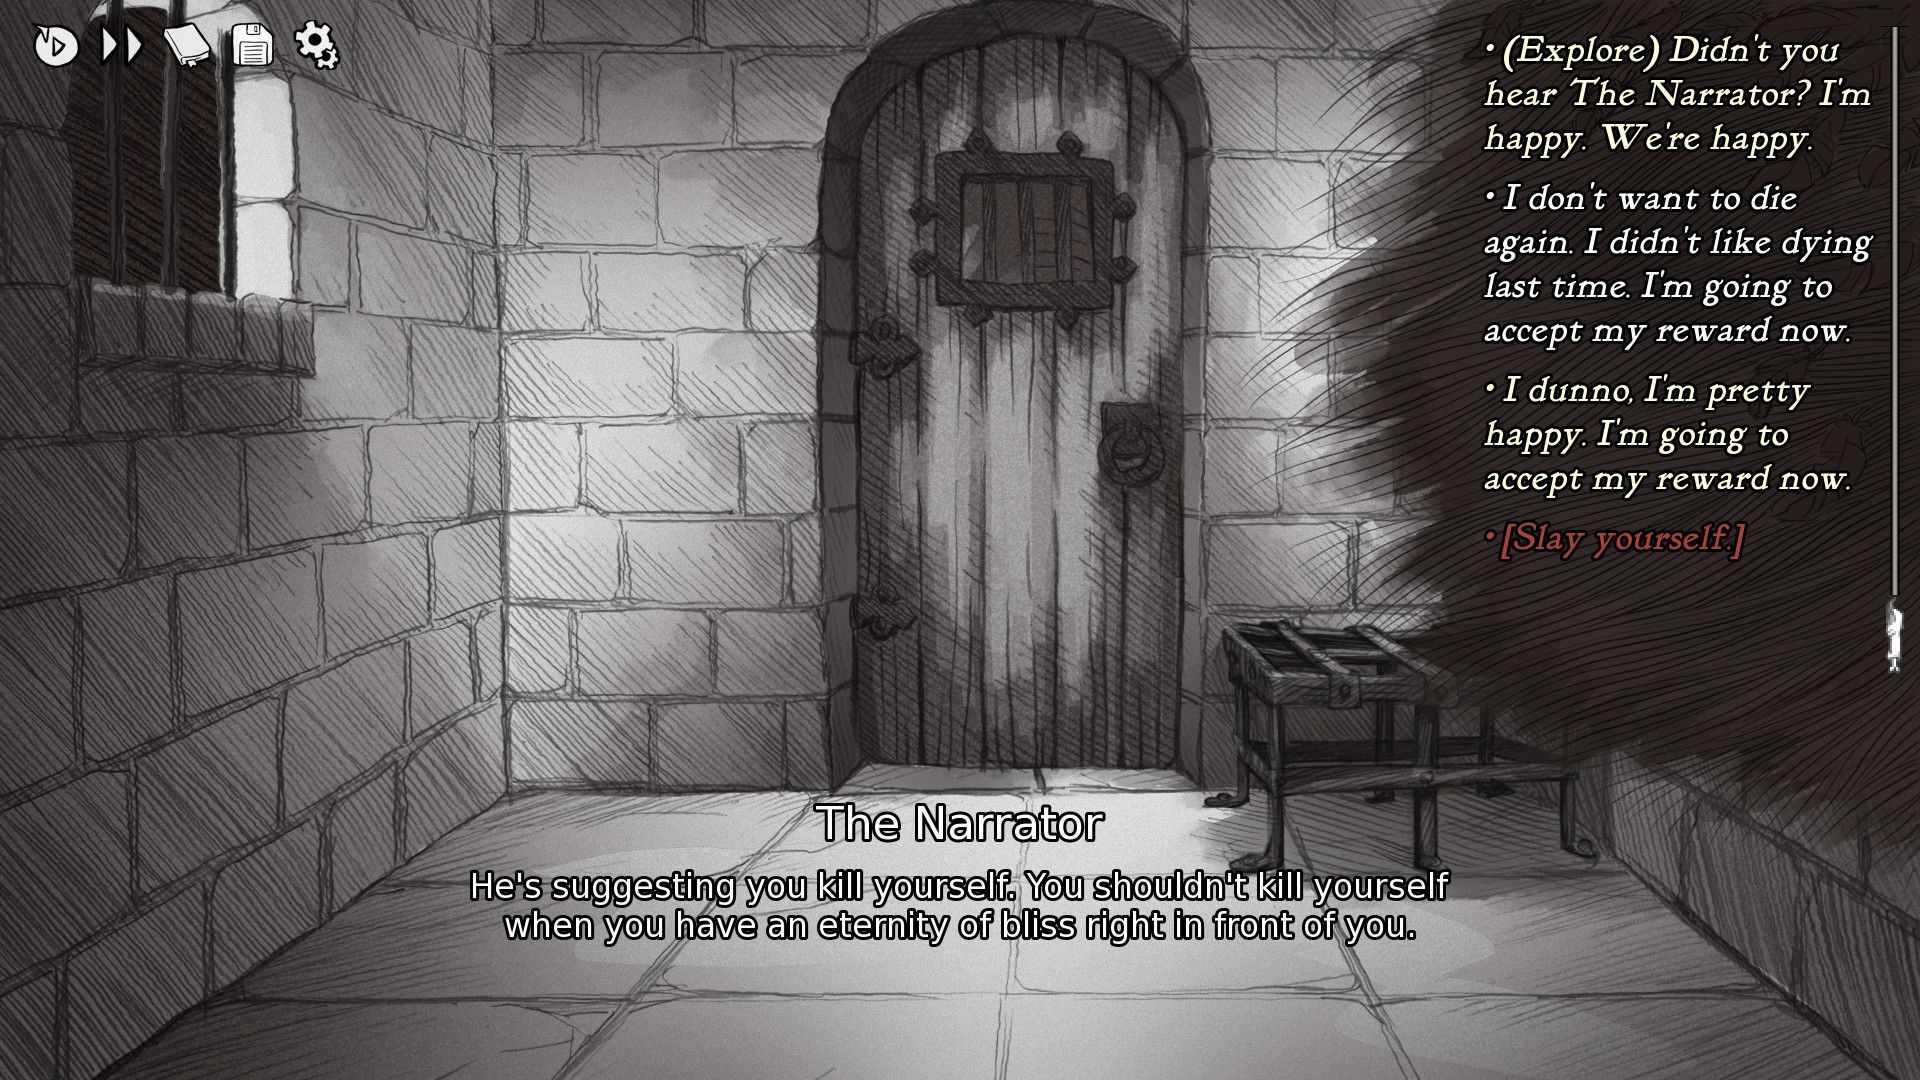
With respect to which Voice players should pursue, the available Cage route endings are determined by the Voice that is taken into the chapter. Indeed, there is an exclusive ending available if the Voice of the Paranoid is present, and there is an ending that is only accessible if the Voice of the Broken or the Voice of the Cheated is present. Slay the Princess players are thus advised to make a save before pursuing death in Chapter 2, and here are the options that lead to each Voice:
Voice of the Paranoid
- [Open the door and accept your reward.]
- That’s bull! Let us out of here!
- (Explore) What do you suggest, then?
- [Slay yourself.]
Voice of the Broken
- [Open the door and accept your reward.]
- That’s bull! Let us out of here!
- (Explore) What do you suggest, then?
- I don’t want to die again. I didn’t like dying last time. I’m going to accept my reward now.
- (Explore) Is there really no other way? Because I don’t want to use the blade on myself.
- [Give the blade to the Voice of the Skeptic.]
Voice of the Cheated
- [Open the door and accept your reward.]
- That’s bull! Let us out of here!
- I don’t want to die again. I didn’t like dying last time. I’m going to accept my reward now.
- Sorry, but we’re not doing that.
The Cage
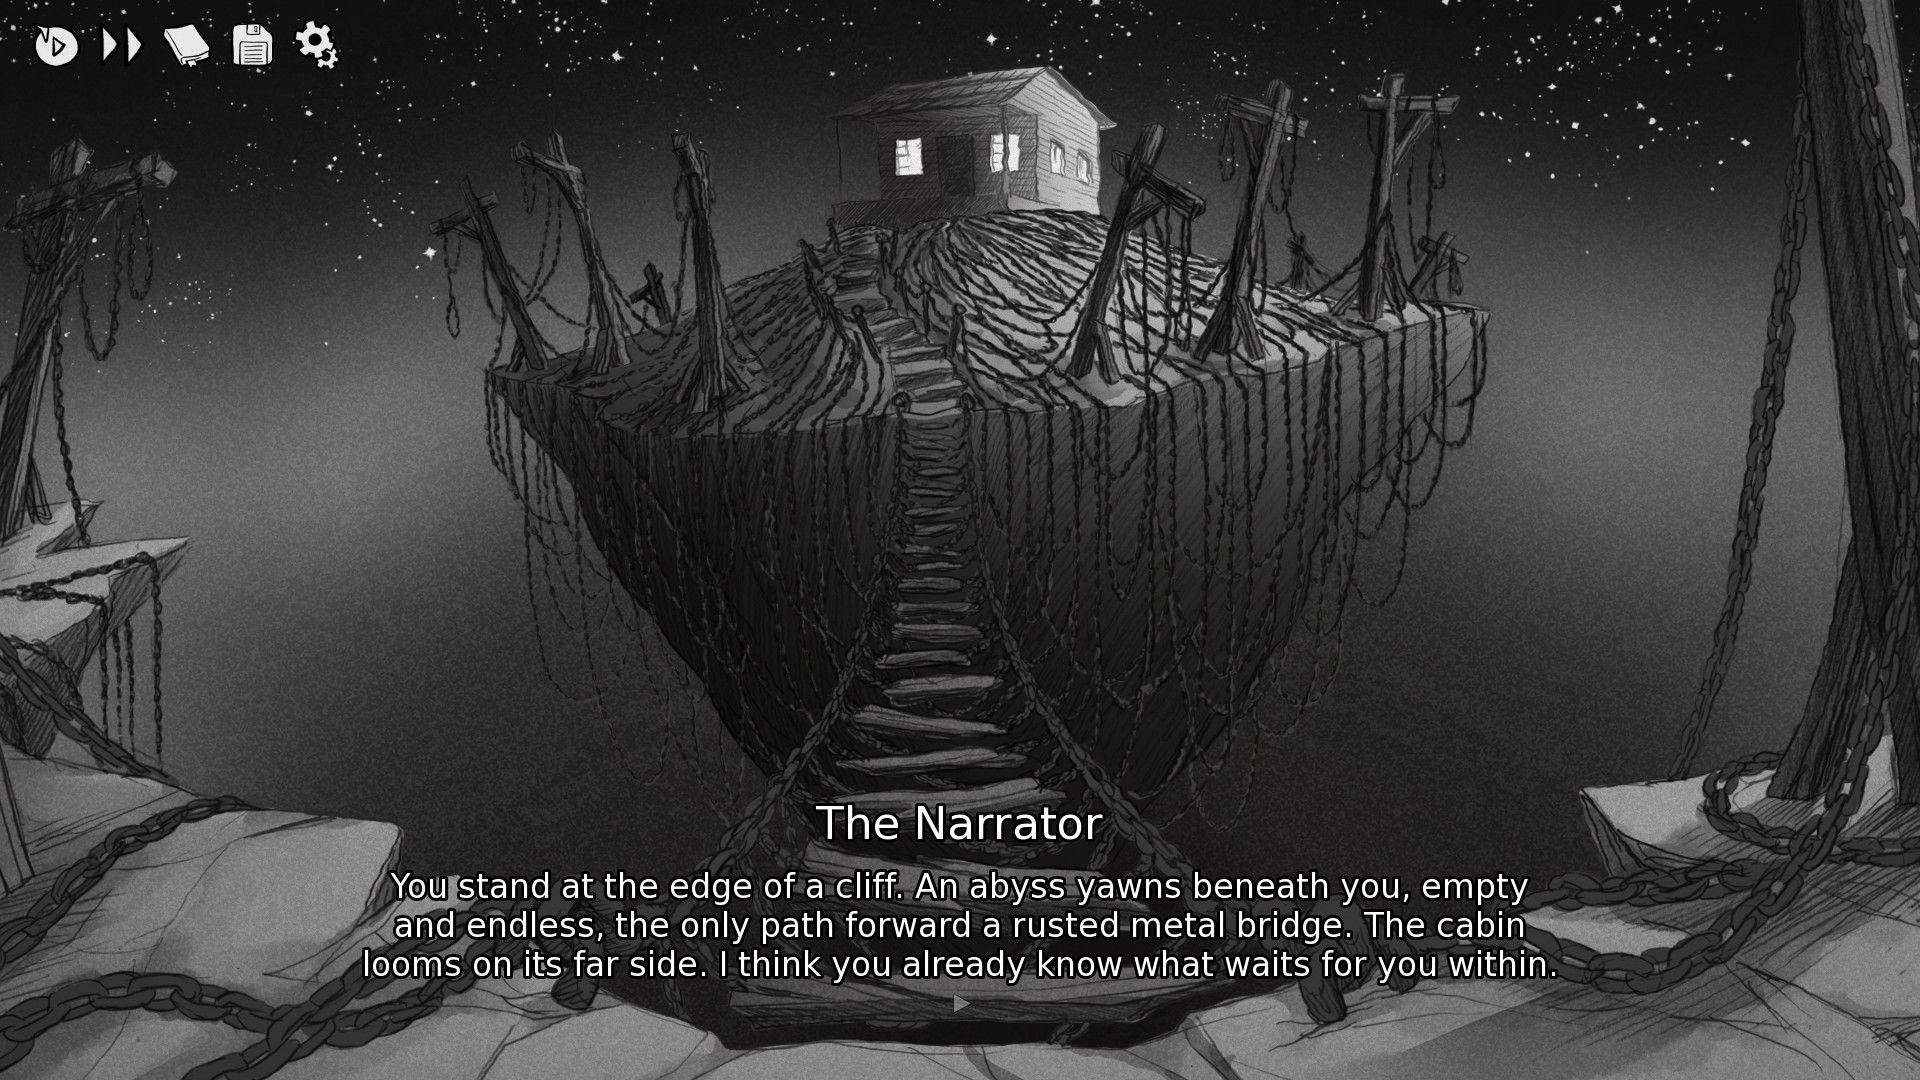
Players are now on the Cage route, and there are several ways to reach its end. While it is recommended that fans of story-rich games make a save at the beginning of the chapter and experiment with the assortment of choices that are available to them, players who want to make sure that they see all the content should pursue these paths:
- Enter the cabin with the blade, talk to the Princess once, and then repeatedly remain silent.
- Take the Voice of the Cheated or the Voice of the Broken into Chapter 3. Before going to the cabin, acknowledge the blade and then toss it into the woods. Enter the cabin and talk to the Princess, selecting options that emphasize that the protagonist has not brought a weapon. While exiting the cabin, select the option that references free will and then drop the Princess.
- Follow the instructions in 2, but do not drop the Princess at the end.
- Take the Voice of the Paranoid into Chapter 3. Enter the cabin with the blade, talk to the Princess once, and then repeatedly try to free the protagonist. Give the Princess the implement.
Slay the Princess
- Released
- October 23, 2023
- Developer
- Black Tabby Games
/cdn.vox-cdn.com/uploads/chorus_asset/file/25700186/2180343514.jpg)
