/cdn.vox-cdn.com/uploads/chorus_asset/file/24062761/STK110_whats_app_Kradtke_02.jpg)
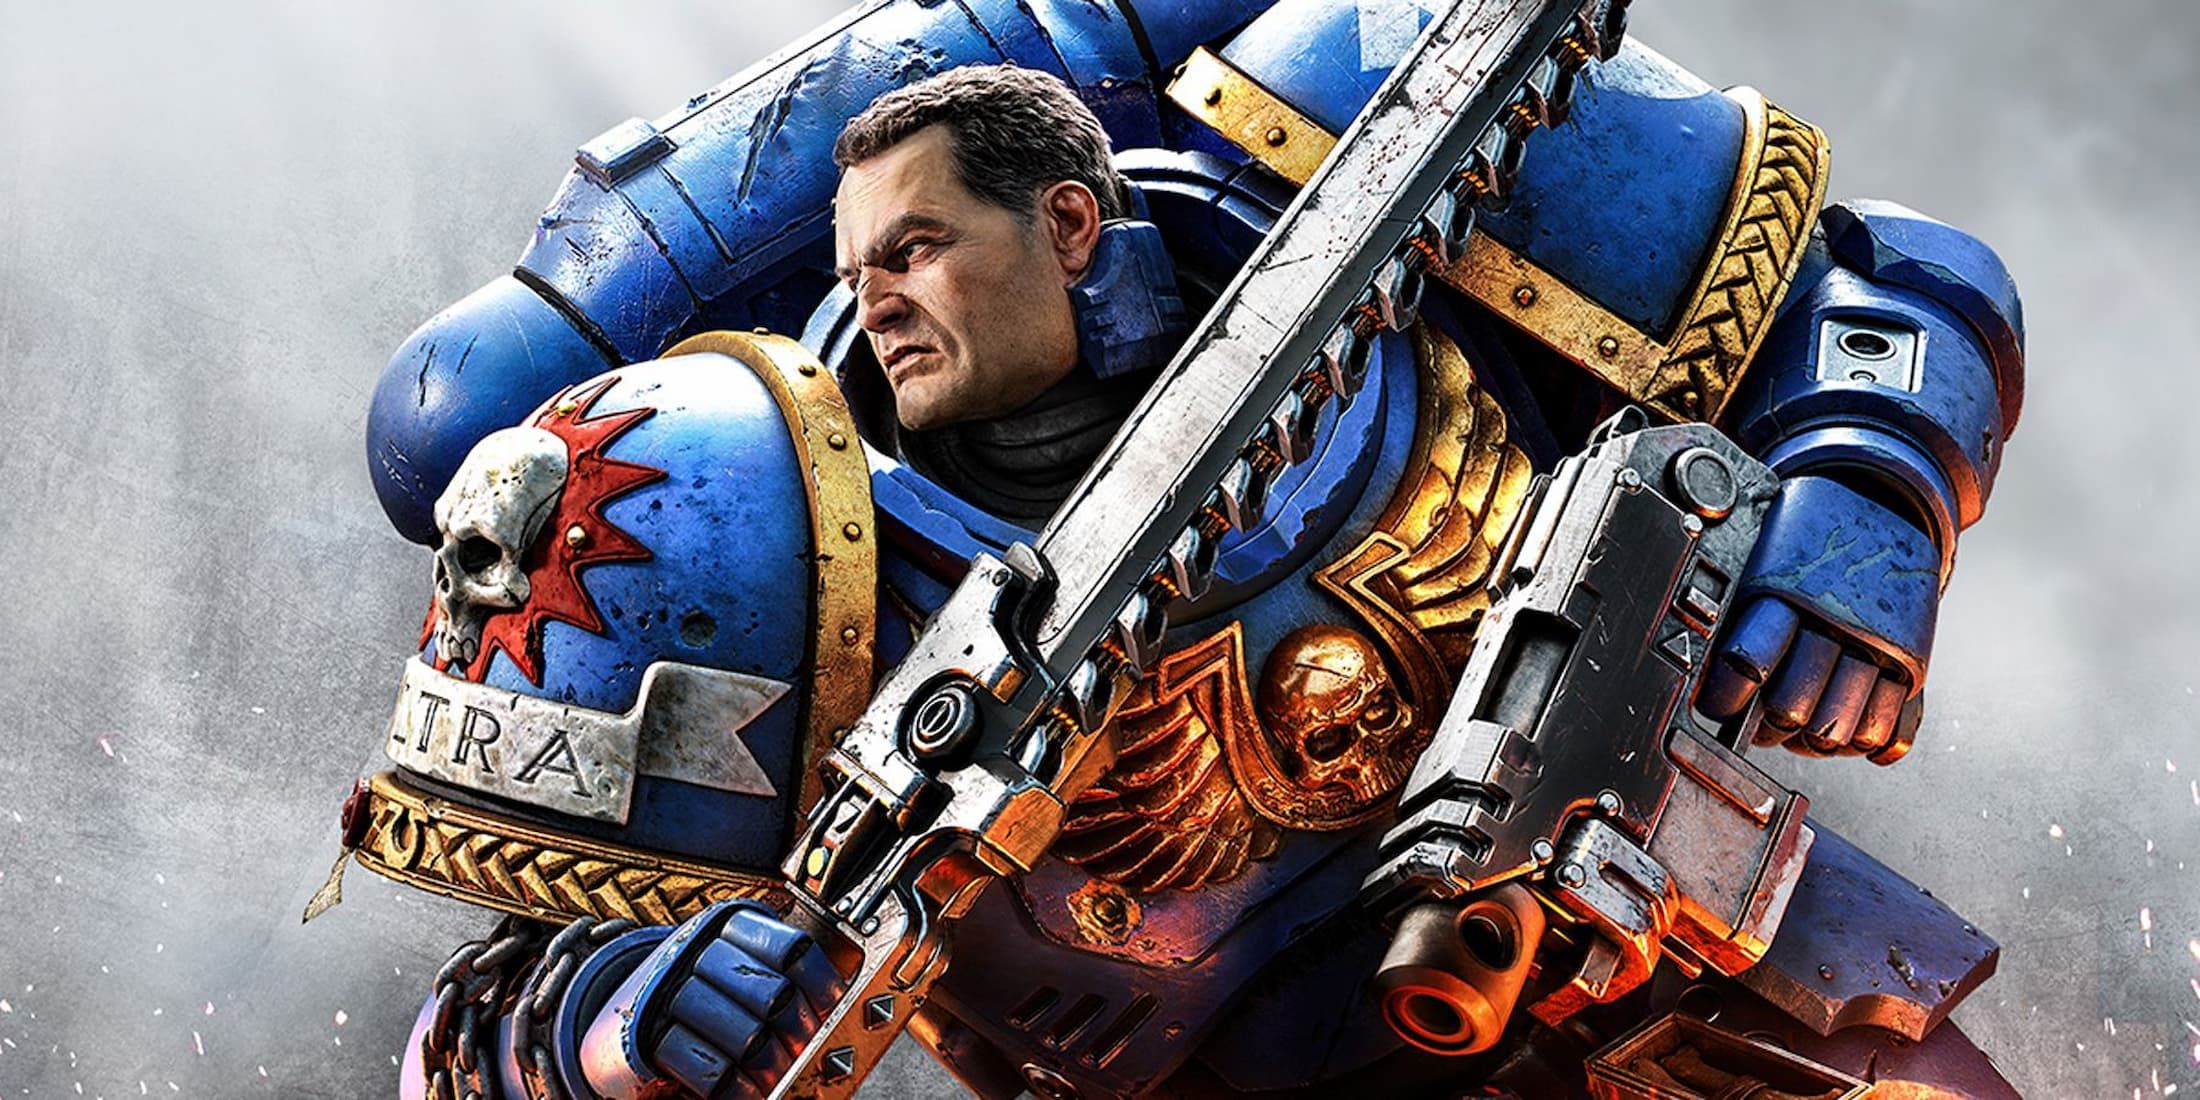
It is no secret that fans of the Warhammer franchises love their hobby for its vast array of sci-fi and fantasy characters, in-depth stories, and incredibly deep lore, which is something that is quite heavily explored in Warhammer 40,000: Space Marine 2. As players fill the armor of now Lieutenant Titus once more, they will experience a thrilling tale of brotherhood, courage, and a lot of blood-soaked action. However, it is not just Titus and his comrades that have a story to tell.
In the latest chapter of the Space Marine series, players will have the option of retrieving a number of abandoned audio recordings from various members of the Emperor’s armies, each recounting their experiences with the various Tyranid and Chaos enemies players encounter on their journey. Those who know how to collect all dataslates in Space Marine 2 and earn the Data Mining achievement can use this as a hub to fill in any gaps in their intel collection.
All Space Marine 2 Dataslate Locations
Space Marine 2 has a total of 35 dataslates that players will need to collect in order to earn the Data Mining trophy/achievement for the game. These audio recordings of long-lost soldiers are spread throughout both the campaign and operations missions of the game, with each mission holding between two and four dataslates each. While the dataslates might be in well-hidden places, they are easily recognizable as Titus and his comrades battle swarms of Tyranids and Chaos forces, as they emit a bright green glow.
For detailed descriptions of where each dataslate is located, including video footage of where to find them, feel free to use the links below for each mission.
Each Operations mission in Space Marine 2 contains two dataslates, whereas the campaign missions will vary between two and four. Skyfire, Severance, and Dawn’s Descent have four, Machinus Divinitus, Voidsong, and Bellum Sempiternus have three, and Servant of the Machine has two. If you’re not sure which ones are missing, you can easily check your progress from the Battle Barge by going to the fast-travel menu (touchpad on PlayStation) and navigating to the dataslate bank section.